

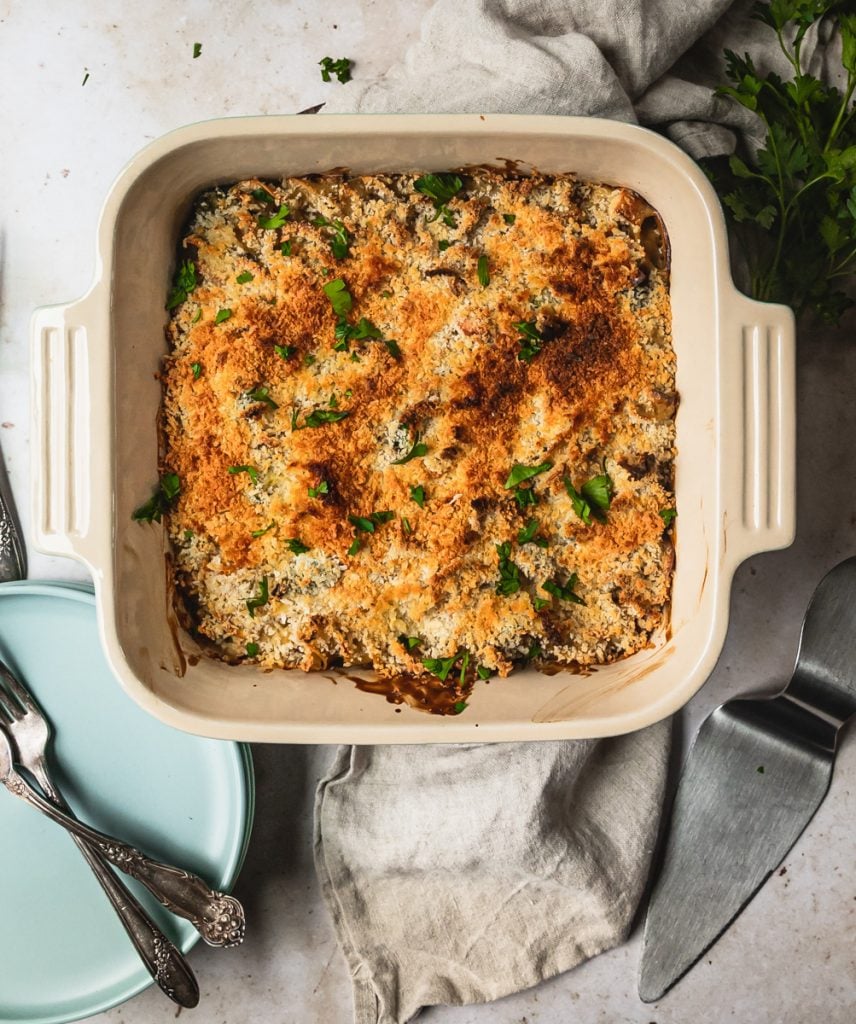
A Cozy Dish
As we move into the cold winter months, pasta is always a meal that not only satisfies but is easy to make and even makes great leftovers. I'm sharing a dish we grew up calling, Nouilles, with some shortcuts to make those weeknight dinners even easier. I'm thrilled to partner with my friends at Yummly and Campbell's ® to bring you this delicious recipe.
Nouilles
Growing up my mother would make this delicious pasta bake, basically a casserole. It was not only a way to use up some leftovers but it also was this magical dish that was beyond comforting. Most times my kids crave pasta, I'll make Macaroni b'Halib, which is simply our version Macaroni and Cheese (minus the cheese) but Nouillescombines the warm white sauce, (bechamel) chicken or ham and a veggie - I typically use broccoli and/or mushrooms. Toss with some pasta and you have a dish that your kids will adore with little effort and lots of nutrition.
The Sauce
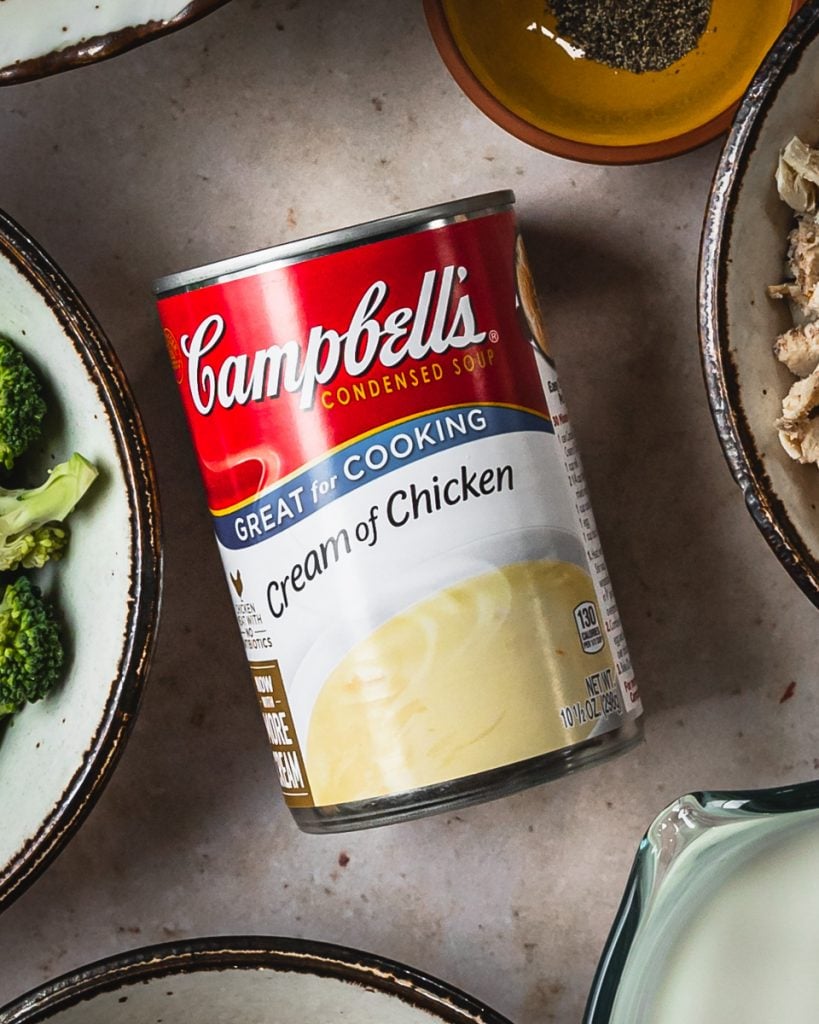
I adore bechamel sauce, it's one of the best sauces to elevate any dish and so versatile. But I don't always have the time to make it - especially in a weeknight rush. Today I'm going to share one of my best kept shortcuts to a creamy, dreamy sauce that takes no more than 5 minutes! Using Campbell's ® Cream of Chicken Soup. I grew up eating Campbell's soup, it was the soup that was always on hand at our house - especially when we got a bit older and were able to start preparing quick meals on our own. So I know the quality and flavor that they pack in each can!
Traditional Nooie béchamel sauce is made with flour, butter, chicken stock and milk. Campbell's ® Cream of Chicken soup is the perfect shortcut which is a creamy, hearty soup that doubles perfectly as a sauce for this quick and simple weeknight meal.
The Ingredients
This time of year is so hectic, having quick meals and easy ingredients to use on hand is so important. We don't all have hours to cook on the weeknights so thinking about ways to speed up this meal to get it on the table is my biggest gift to you!
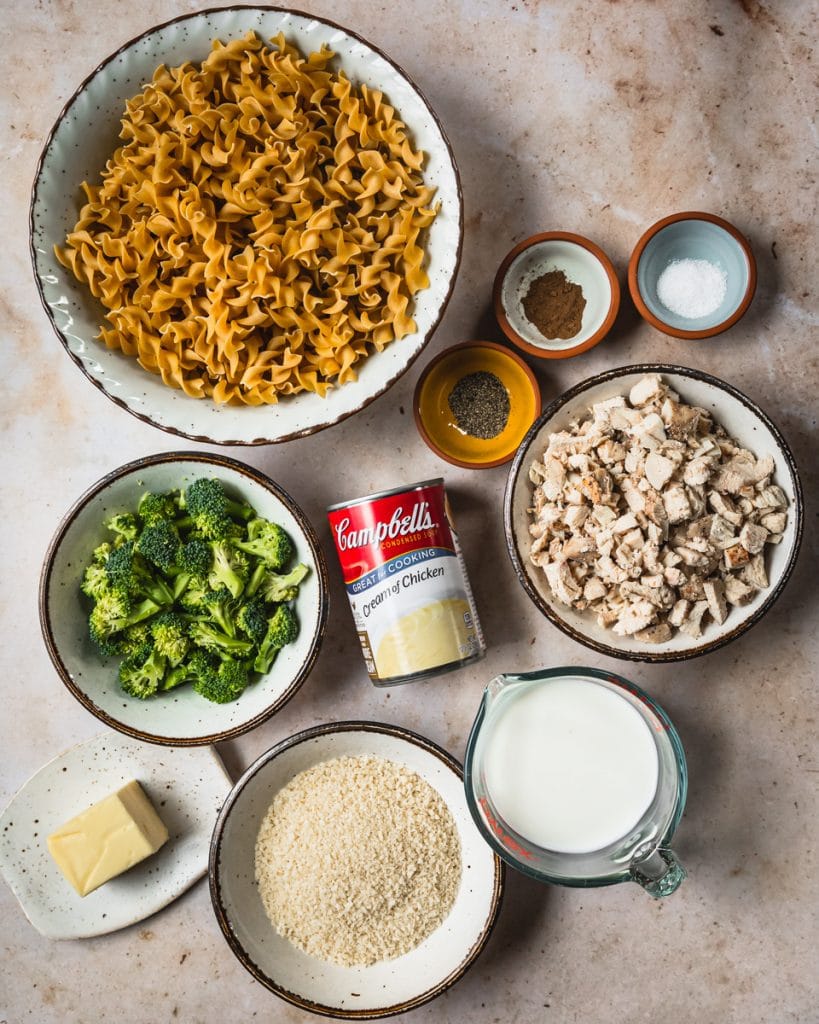
Campbell's ® Cream of Chicken Soup - Yes!!! Add a few cans of Campbell's ® Cream of Chicken Soup to your grocery order for this dish but also to have on hand to make a quick soup and sandwich meal. This will replace our traditional béchamel sauce and make it 10x easier to put this meal together on short notice.
Cooked Chicken - I tend to cook a lot of chicken on weekends, whether it's roasting a whole chicken or some thighs, check out my Everyday Roasted Chicken recipe - so I will generally have some leftover in my fridge making it perfect for this dish. You can ALWAYS grab a rotisserie chicken with your grocery order and use that - perfect way to make this a quick and easy meal.
Pasta - I love using big, wide egg noodles when making this dish but truly any pasta will do. When I make Macaroni b'Halib I use thin spaghetti or whatever I have on hand. If you typically use gluten free pasta successfully with dishes like this, then go ahead and swap out to your preference.
Broccoli - Broccoli is one of my favorite go-to vegetables and typically have it in the fridge as we eat it at least once a week. But hey, if you have frozen broccoli - that works too and doesn't take any more time.
Breadcrumbs - When it comes to breadcrumbs I'm a HUGE fan of Panko style breadcrumbs. They are larger pieces and have a nice crunch/crisp to them. If you don't have those on hand, traditional breadcrumbs are perfectly fine - or skip them all together if you want! I just like the added crunch and texture in this dish.
Staple Ingredients - salt*, pepper, all spice, butter, milk
Assembling
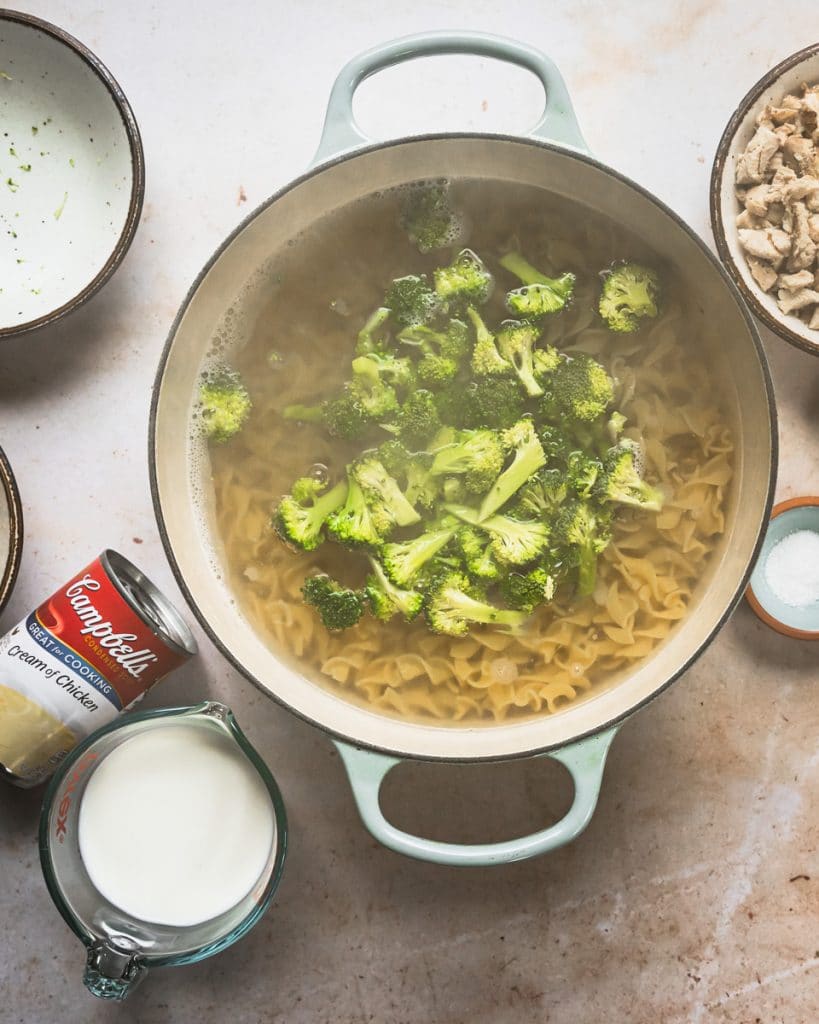
The less dishes I have the better, am I right? So let's make this into a one pot meal, shall we? The thing that is going to take us the longest is boiling our pasta noodles. I prefer to boil them to al dente, especially since we'll be baking this in the oven and they'll have additional time to cook. Follow the instructions on your preferred package and brand.
In the last 1 minute of your pasta boiling, toss in your broccoli - we just want to cook them a tad to soften slightly, they'll get cooked in our final bake as well. Drain both your pasta and broccoli together and set aside.
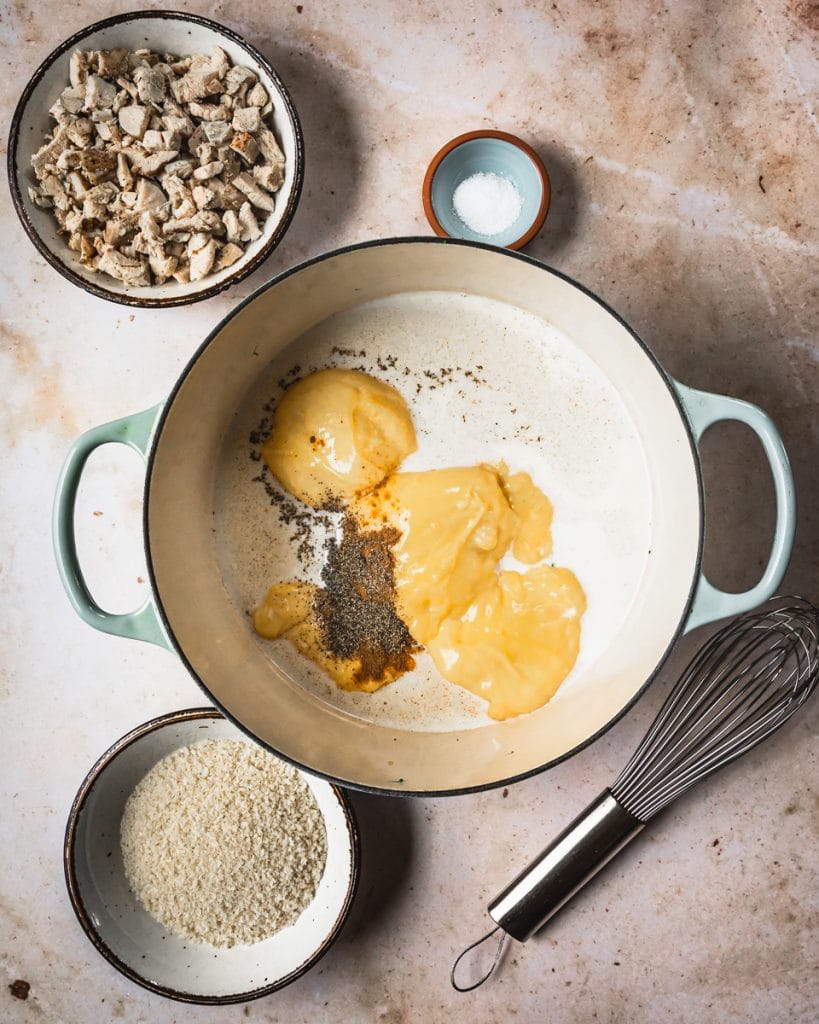
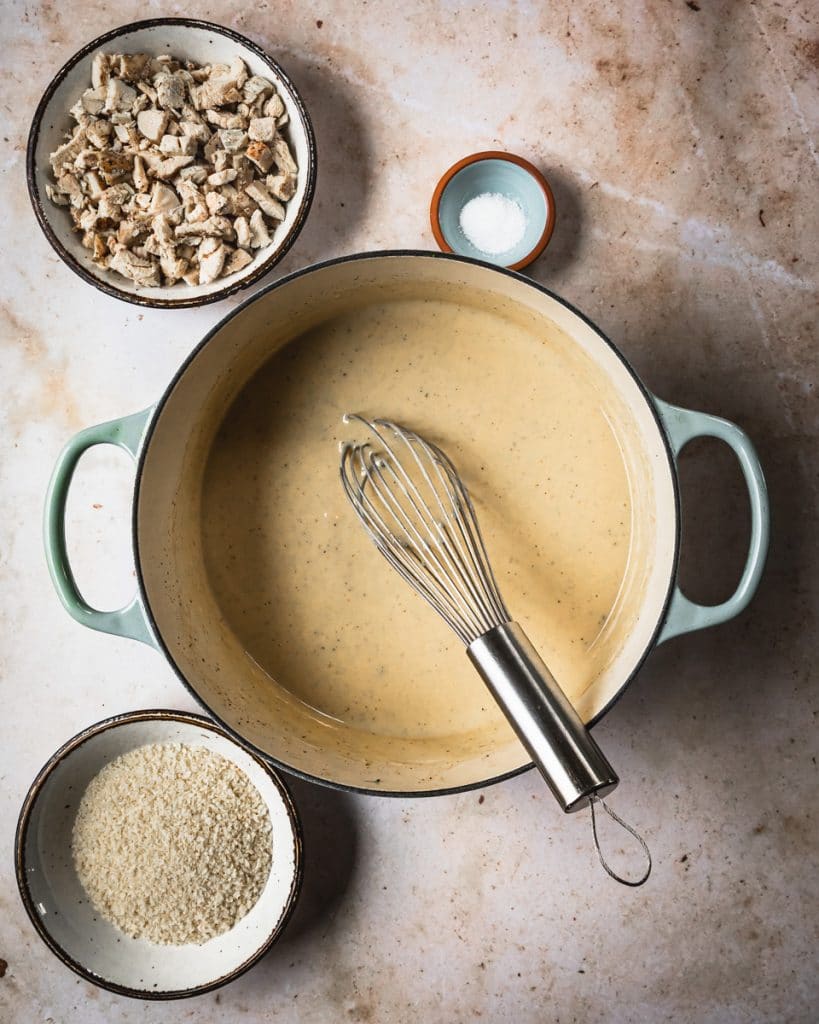
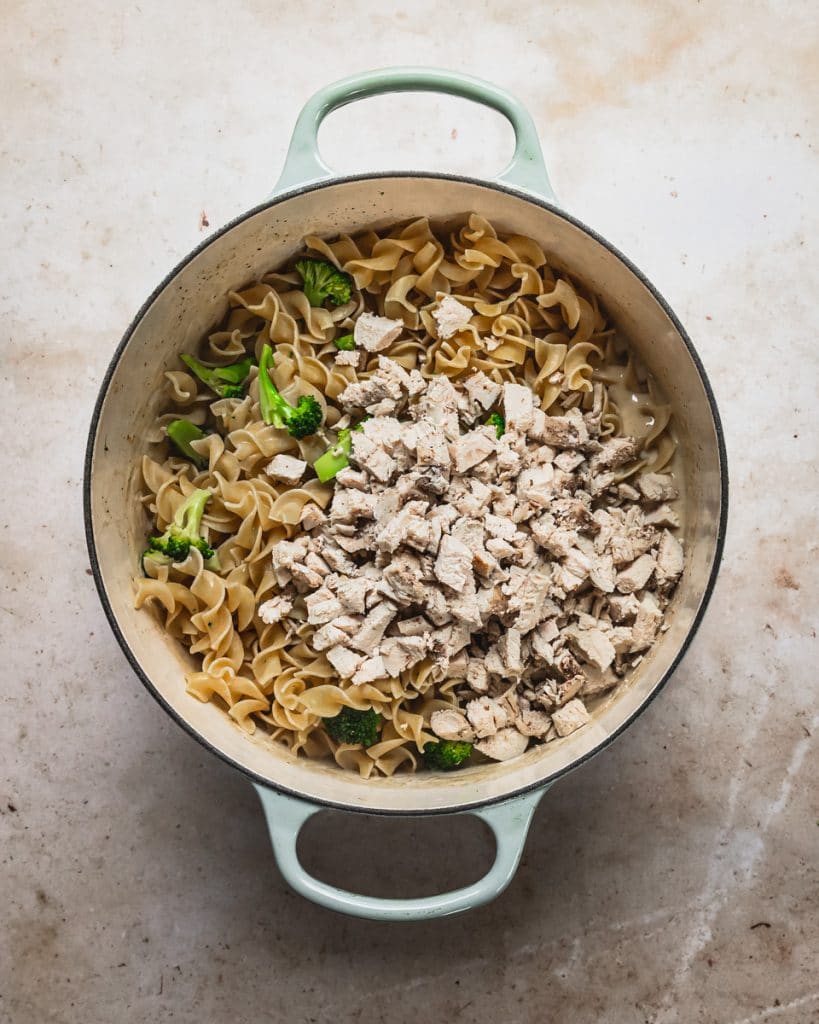
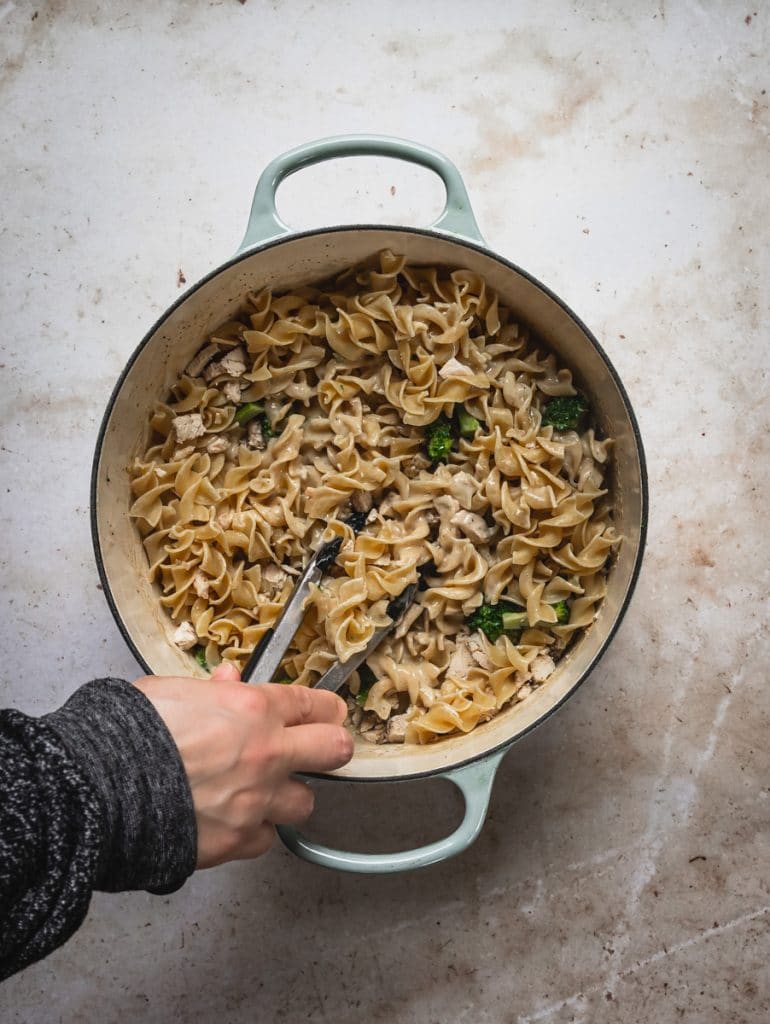
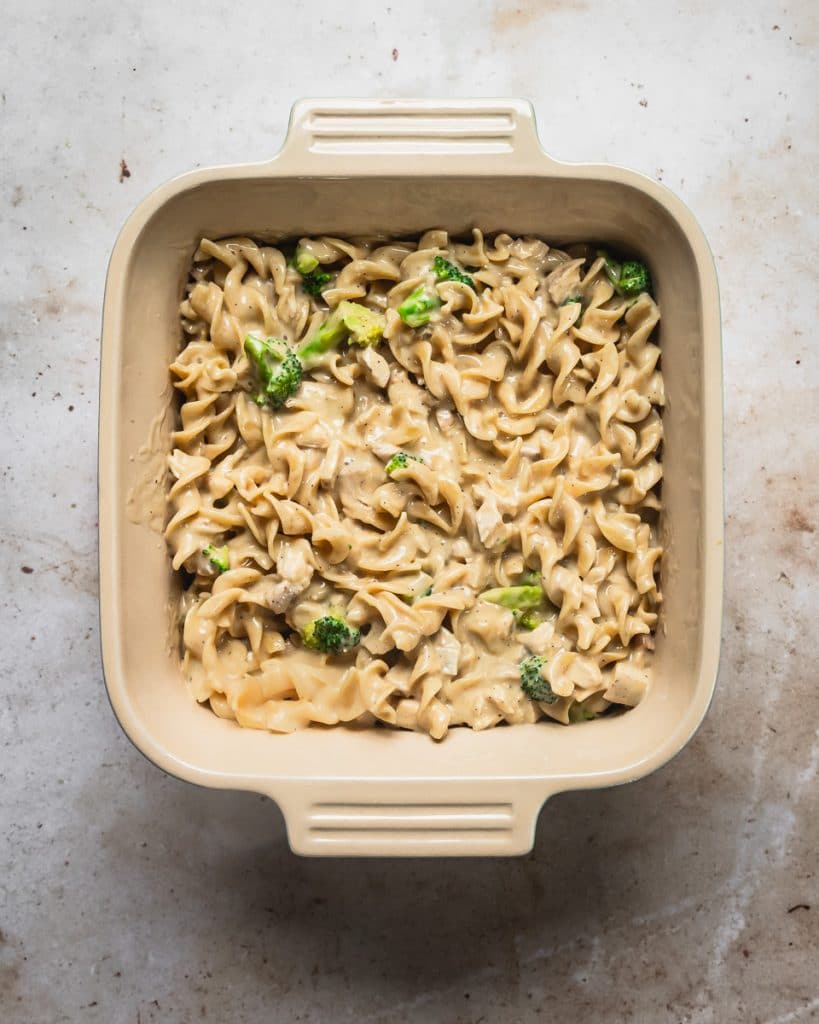
In the same pot you just drained your pasta and broccoli, add in your Campbell's ® Cream of Chicken Soup, spices and milk. Whisk until combined and smooth over low heat. Remove from heat and add your pasta, broccoli and chicken - use tongs to combine with sauce thoroughly. Next, pour mixture into your prepared baking dish.
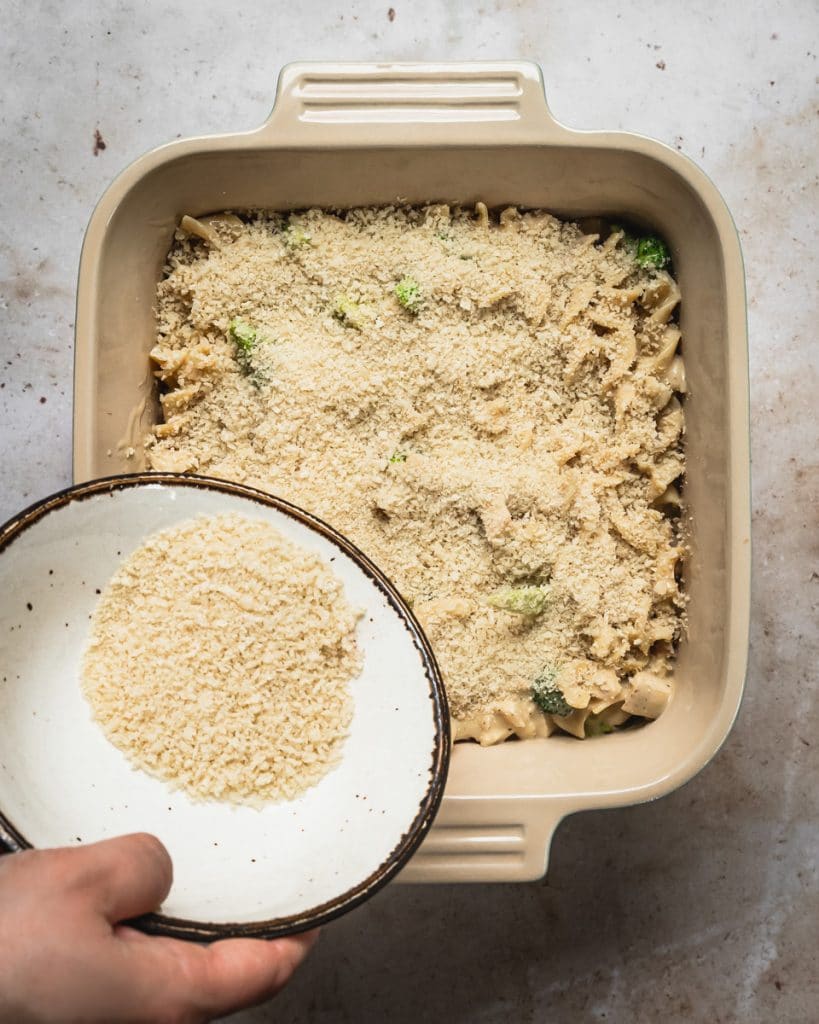
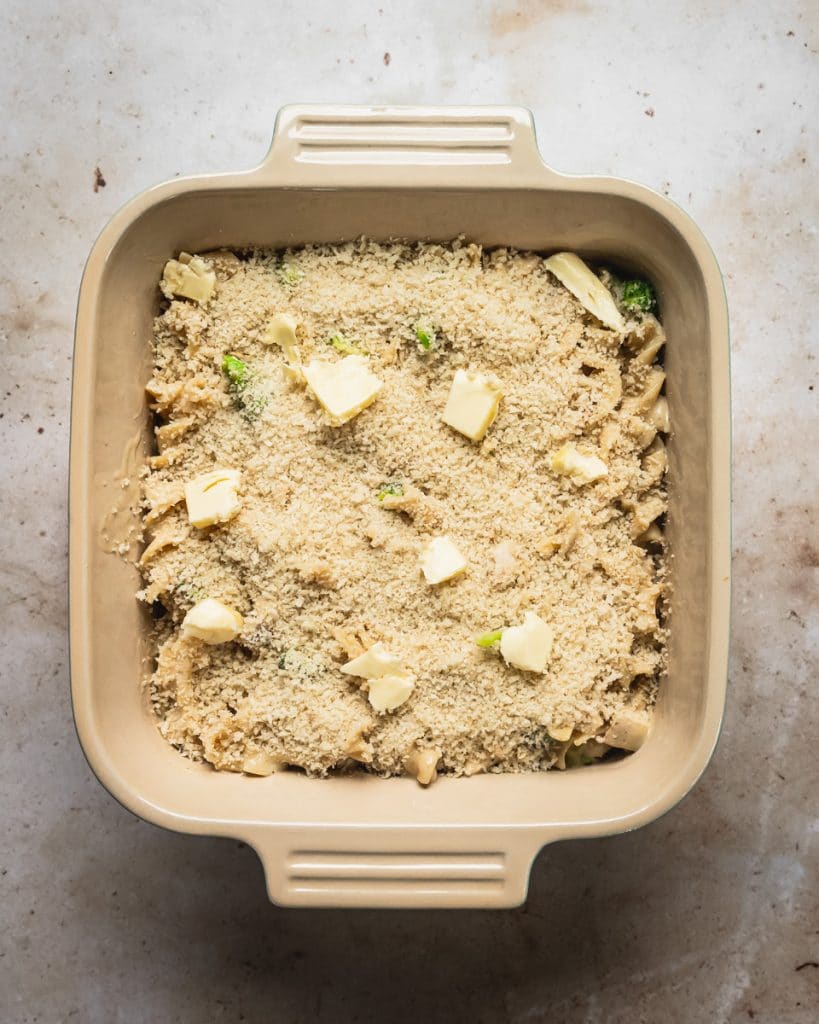
Finally, top your bake with your preferred breadcrumbs and top with a few slats of butter. Bake and enjoy this delicious, wholesome meal you were able to whip up as easy as a box of macaroni and cheese!
Substitutes
Making this dish as simple and versatile as possible is the number one key to this dish so yes, you can absolutely substitute a variety of ingredients!!! Here is a brief overview of some substitution ideas.
Chicken - Don't have chicken on hand or want to keep it vegetarian? Sub in another vegetable, my preference is mushrooms for this dish, see notes below about using mushrooms. You can also add in deli ham or turkey.
Milk Substitute - Whole milk is preferred for this dish, but any milk will do - you may lose some of the creaminess with something not full fat or an alternative milk.
Broccoli - Not a fan of broccoli, add in mushrooms* or asparagus to change the dish up. Frozen is fine, so use up that stash!
Breadcrumbs - As I already mentioned, I prefer panko breadcrumbs but traditional or traditional seasoned will also work well. You can even mix the two to get double the texture. I've also omitted and the dish works great!
Campbell's ® Cream of Chicken Soup - I love all of Campbell's cream soups, if you're hoping to make this into a vegetarian dish, I'd swap for their Cream of Mushroom Soup.
Pasta - I always have a stash of various pastas in my pantry, I like the texture of egg noodles for this dish - but truly this dish works with any pasta! If you have a successful gluten free pasta that you use, feel free to substitute.
I hope your family loves this dish as much as mine does, it's really a simple pleasure on these cold nights. With a little help at the stove, this dish is easy enough for kids to help make in the kitchen too. It's a great transition dish to get kids cooking.
As always, I love seeing your creations when you share your comments or tag me on social media. You can find Campbell's Soups at your local grocer or check their online locator.
Please leave a review or share your dish with me on social media #cosetteskitchen which lets me know what is working for you! You can also tag my friends at Campbell's. You can find me on Facebook, Instagram, Twitter and Pinterest. For more delicious recipes to your inbox, sign up for my newsletter!
xoxo,
Cosette
This post is sponsored by Campbell's ®, all opinions and ideas are my own.
Print
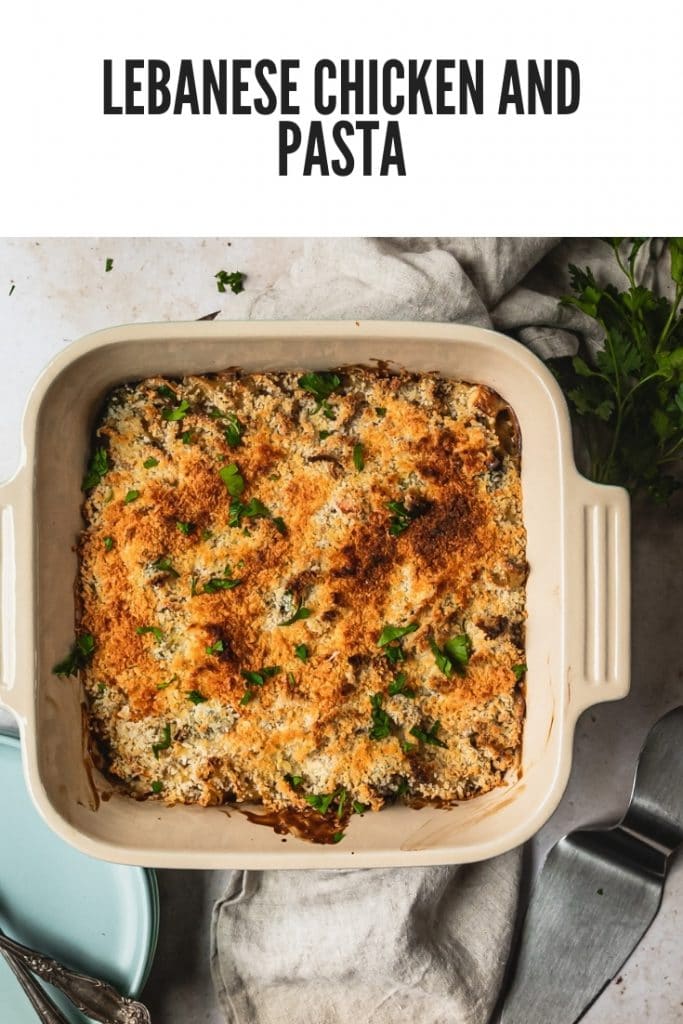
Lebanese Chicken and Pasta
- Prep Time: 15 minutes
- Cook Time: 30 minutes
- Total Time: 45 minutes
- Yield: 8 servings 1x
- Category: Pasta
- Method: Baking
- Cuisine: Lebanese
Description
A cozy meal filled with pasta, chicken, broccoli and Campbell's ® Cream of Chicken Soup.
Ingredients
- 12oz bag of egg noodles - can sub other pasta
- 2 cups of cooked chicken, chopped or shredded*
- 1 cup of broccoli, trimmed and cut into uniform pieces*
- 2 cans (10.5 oz each) of Campbell's ® Cream of Chicken Soup
- 1.5 cups of milk
- 1 teaspoon all spice
- 1 teaspoon pepper
- salt*
- 1 cup Panko breadcrumbs
- 2 tablespoons butter, cut into pieces
Instructions
- Preheat your oven to 350 degrees Fahrenheit and position rack in center of oven.
- In a heavy bottomed pot, cook your pasta according to package instructions to al dente texture, be sure to salt your water.
- In the last minute before your pasta is done, add your chopped broccoli to the water.
- Drain your pasta and broccoli in colander and set aside.
- In the same pot, add your Campbell's ® Cream of Chicken Soup, milk, allspice and pepper. Whisk over low heat until combined and smooth. Taste and add salt if needed.
- Remove from heat and add your pasta, broccoli and cooked chicken to the pot.
- Using tongs, mix until fully combined.
- Pour mixture into a baking dish either 9x11 rectangular or 9x9 square - whatever your preference.
- Top with breadcrumbs then dot with pieces of butter.
- Bake at 350 degrees for 30 minutes.
- Bump temperature up to 425 and bake for 10 minutes more until top is golden brown.*
- Serve warm and enjoy!
Notes
- If omitting chicken to make vegetarian, add in additional broccoli and or other vegetables
- If using frozen broccoli - proceed as listed in instructions
- If using mushrooms, saute mushrooms prior to adding to pasta. I usually do so in a small pan with a little butter and salt at the end.
- Campbell's ® Cream of Chicken Soup is already seasoned well, I hold off on adding any additional salt until I taste. Add salt as needed, I prefer kosher salt.
- If you're hoping to make vegetarian, try subbing Campbell's ® Cream of Mushroom Soup
- Be sure your baking dish can be baked in a 425 degree oven.
- I have not tested this recipe with gluten free pasta or milk alternatives, if you use them successfully in bakes - feel free to go ahead and replace.
Leave a Reply