American
-
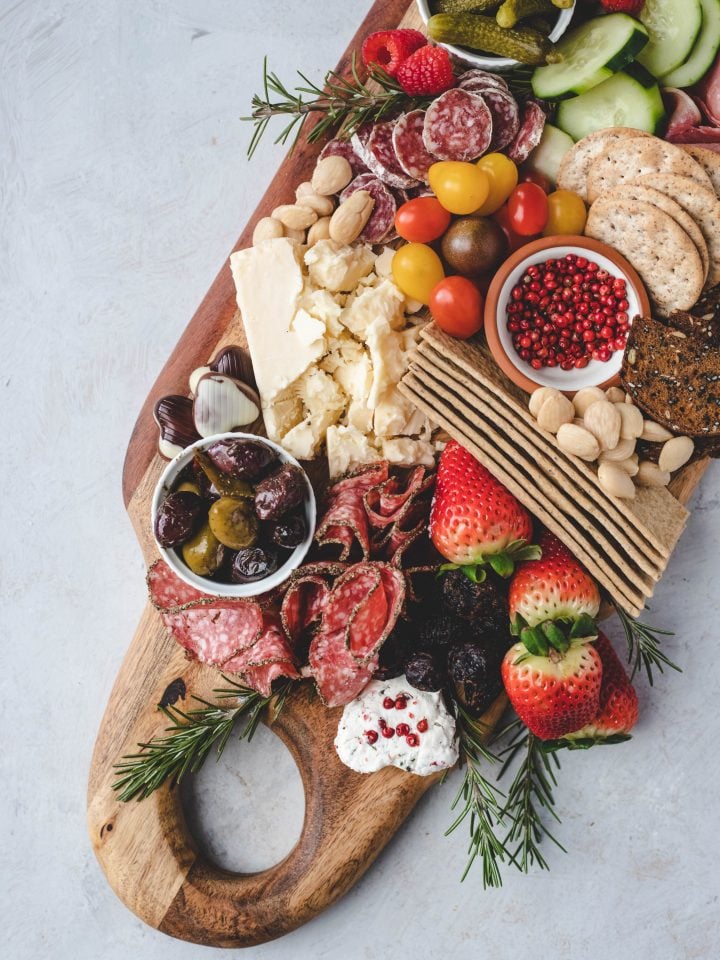
Charcuterie Board
-
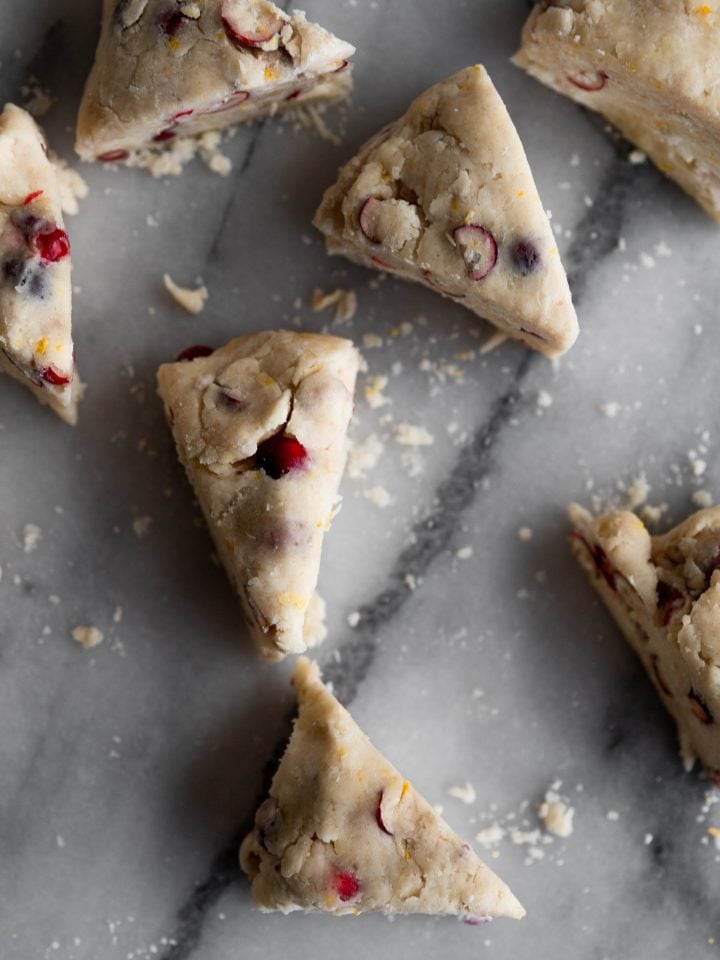
Orange Cranberry Scones
-
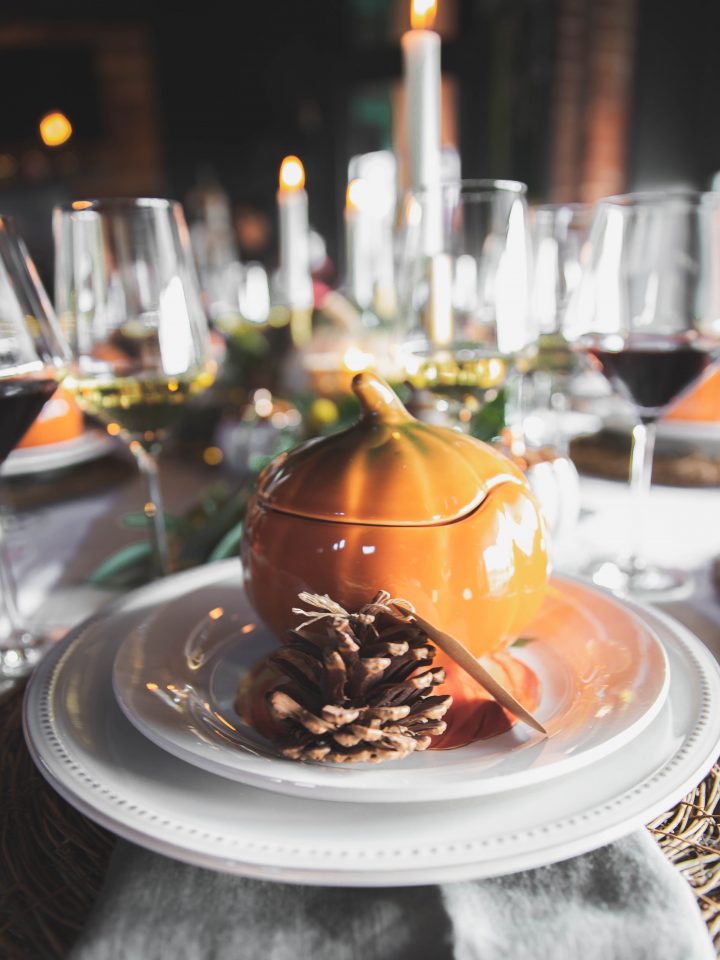
Friendsgiving
-
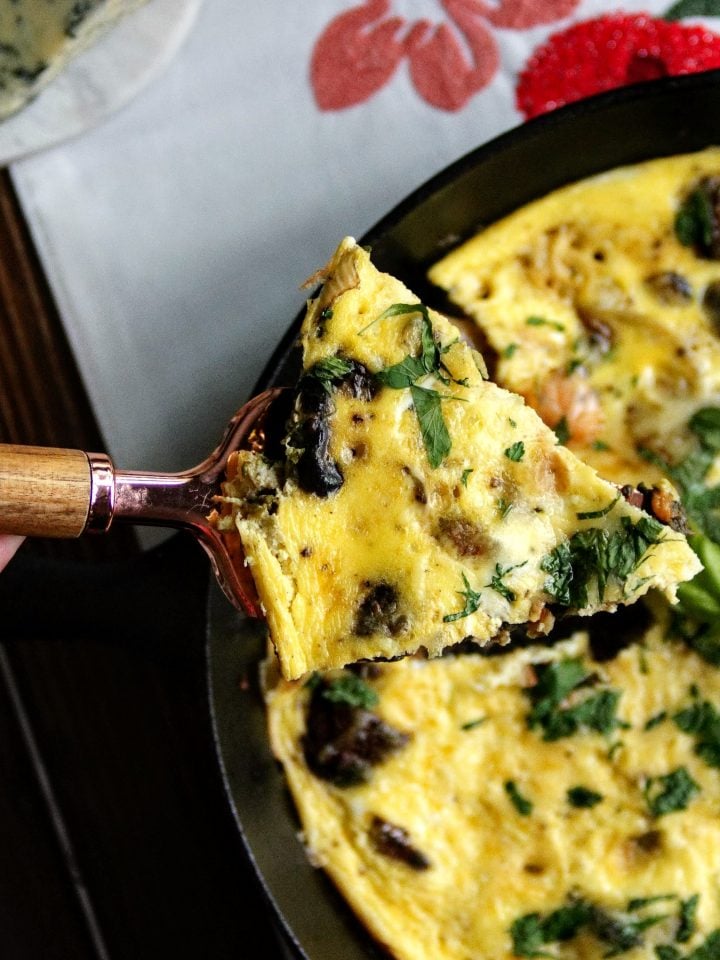
Hosted Brunch ~ Frittata
-
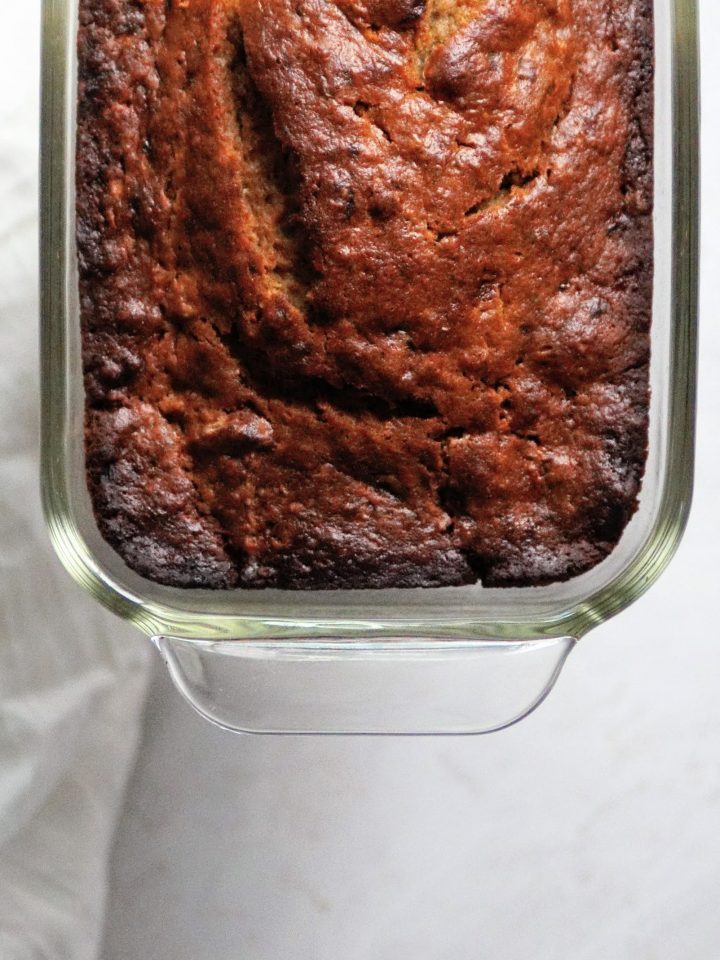
Tahini Banana Bread
-
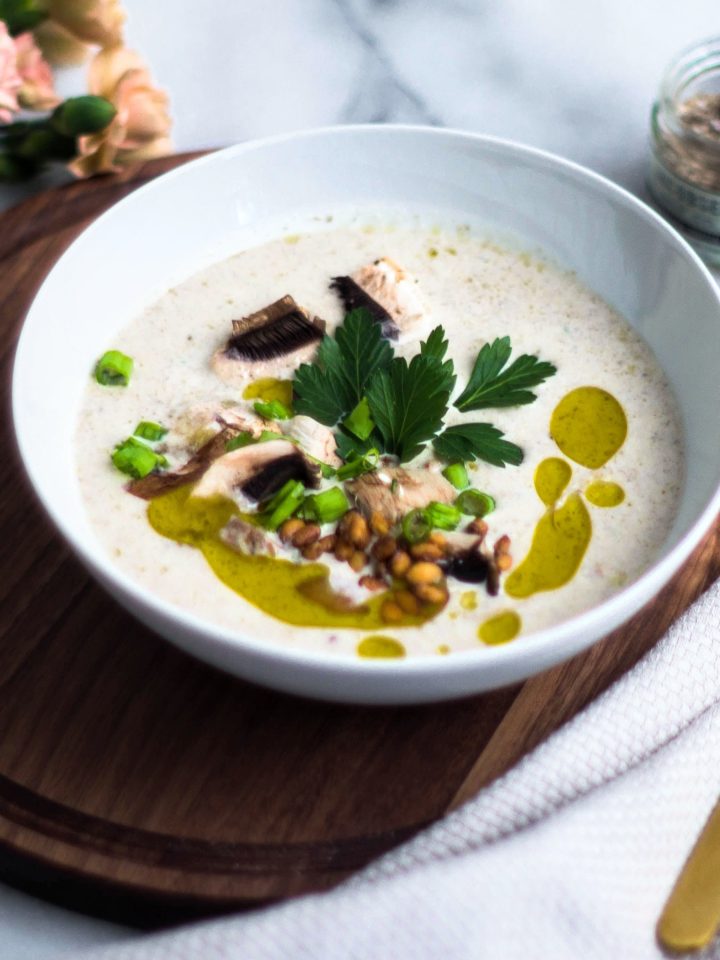
Creamy Mushroom Soup
-
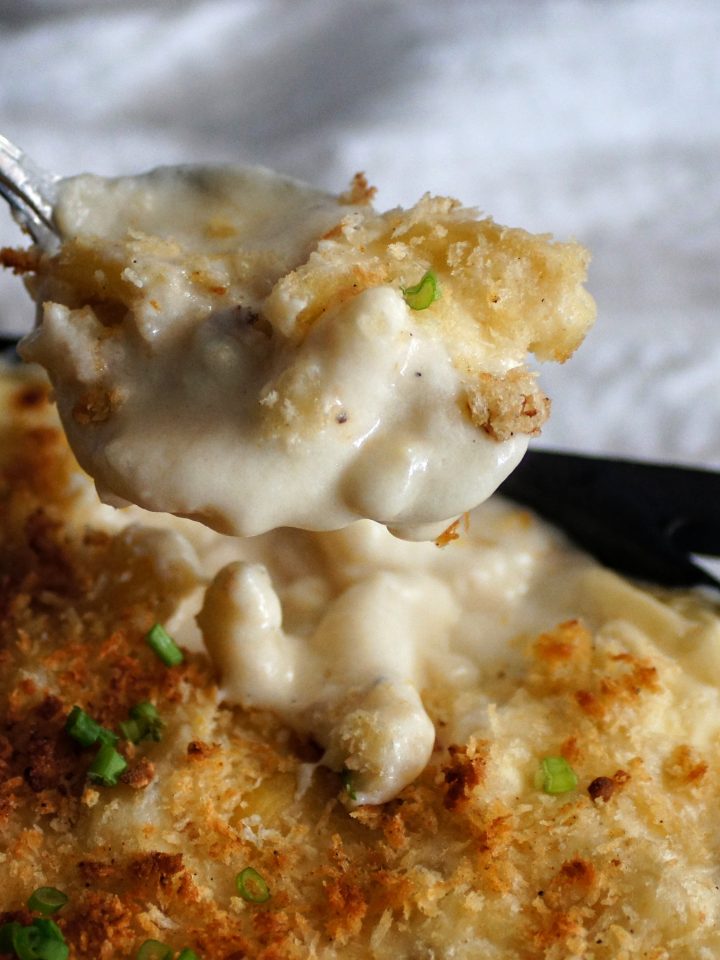
Mac and Cheese
-
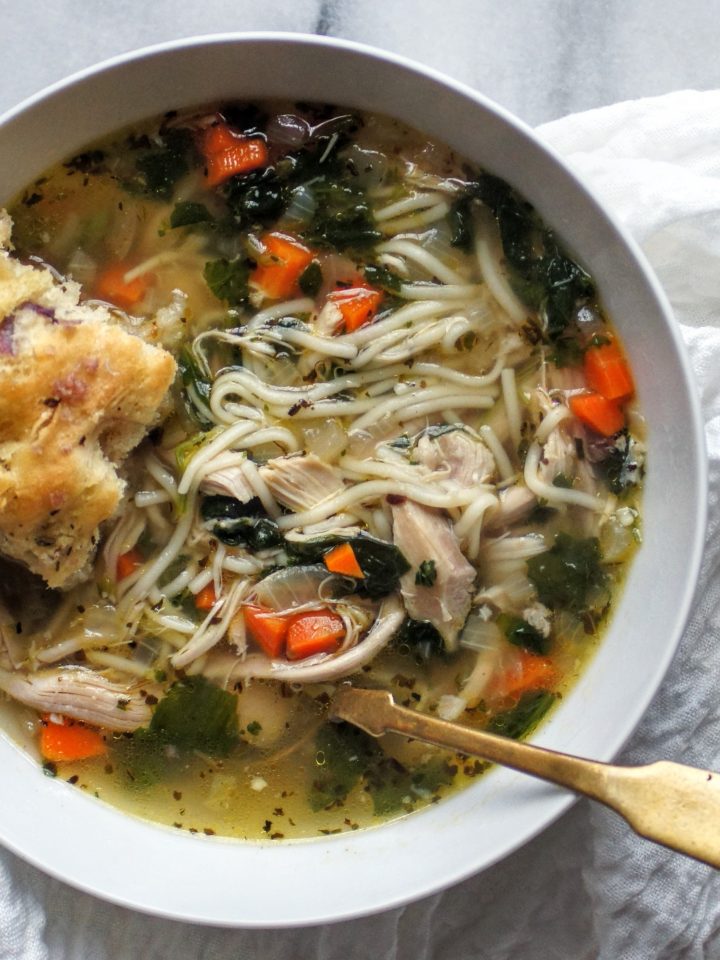
Mom Knows Best ~ Chicken Noodle Soup
-
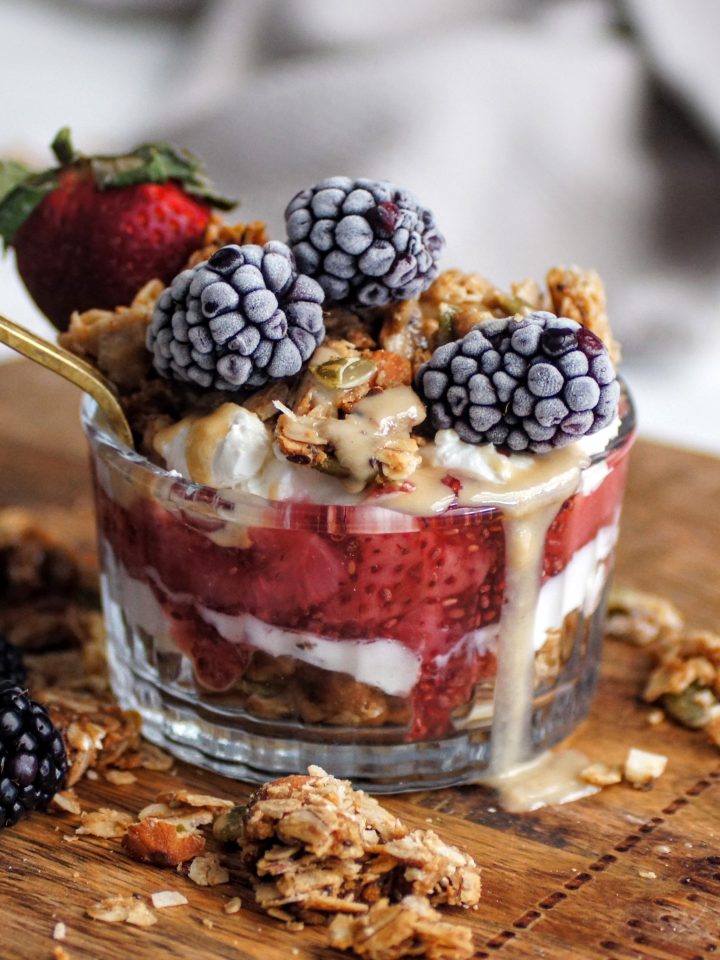
Cardamom Granola
-
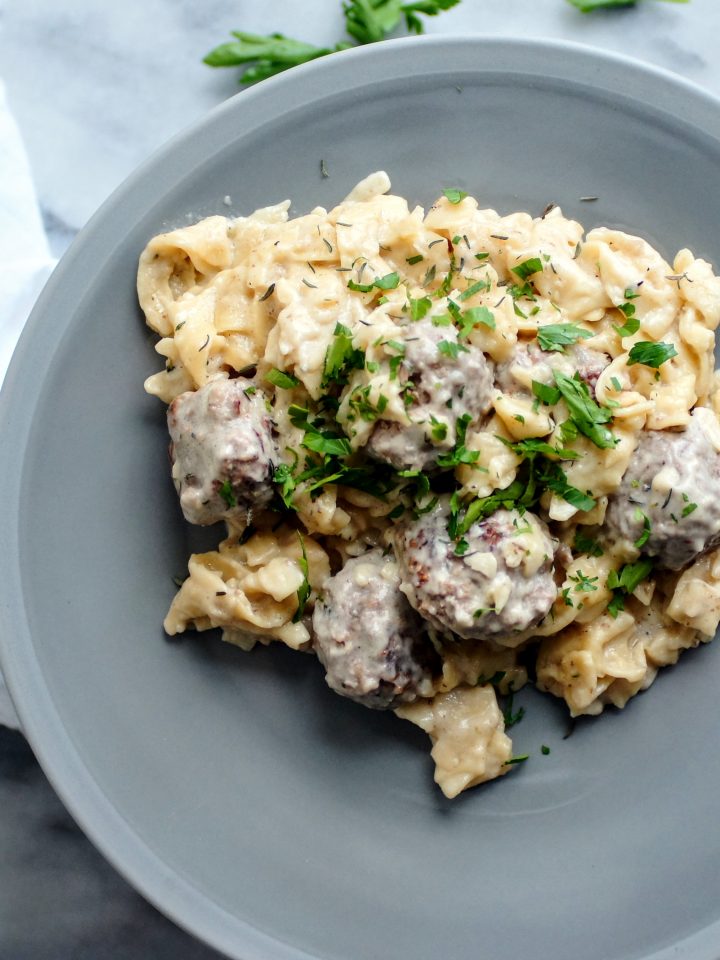
Trio Meatballs in Cream Sauce
-
Cream of Broccoli Soup
-
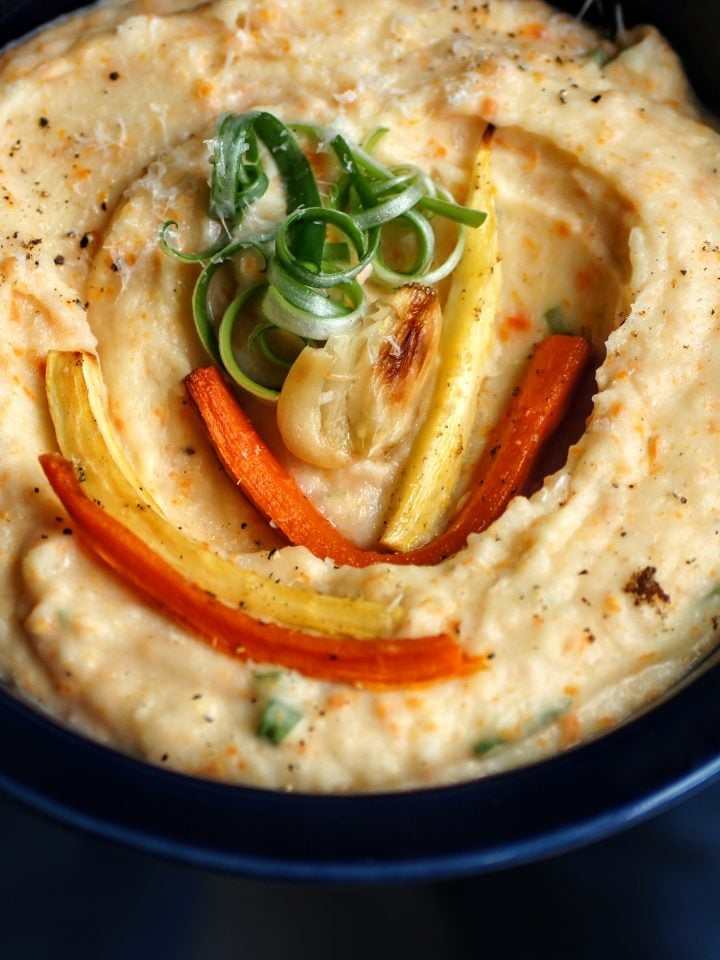
Twisted Mashed Potatoes
-
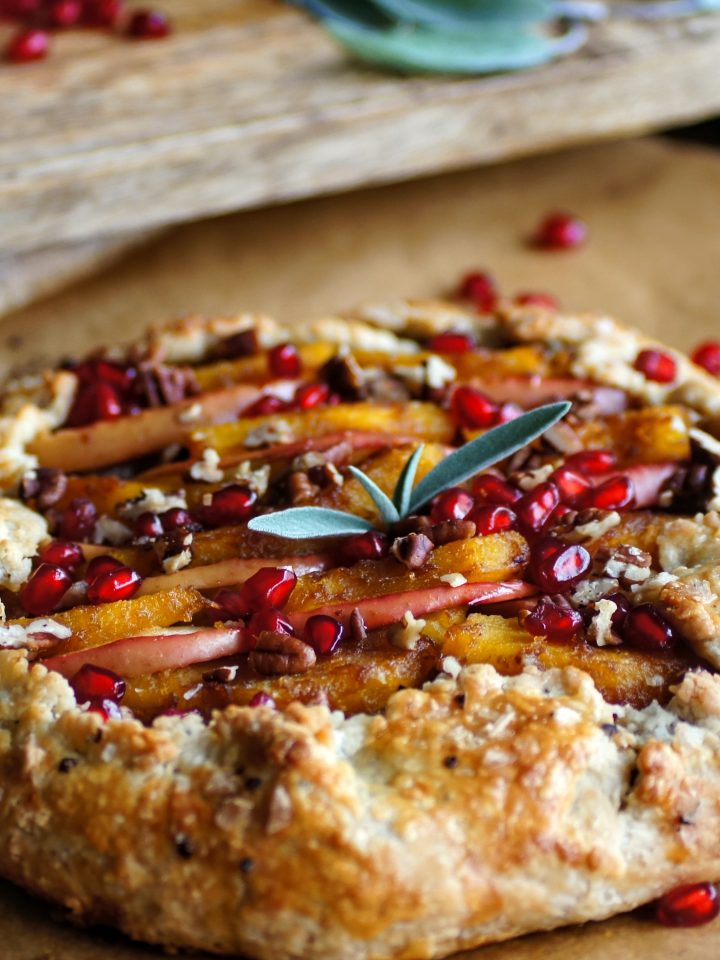
Acorn Squash Galette
-
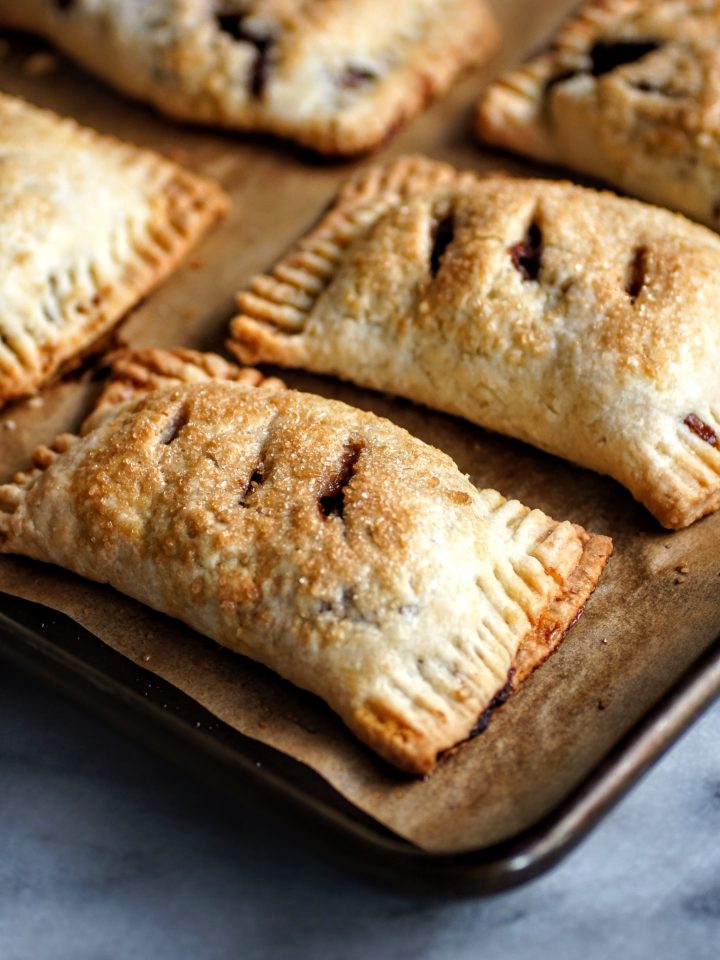
Apple Handpies
-
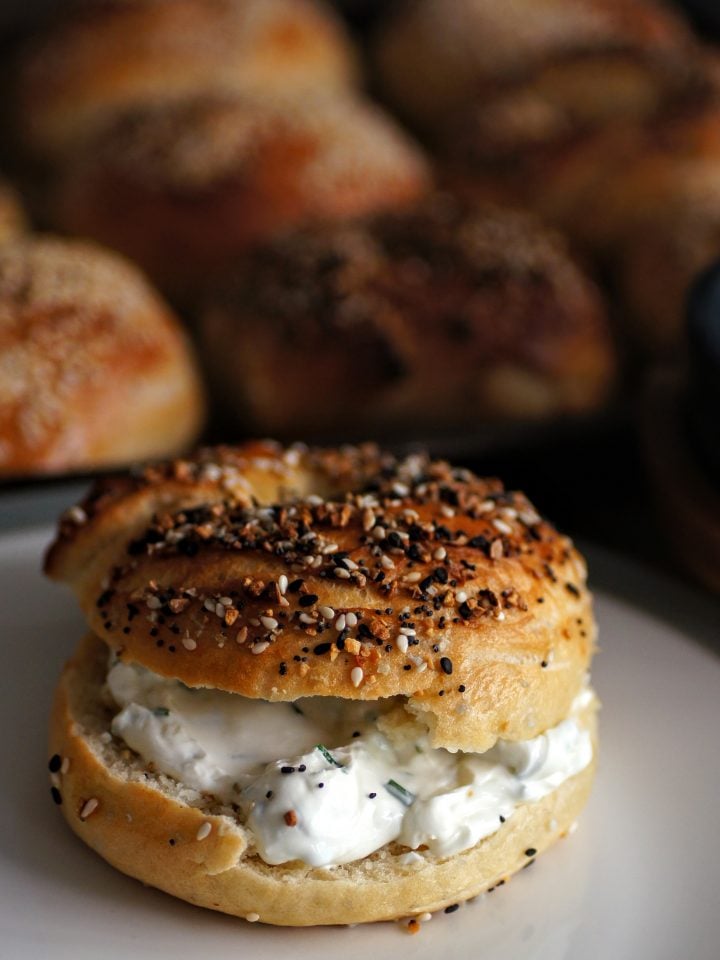
Homemade Bagels
-
Burgers + Fries (and friends)