

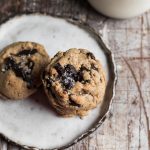
There is nothing more comforting or special than a chocolate chip cookie. It's probably the first recipe one makes with their kiddos. It's the cookie that every child hopes to see as their after school treat and it is definitely one of America's most beloved cookies overall.
There are probably a million different chocolate chip cookie recipes out there, I have one on the blog which is the most popular recipe on my site...can you believe it? The Best Chocolate Chip Cookies was published by my daughter (who was 7 at the time) and it is the most pinned and popular recipes on the blog! For good reason, everyone loves cookies!
So why another cookie recipe? Well, why not? I actually didn't really grow up with chocolate chip cookies, it was more baklawa and mammoul for us. But every once in a while we'd find ourselves indulging in a chocolate chip cookie, perhaps from a friend or neighbor. The classic American treat and we were always glad to have one.
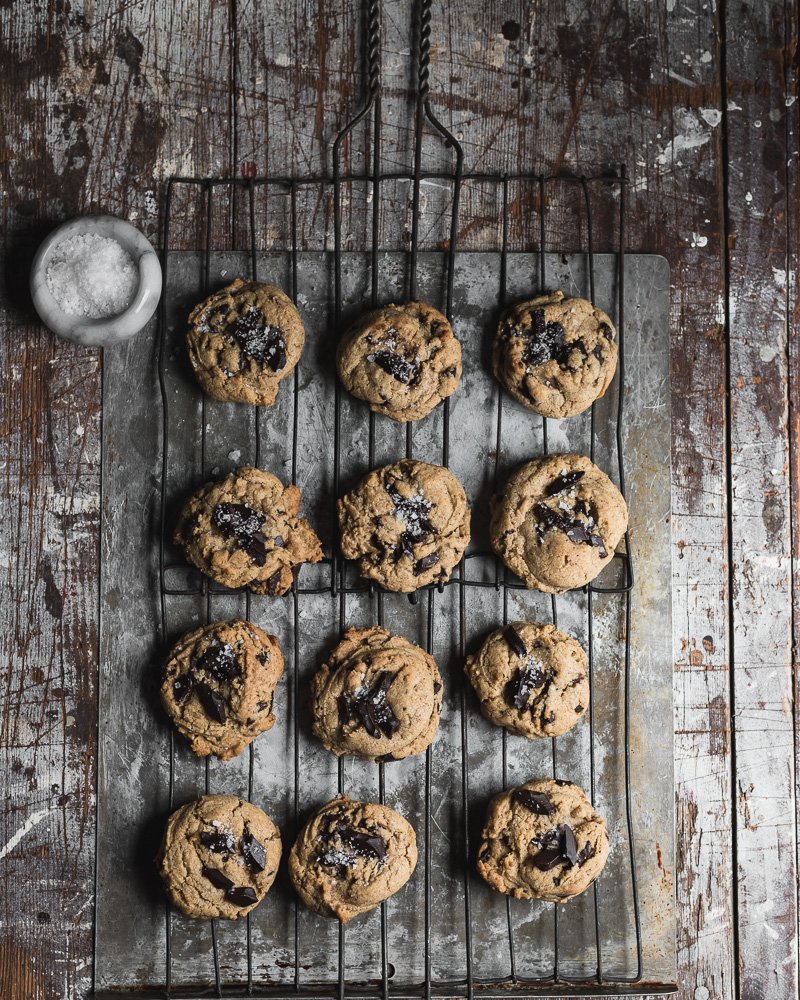
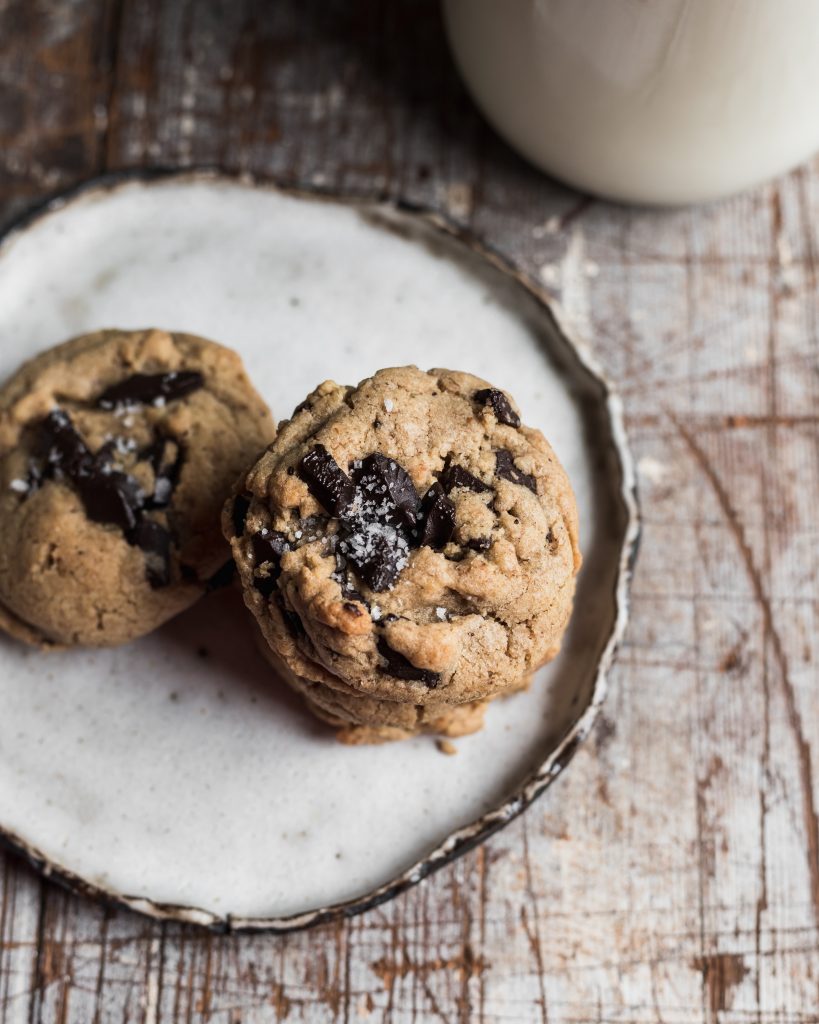
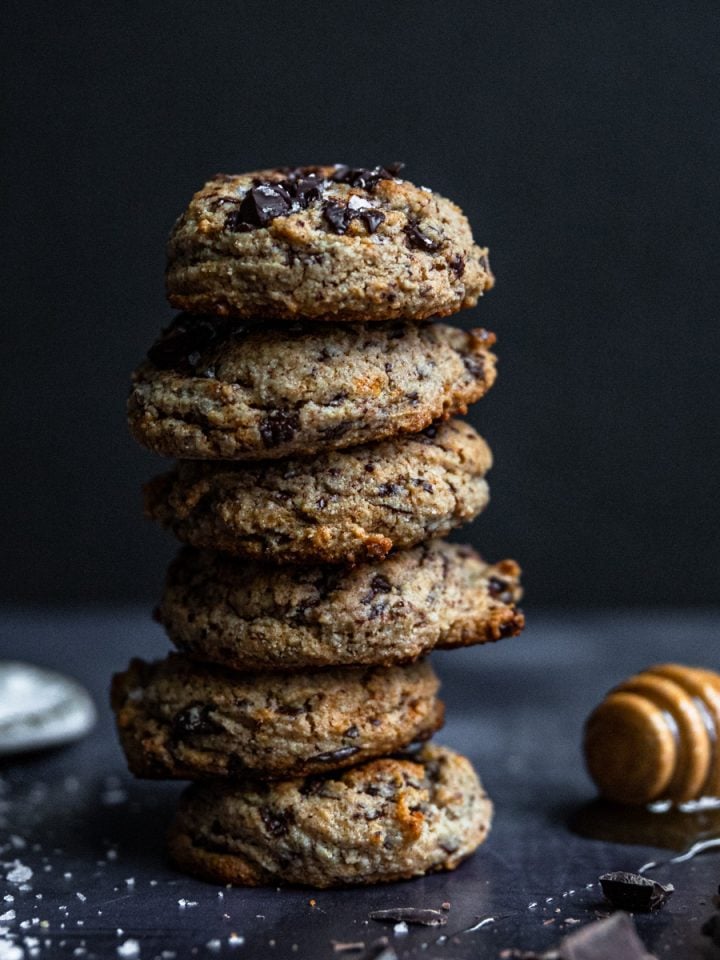
But the perfect chocolate chip cookie needs to be a little more elevated for me to truly fall in love. My favorite flavors are more than just sugar and chocolate but more savory notes and rich deep flavors. Enter, Olive Oil Chocolate Chip Cookies. The rich olive oil gives these cookies a soft yet chewy texture and just a little something that lingers in flavor, creating something elevated and special. I also decided to add a hint of all spice to the recipe to enhance that rich olive oil flavor and give these an exotic Middle Eastern flair.
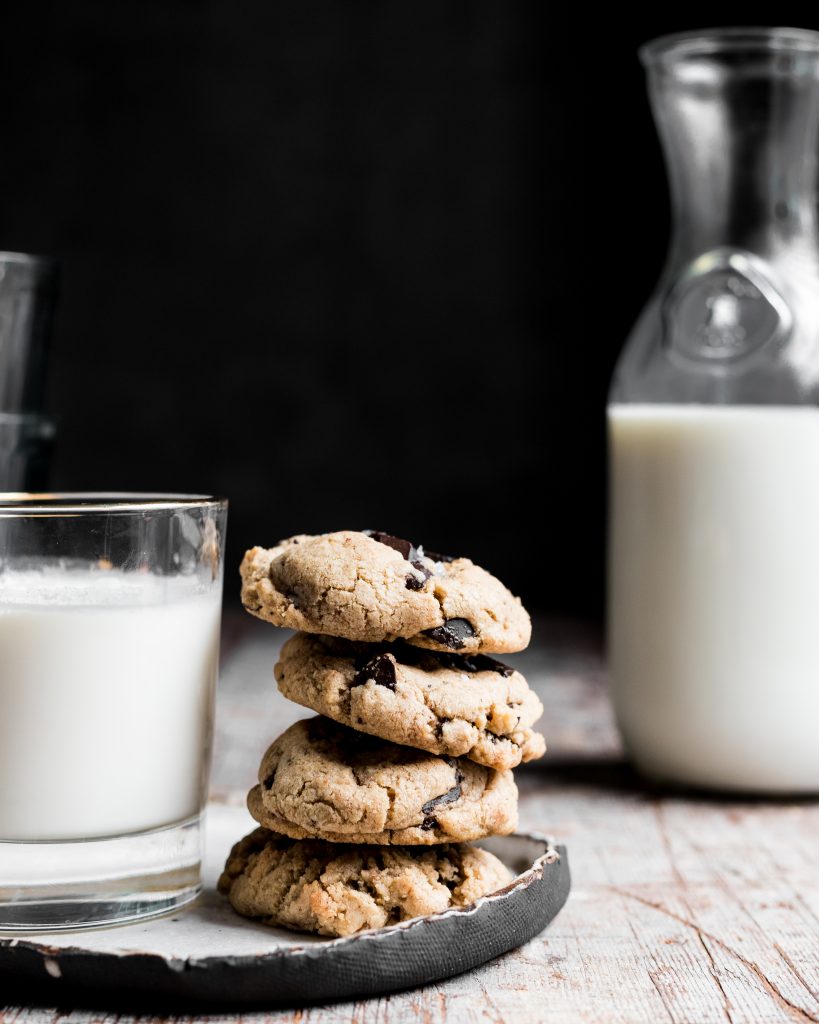
I hope you get out your baking equipment this weekend and bake up a batch of these incredible cookies. They won't disappoint! As always, I love seeing your creations, be sure to tag me on Instagram or Facebook or leave a comment below.
xoxo,
Cosette
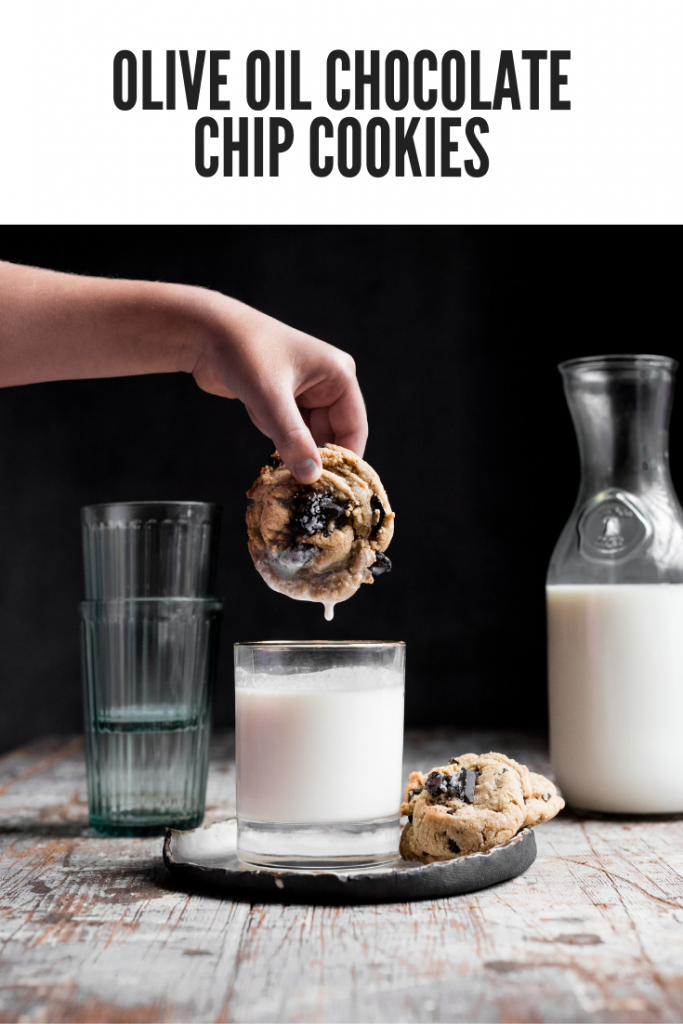
Olive Oil Chocolate Chip Cookies
- Prep Time: 10 minutes
- Cook Time: 15 minutes
- Total Time: 25 minutes
- Yield: 22 cookies 1x
- Category: cookies
- Method: Baking
- Cuisine: dessert
Description
Perfect cookies with a hint of olive oil and flake salt.
Recipe adapted from California Olive Ranch
Ingredients
- 1 cup brown sugar (I prefer dark but light will work great too)
- ½ cup good olive oil such as Durant Arbequina Olive Oil
- ⅓ cup granulated sugar
- 4 Tbsp unsalted butter, softened
- 1 tsp vanilla
- 1 egg
- 1 egg yolk
- 2 cups flour
- ½ cup spelt flour*
- 1 tsp baking soda
- 1 tsp baking powder
- ¾ tsp all-spice
- ½ tsp kosher salt
- 2 cups chocolate chunks + extra for tops
- flake salt for topping
Instructions
- Preheat oven to 350 degrees and prepare baking sheet with silpat or parchment paper.
- In the bowl of a stand mixer fitted with paddle attachment, combine your brown sugar, olive oil, sugar, butter and vanilla. Mix on medium high for 3-4 minutes until light and creamy in texture.
- Add your eggs and beat again for 1 minutes.
- Slowly add your dry ingredients into your wet with mixer on low speed.
- Finally add your chocolate chunks until combined and cohesive dough forms.
- Using a cookie scoop, scoop cookie dough onto prepared sheetpan. 8 cookies to a sheet (3 on either side and 2 in the center). Add a few extra chocolate chunks on top of each cookie
- Bake one sheet at a time for best results in upper middle rack for 14-15 minutes.
- Remove from oven and top with flake salt.
- Let cool and enjoy, continue baking the remaining batter one sheet at a time.
Notes
**If dough seems a little crumbly, using clean hands to press together to form
**Cookie dough can be frozen and baked at a later time. Scoop onto sheets, freeze flat until solid then pop into ziplock bag when frozen. Bake at same temperature directly from freezer, may take an extra few minutes.
**If you don't have spelt flour, sub additional all purpose.

Salima says
I got to witness these cookies baking in Cosette’s kitchen first hand and let me just say I have never been more excited to sit and take in the smells 😍
Cosette's Kitchen says
So happy to hear that Salima! Loved sharing with you!!!
xoxo,
Cosette
Zakiya says
These cookies were phenomenal!!! Cosette is so sweet to have sent me the recipe to these cookies before even posting and I was able to surprise my in-laws with this scrumptious treat!
I subbed the sugars and flours to make it diabetic and gluten free approved. I used swerve brown sugar, monk fruit white sugar, almond flour and Lily’s chocolate chips. The ratios and quantities stayed the same. Just used ingredient replacements to meet sisters needs and they did not disappoint! Thank you again love! 💕
Cosette's Kitchen says
This makes me so happy!!! Thank you so much for sharing and also your alterations!
Xoxo,
Cosette
Cosette's Kitchen says
Thank you so much for sharing your alterations! Glad they worked out well and met some of your dietary needs.
xoxo,
Cosette
MC says
Hello, thanks for the recipe. How much is one cup weight wise ?
Cosette's Kitchen says
Hey there,
1 cup flour is equivalent to 120 grams. 🤗Hope that helps!
Xoxo,
Cosette