unsalted butter
-
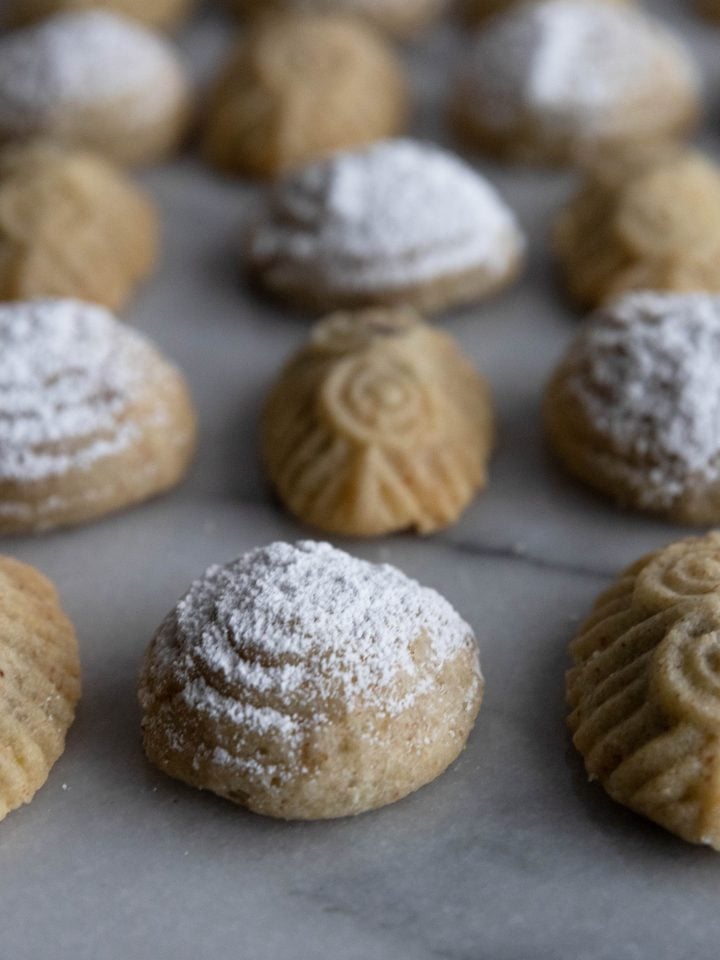
Ma'amoul Cookies
-
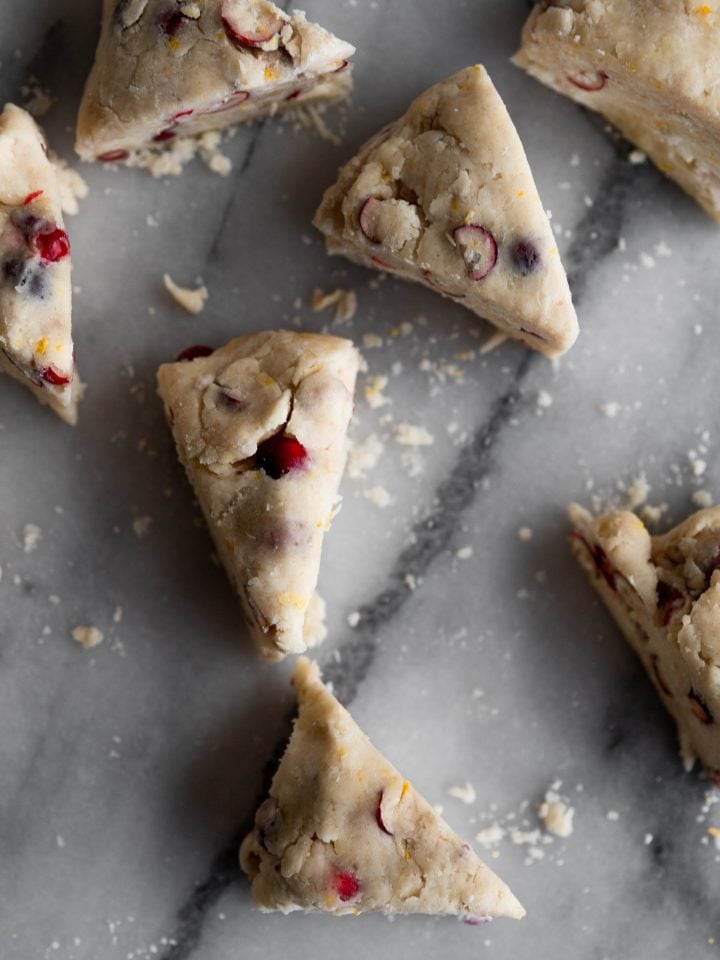
Orange Cranberry Scones
-
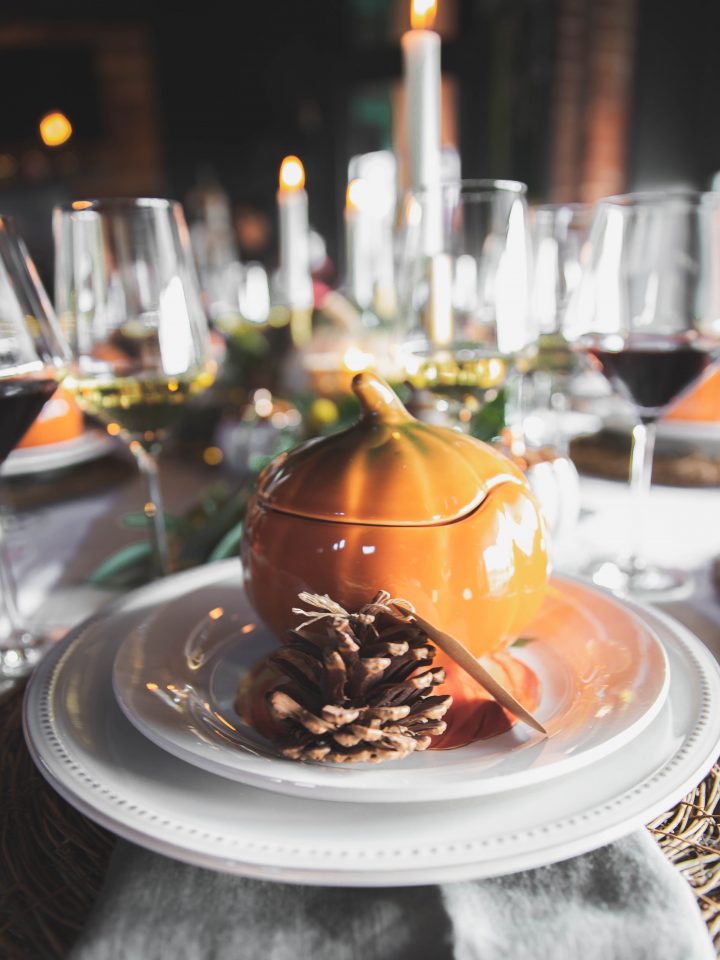
Friendsgiving
-
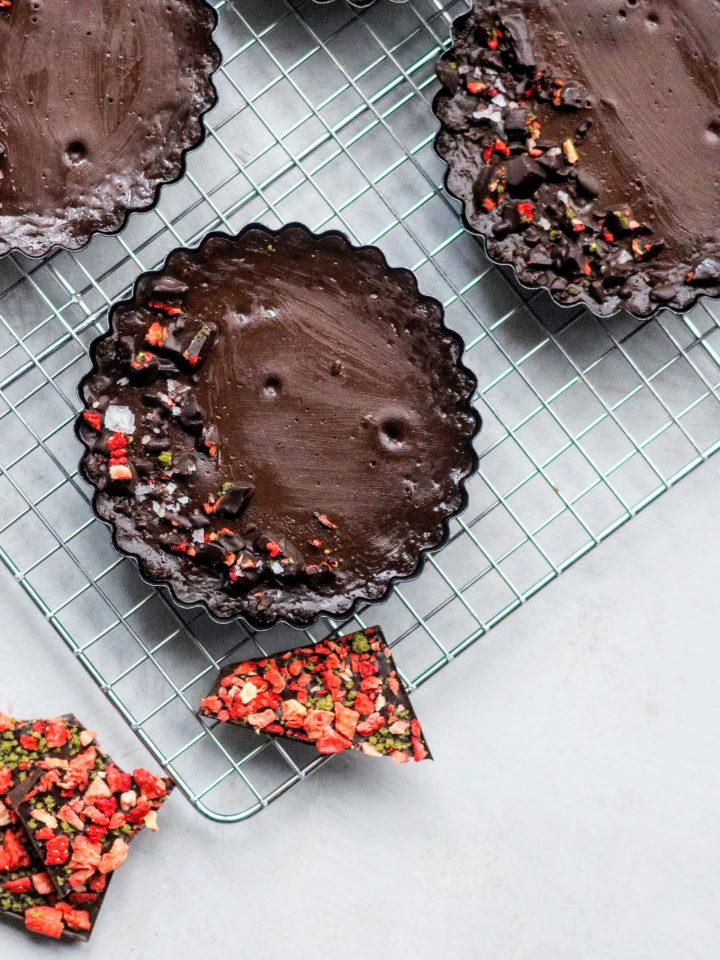
Chocolate Tarts
-
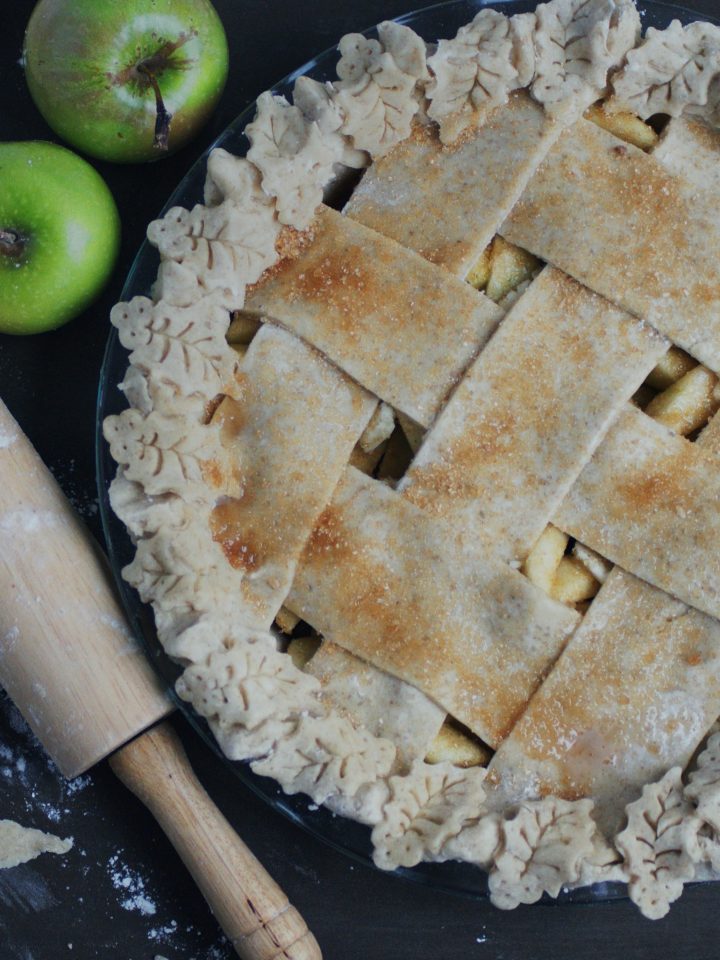
Pi(e) Day ~ Apple Pie
-
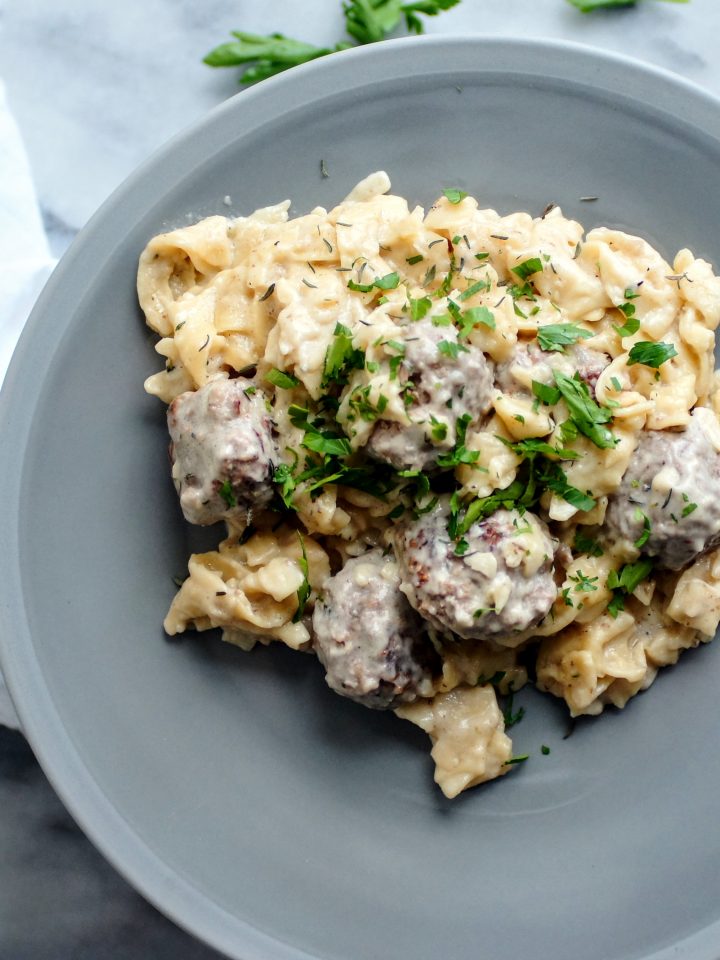
Trio Meatballs in Cream Sauce
-
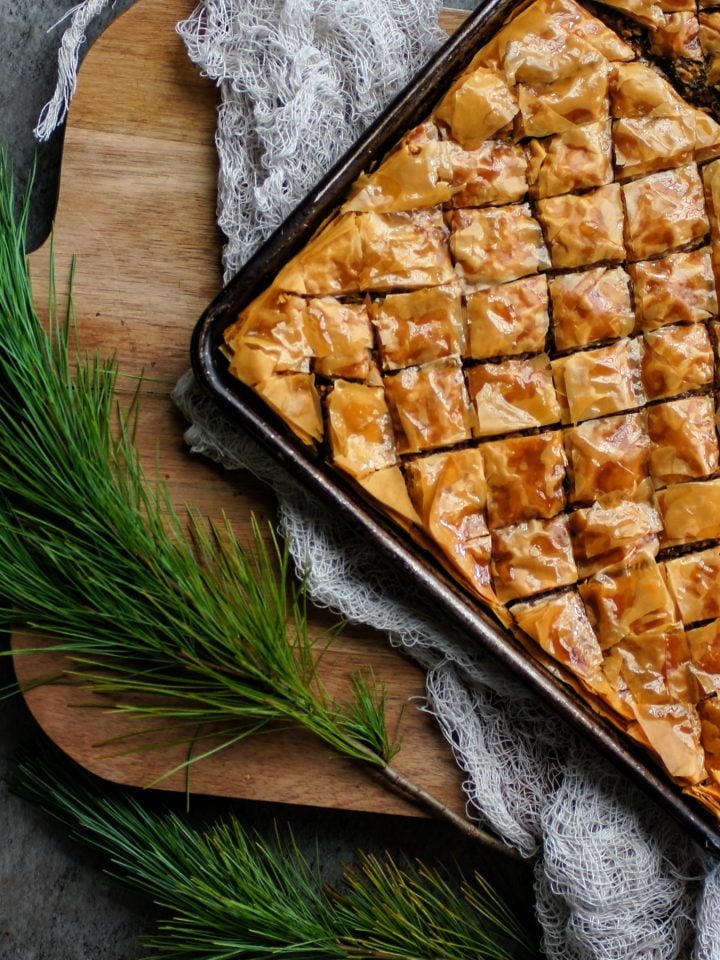
Lebanese BakLAWA
-
Cream of Broccoli Soup
-
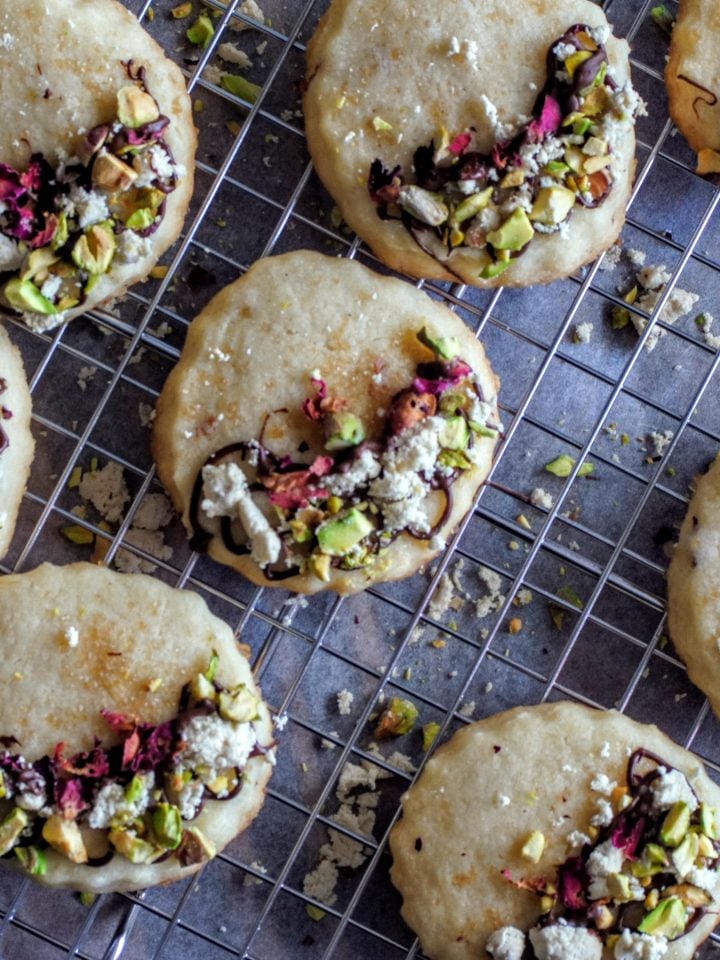
Lebanese Shortbread Cookies
-
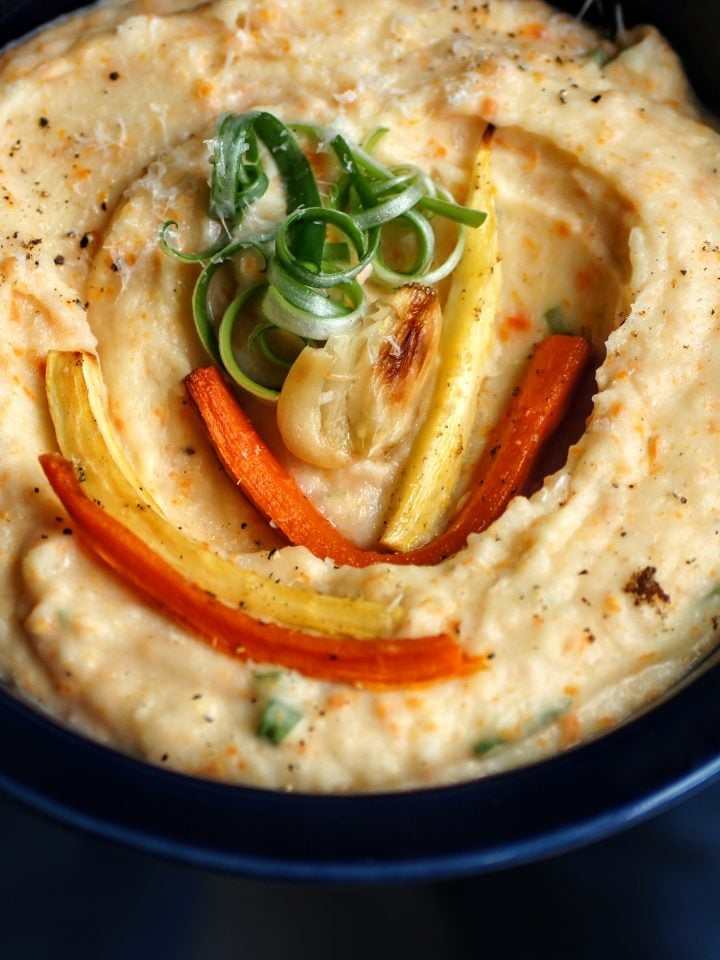
Twisted Mashed Potatoes
-
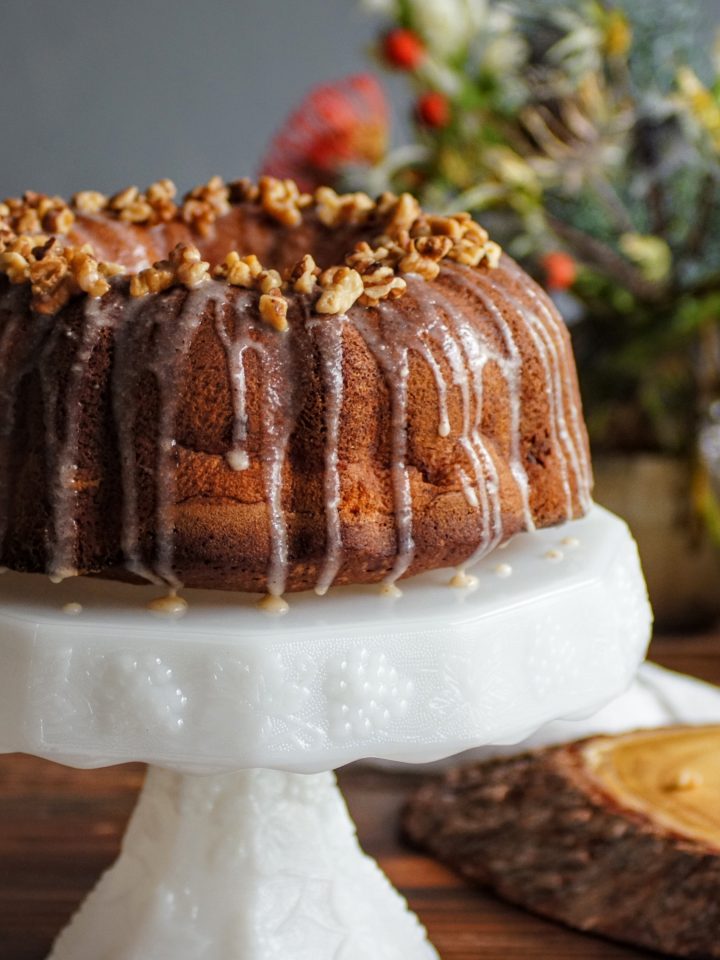
Swoonworthy Apple Cake
-
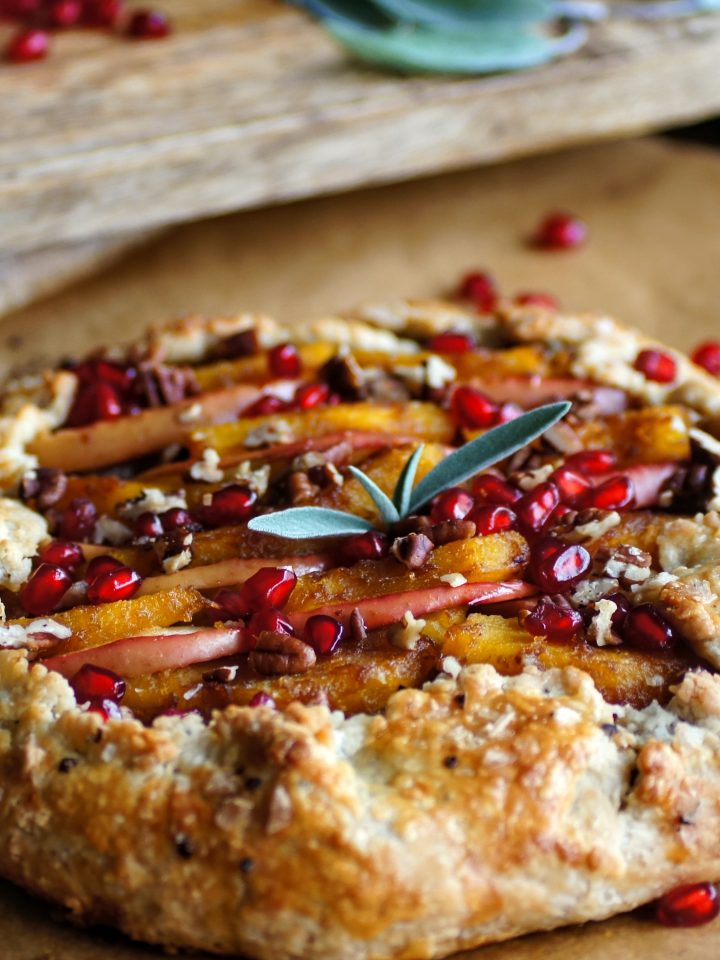
Acorn Squash Galette
-
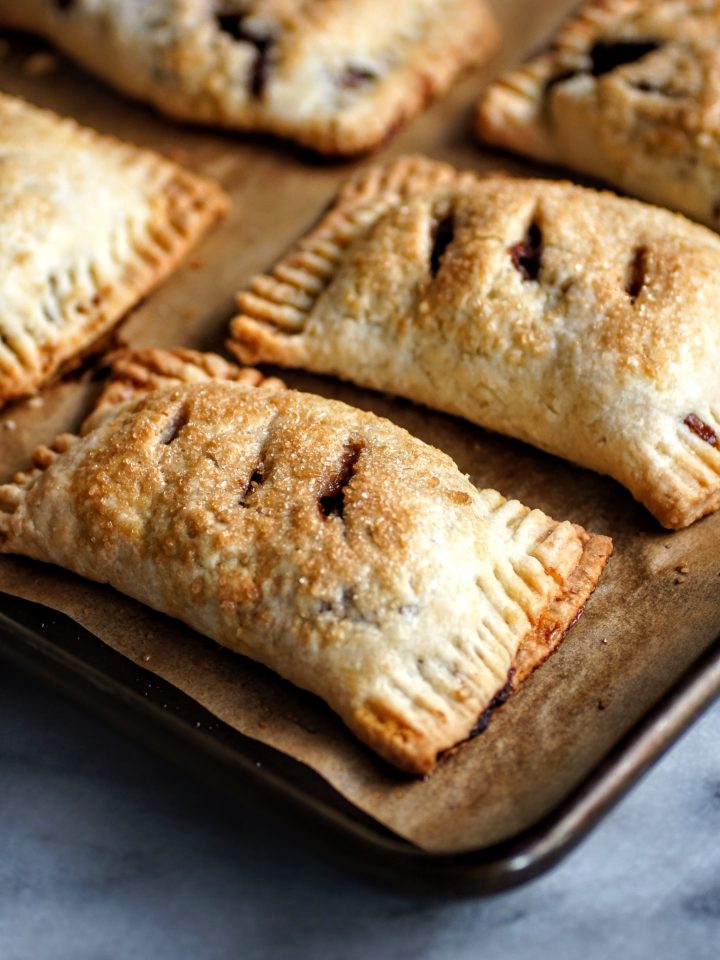
Apple Handpies
-
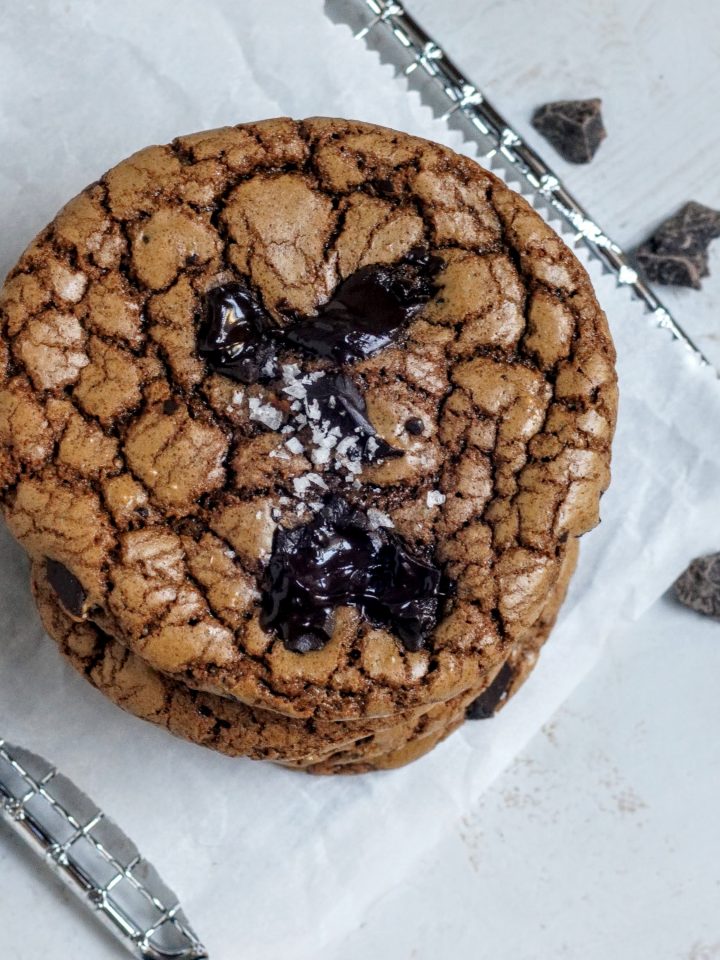
Chocolate Olive Oil Cookies
-
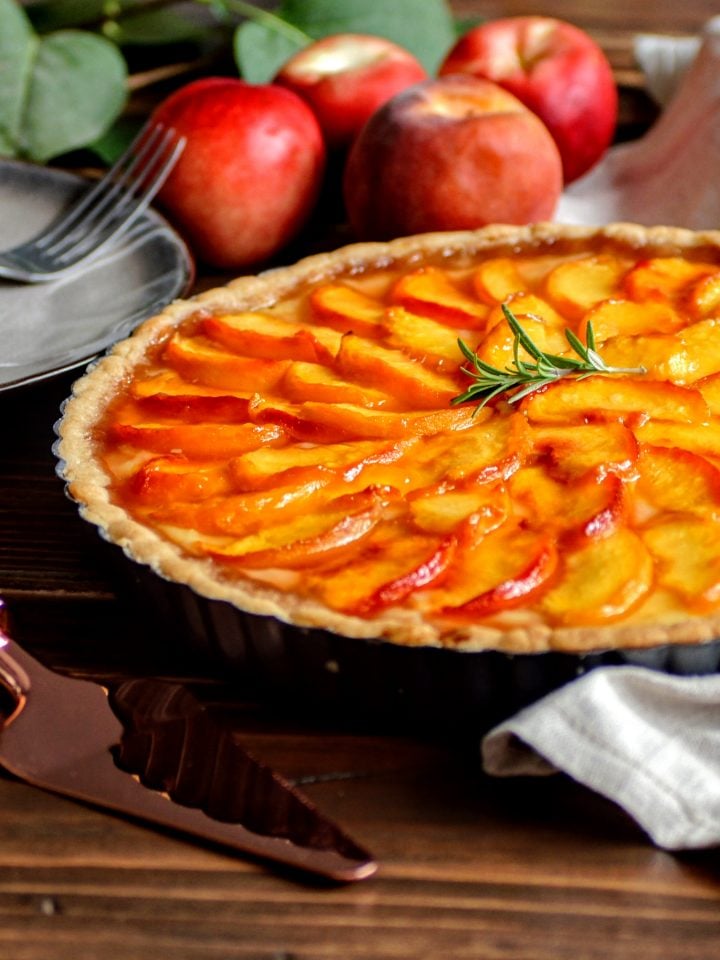
Peaches & Cream Tart