baking soda
-
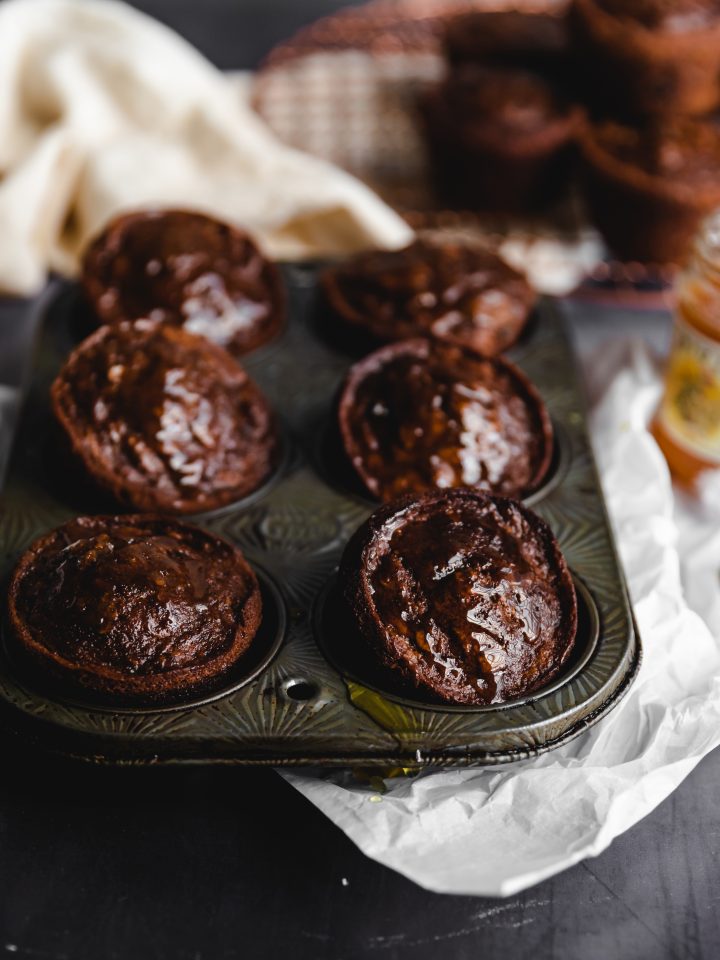
Molasses Raisin Bran Muffins
-
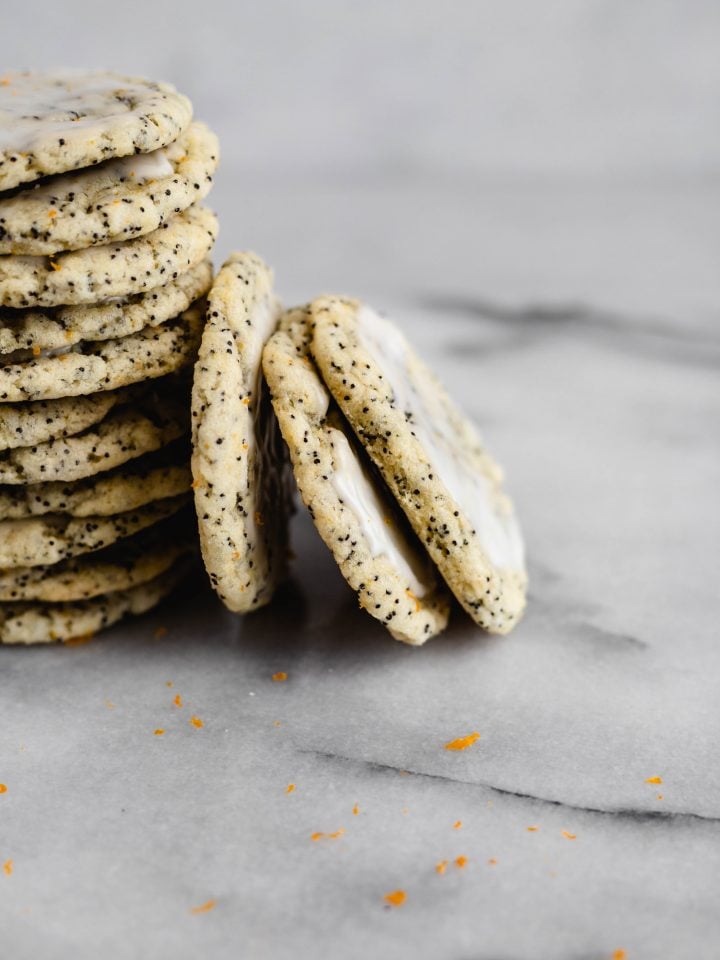
Vegan Lemon Poppy Seed Cookies
-
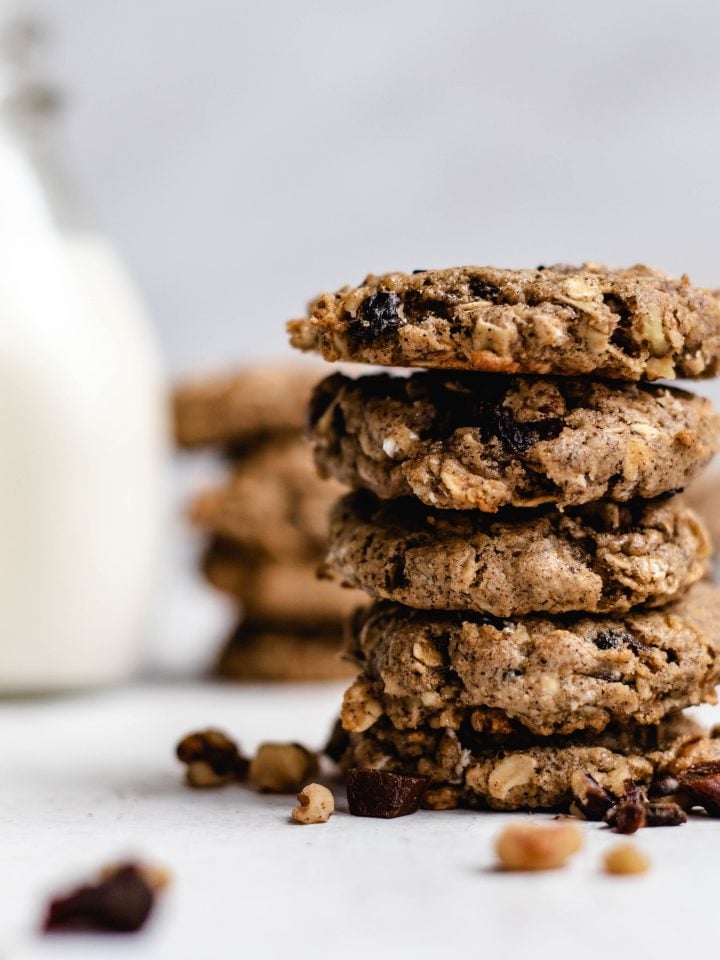
Tahini Breakfast Cookies
-
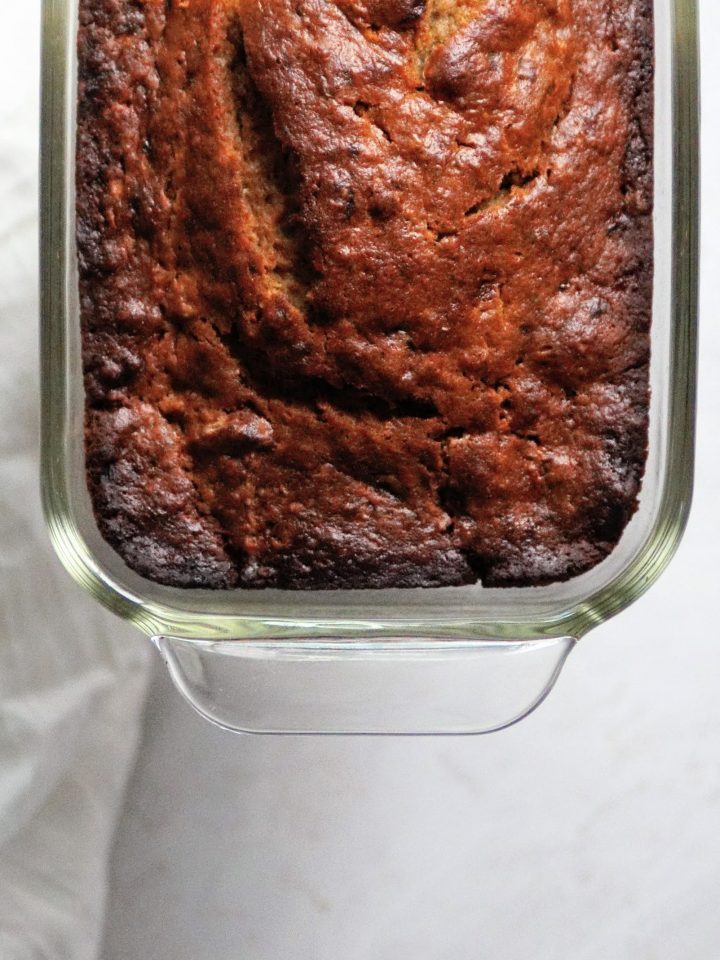
Tahini Banana Bread
-
The BEST Chocolate Chip Cookies
-
Chocolate Cupcakes ~ Orr's Box
-
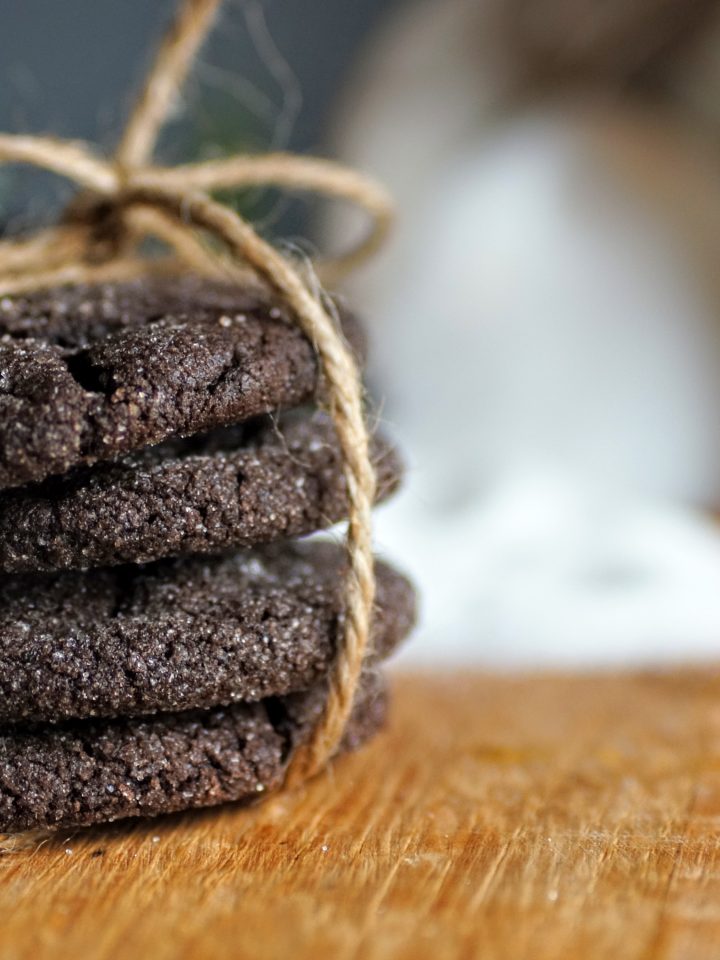
{Vegan} Chocolate Peanut Butter Cookies
-
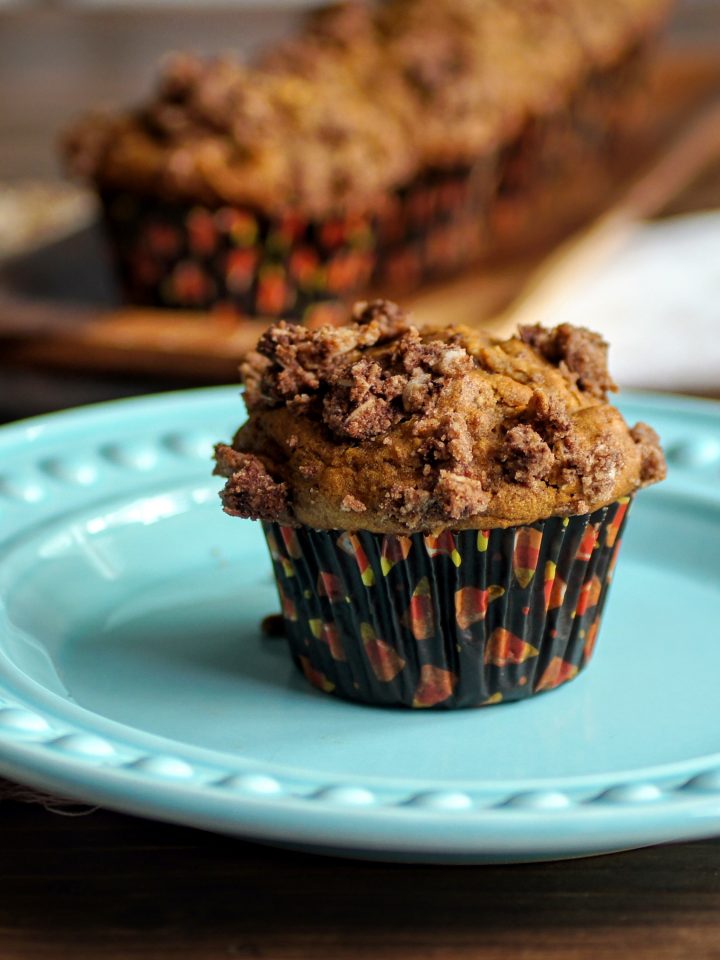
Pumpkin Oat Streusel Muffins
-
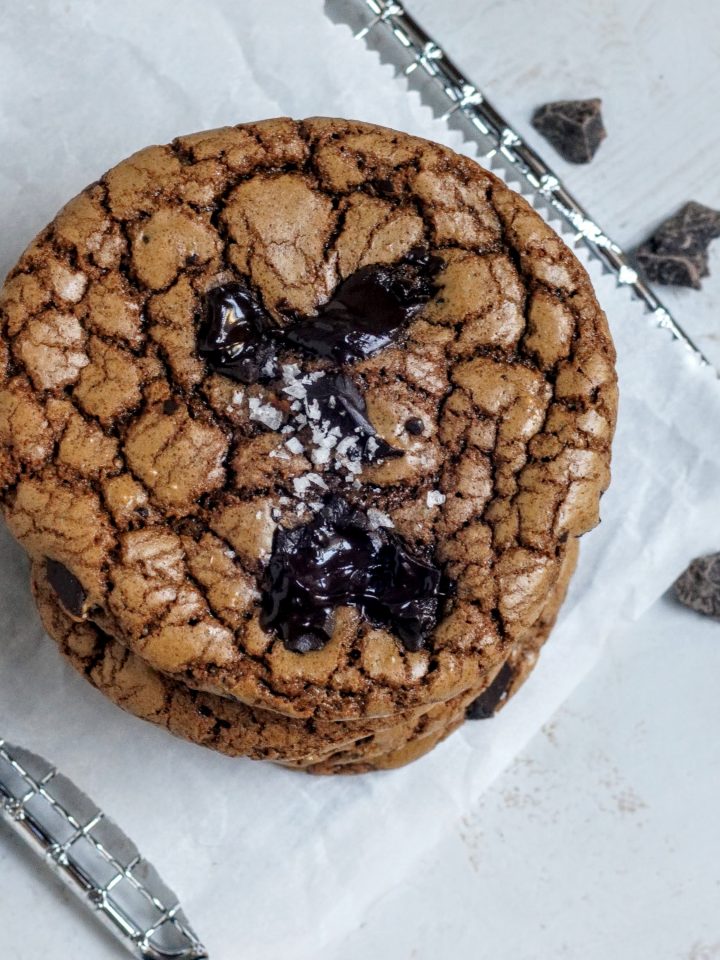
Chocolate Olive Oil Cookies
-
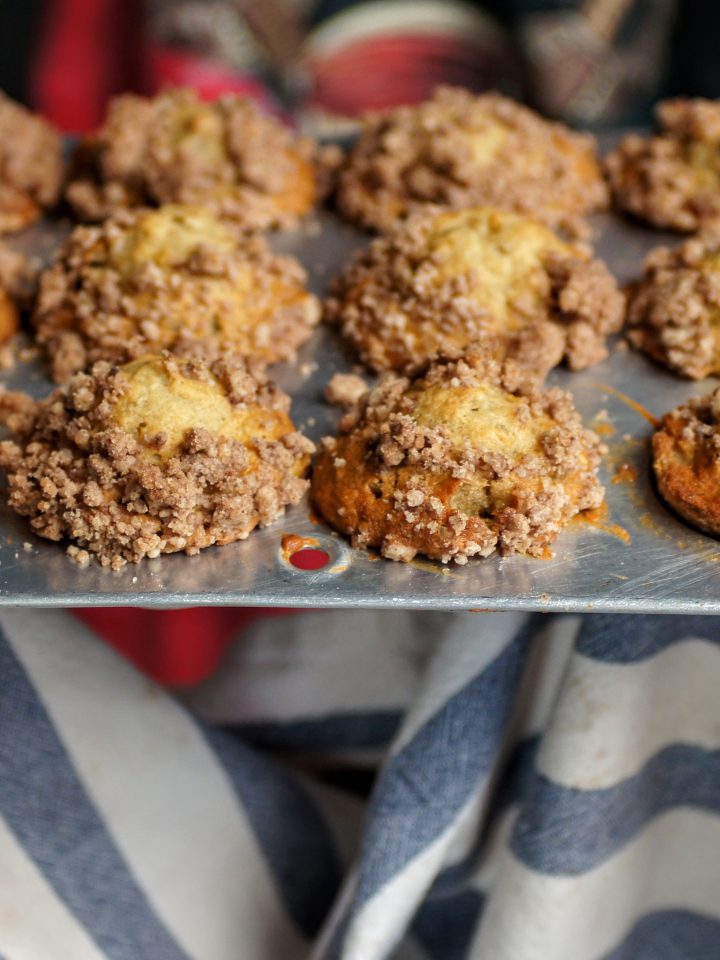
Mini Banana Walnut Muffins
-
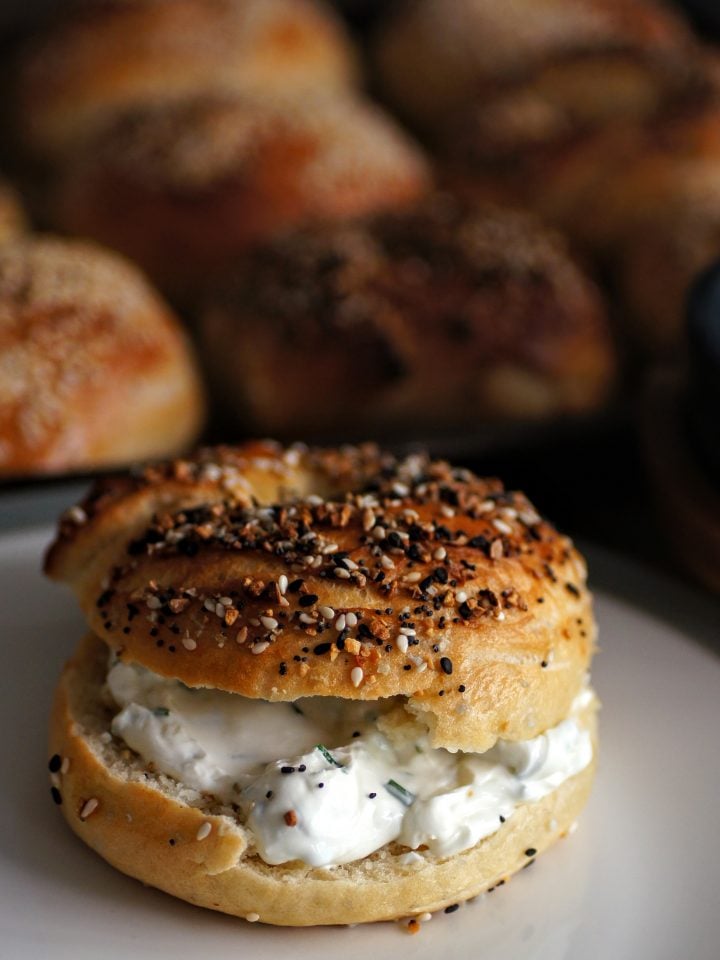
Homemade Bagels