Baked Good
-
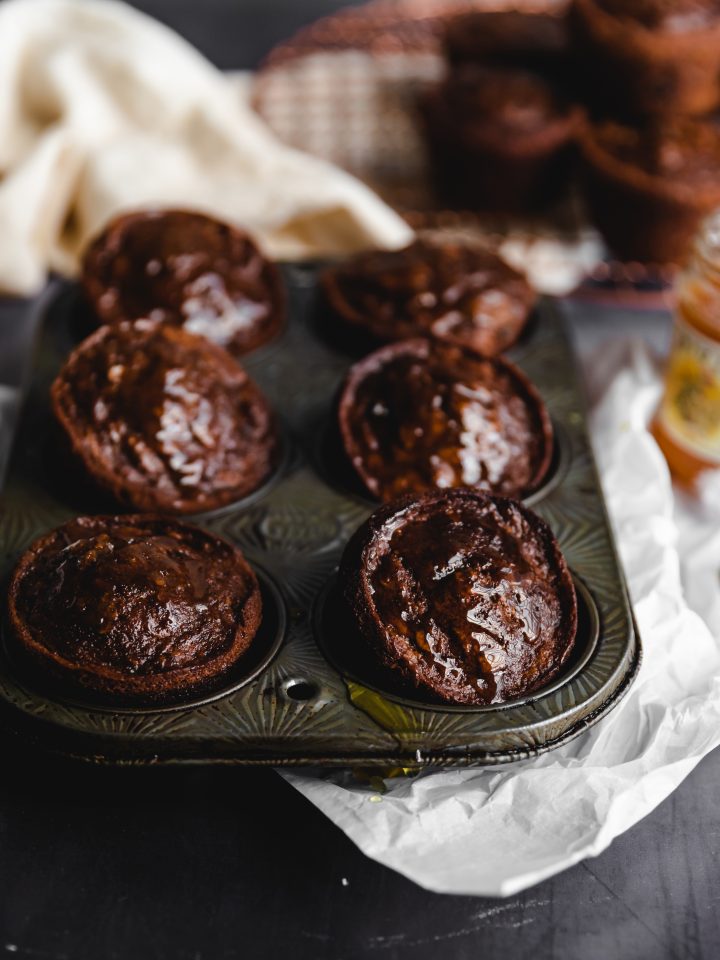
Molasses Raisin Bran Muffins
-
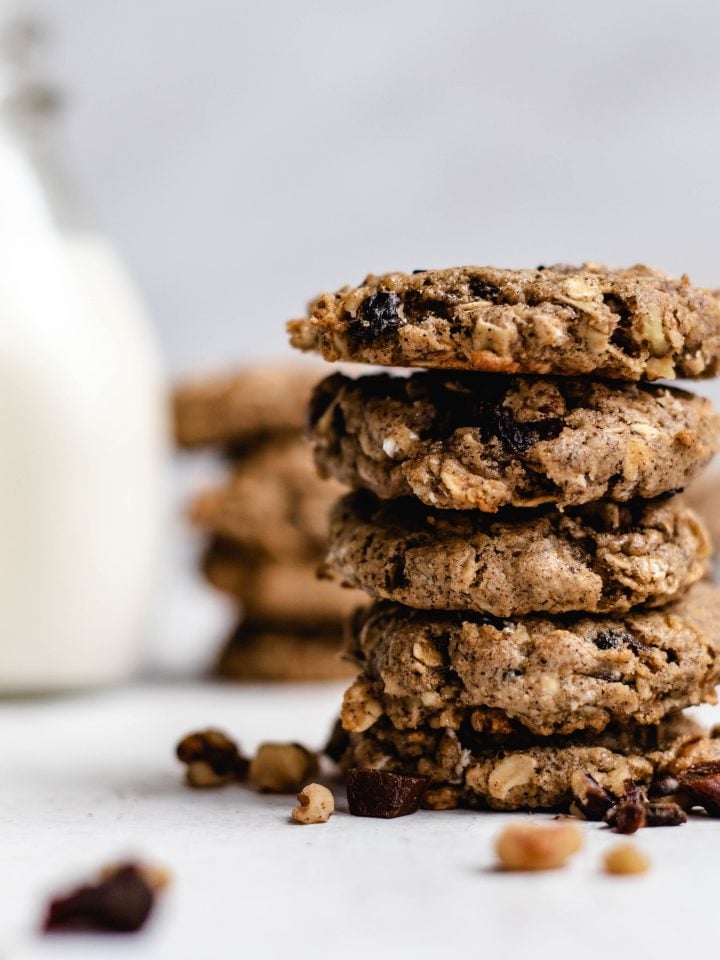
Tahini Breakfast Cookies
-
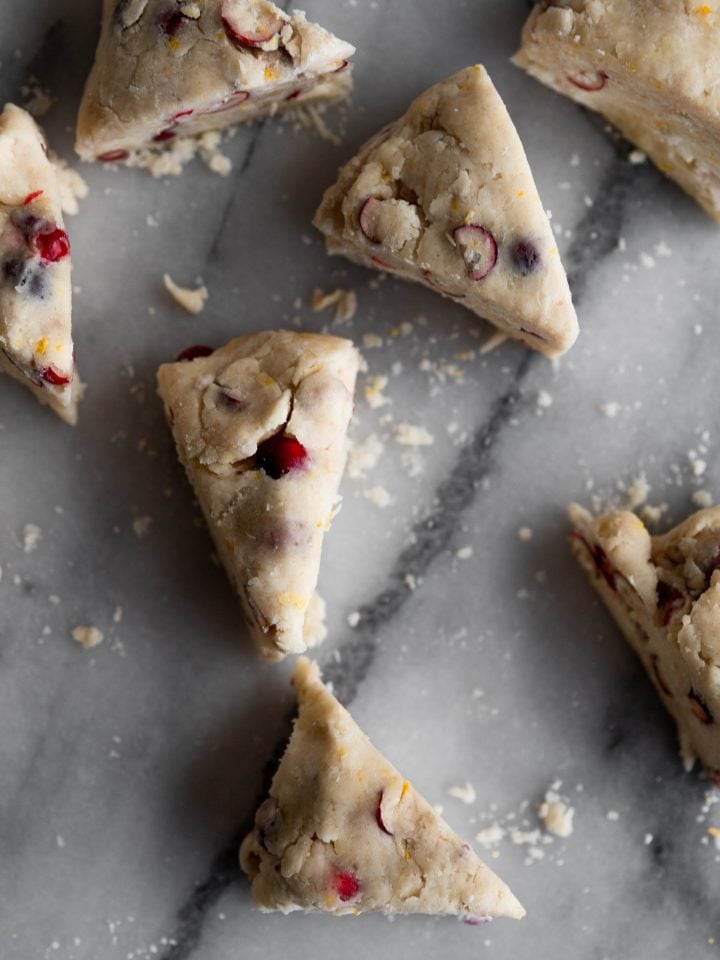
Orange Cranberry Scones
-
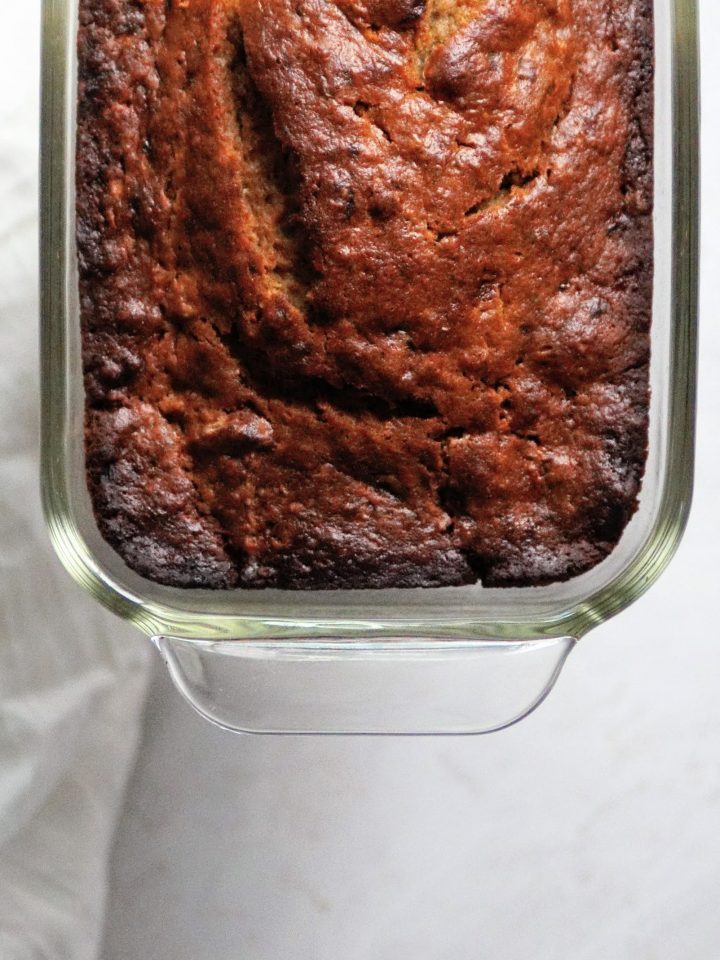
Tahini Banana Bread
-
The BEST Chocolate Chip Cookies
-
Swoonworthy Apple Cake
-
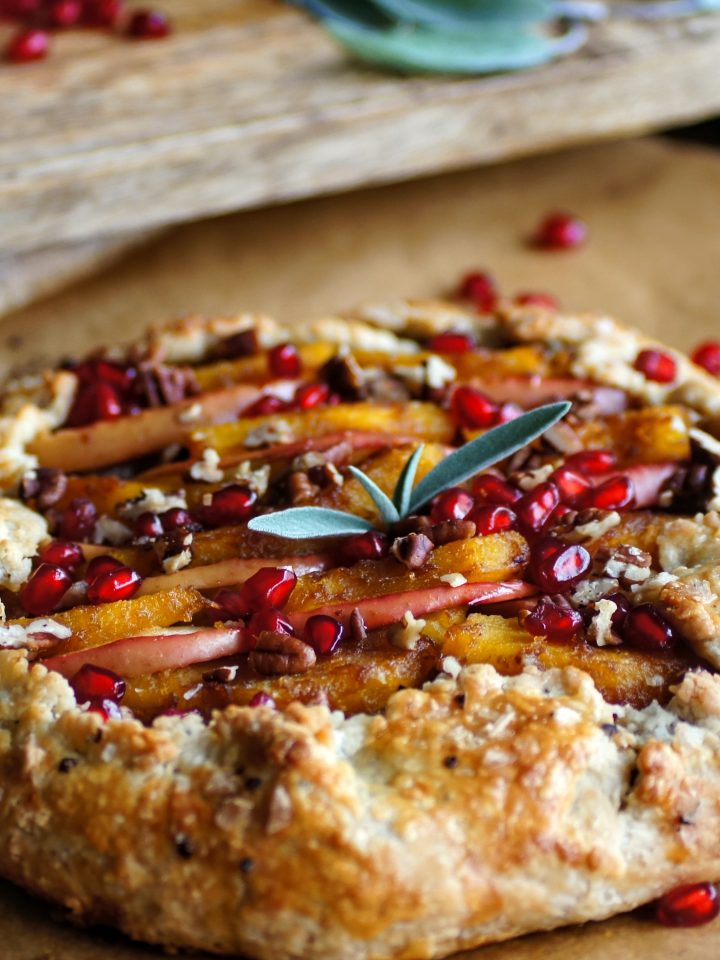
Acorn Squash Galette
-
{Vegan} Chocolate Peanut Butter Cookies
-
Almond Pear Cardamom Scones
-
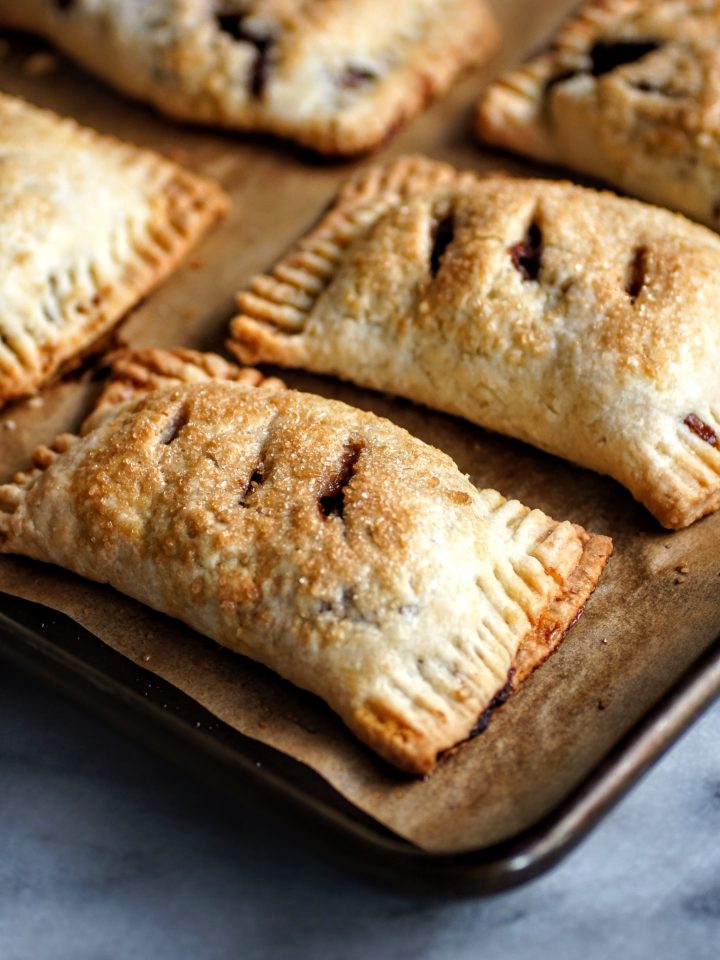
Apple Handpies
-
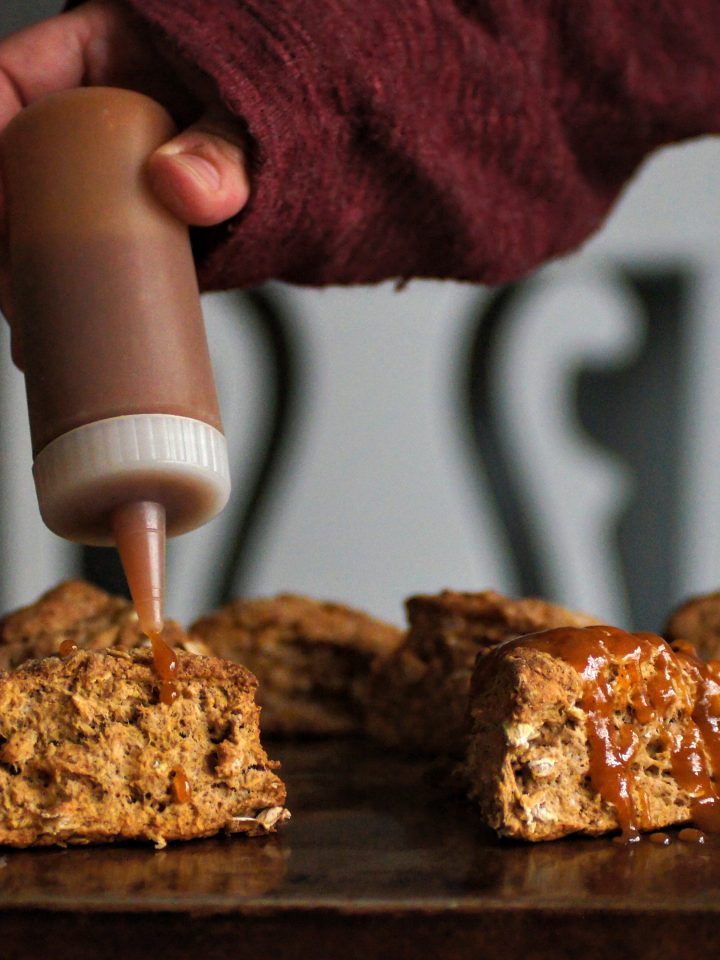
Kefir Oat Pumpkin Scones
-
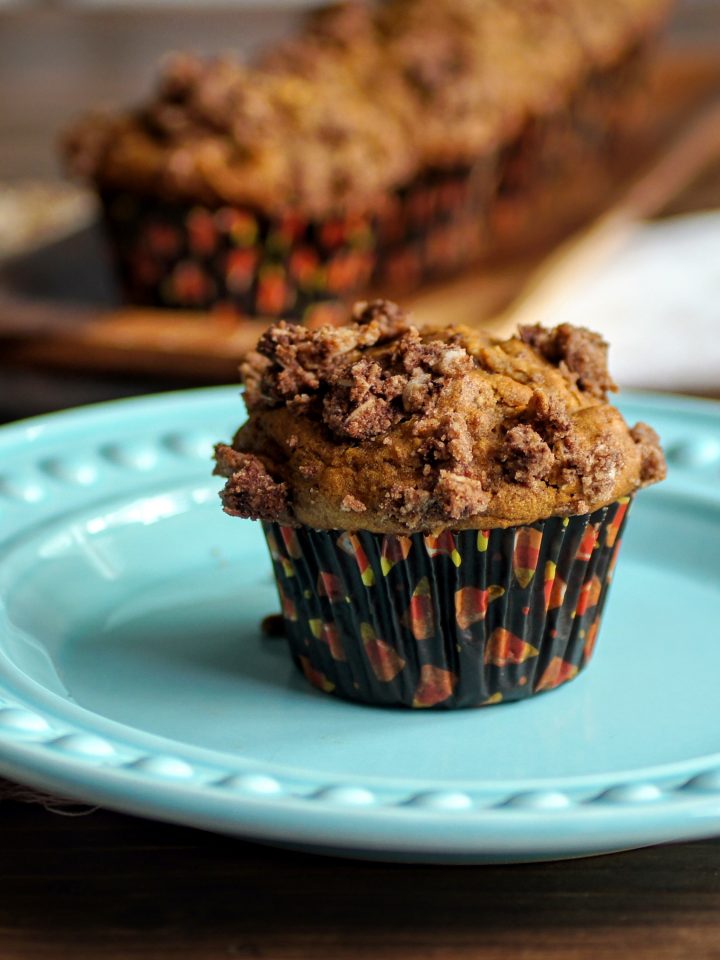
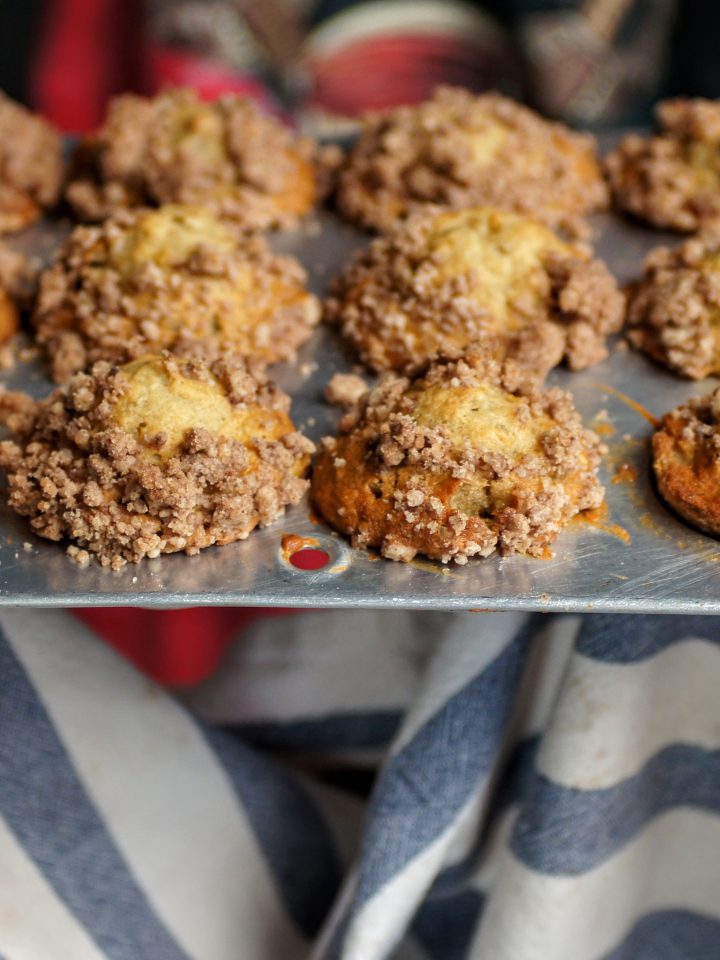
Pumpkin Oat Streusel Muffins
-
Mini Banana Walnut Muffins