Skip to primary navigation
Skip to main content
Skip to primary sidebar
Home
Virtual Cooking Classes
Recipes
Baking
Cookies
Breakfast
Condiments
Dinner
Side Dishes
Lebanese
Salads
Shop
About Me
Work Together
Contact
Search
menu icon
search icon
Search
Home
Virtual Cooking Classes
Recipes
Shop
A little about me
Let’s Work Together
Contact
Email
Facebook
Instagram
Pinterest
×
Home
vanilla extract
The BEST Chocolate Chip Cookies
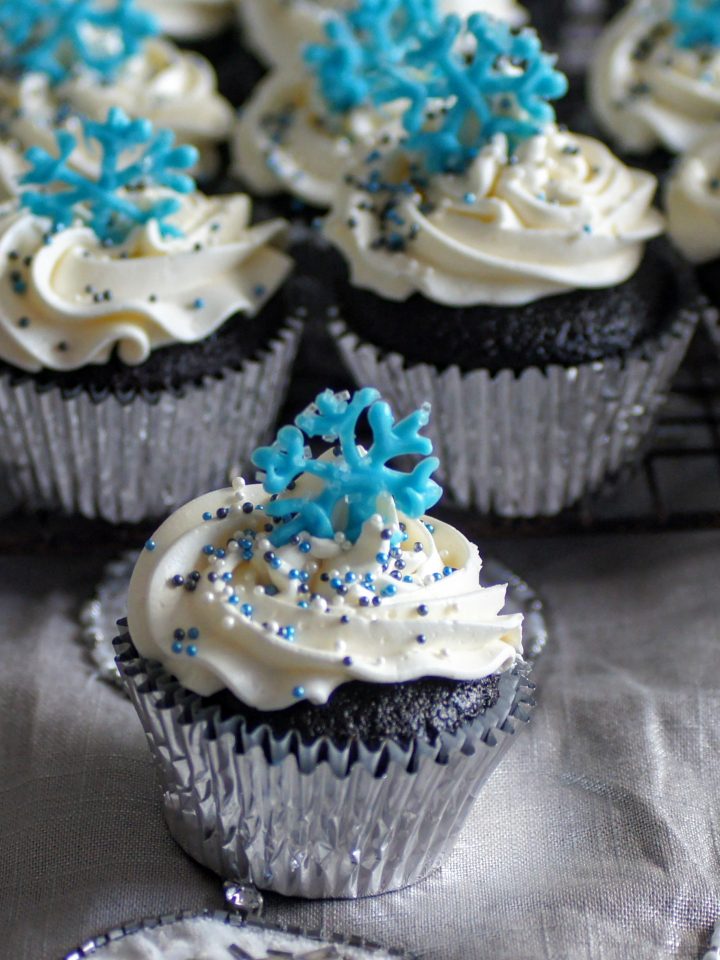
Chocolate Cupcakes ~ Orr's Box
{Vegan} Chocolate Peanut Butter Cookies
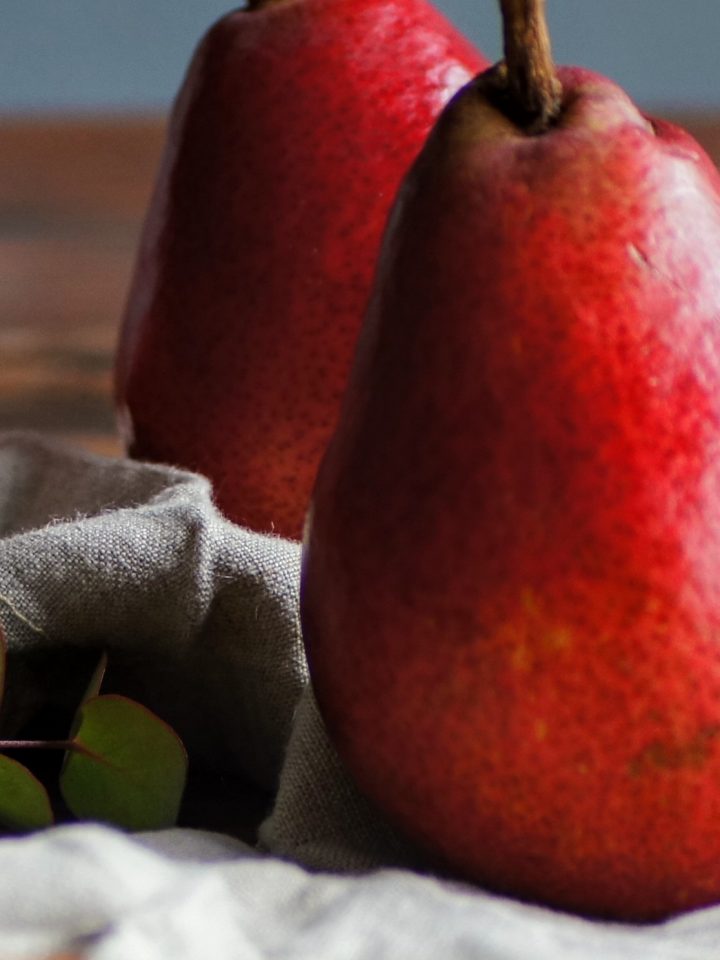
Almond Pear Cardamom Scones
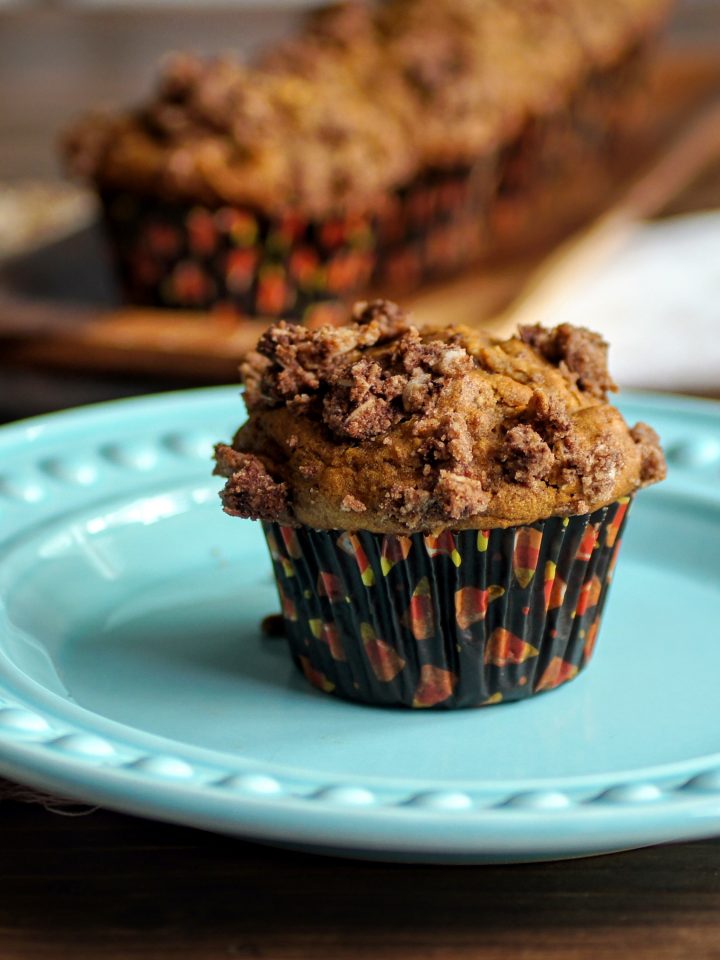
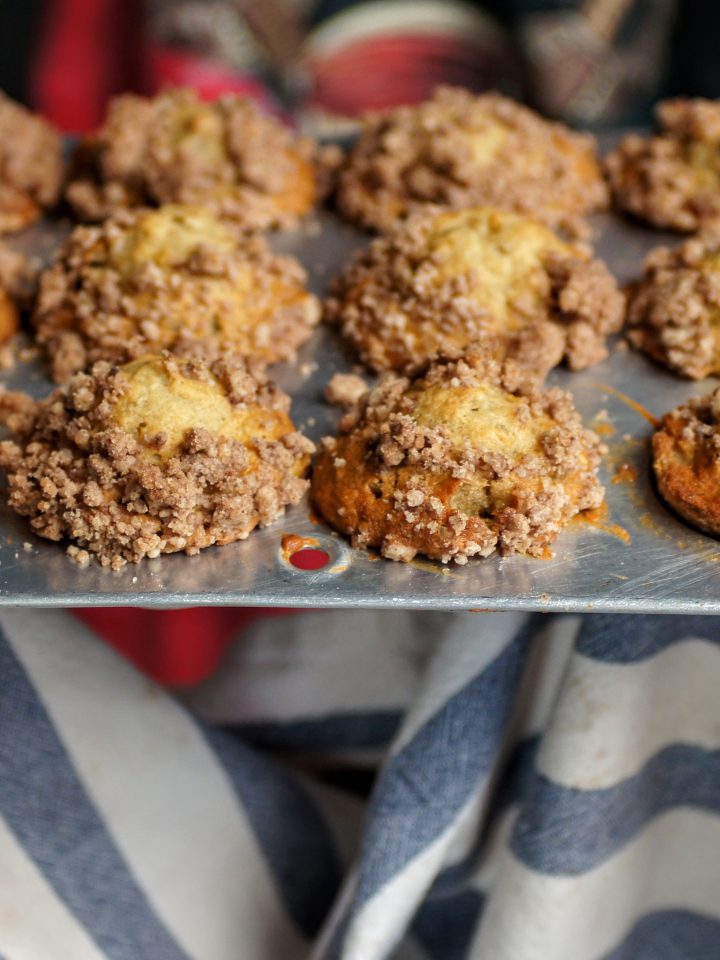
Pumpkin Oat Streusel Muffins
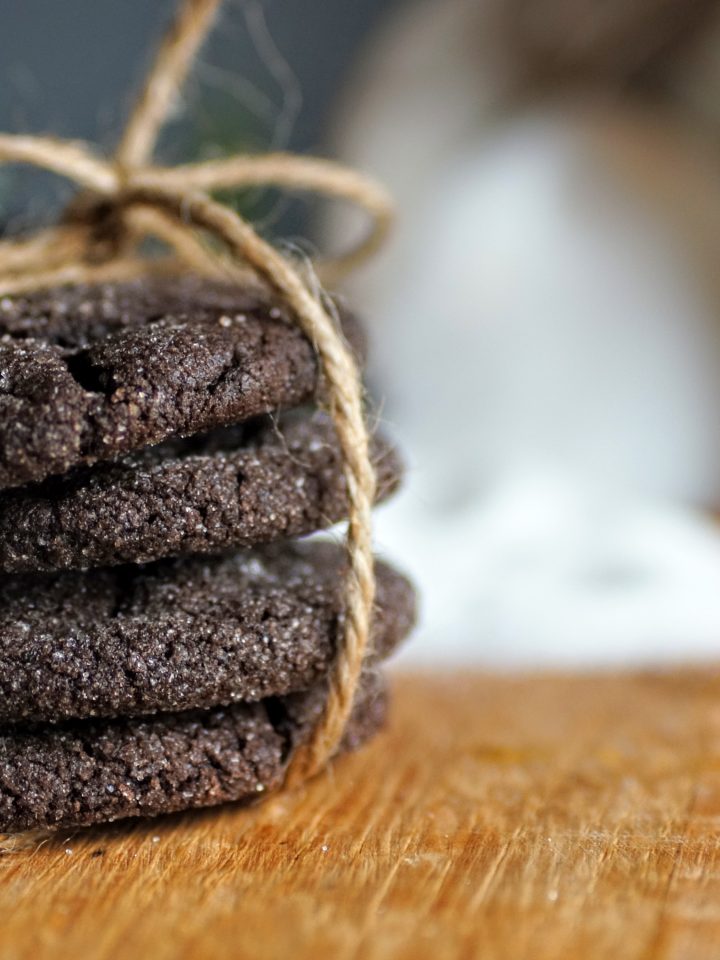
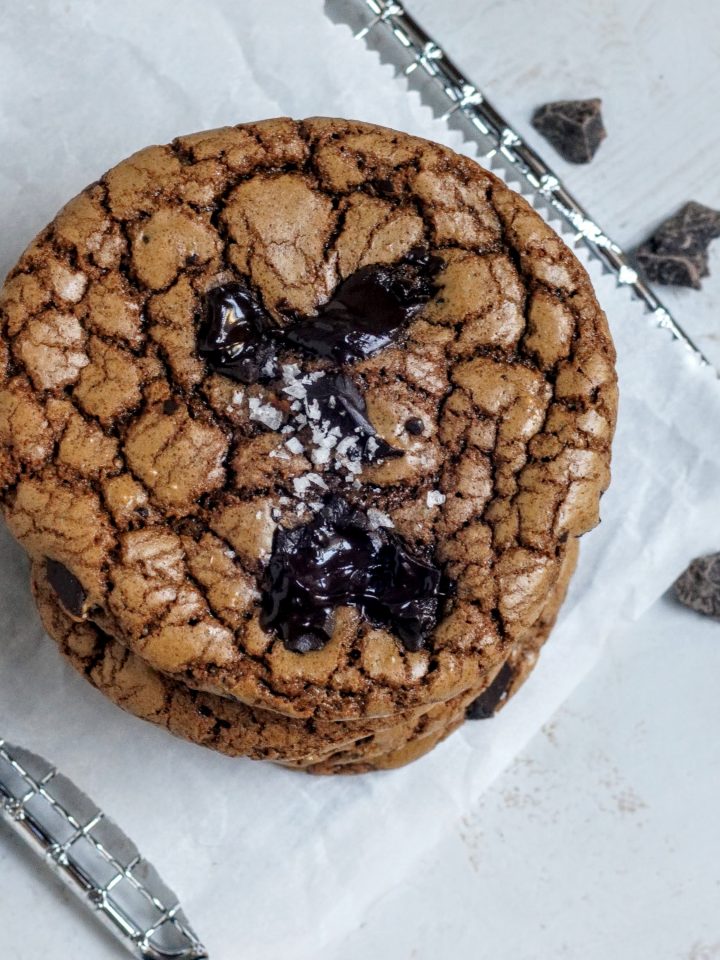
Chocolate Olive Oil Cookies
Mini Banana Walnut Muffins
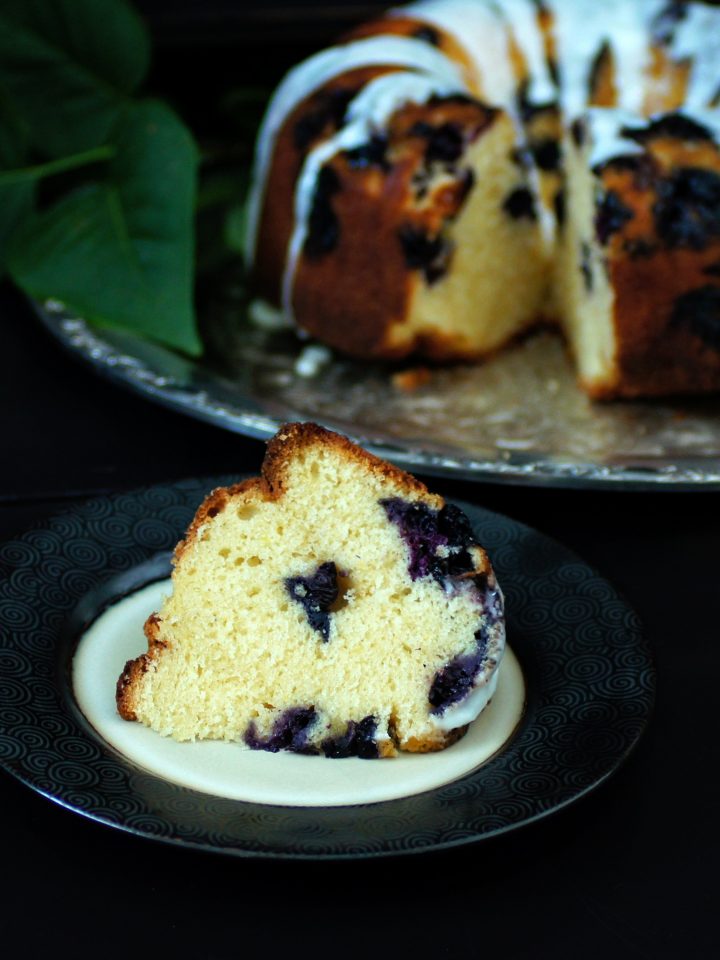
Lemon Blueberry Bundt
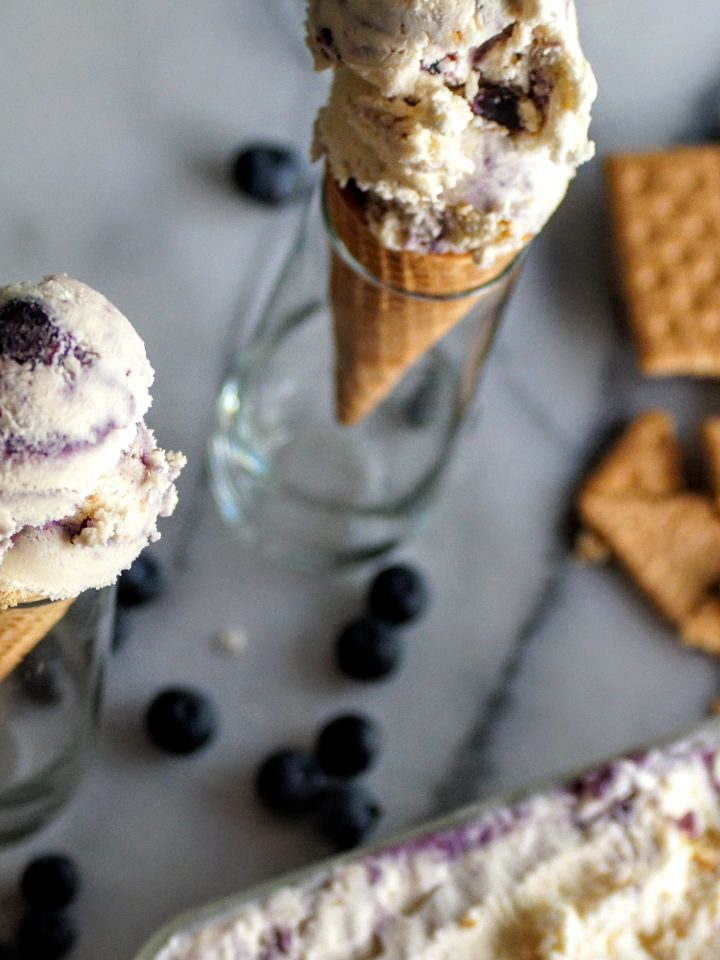
Blueberry Honey Graham Cracker Ice Cream