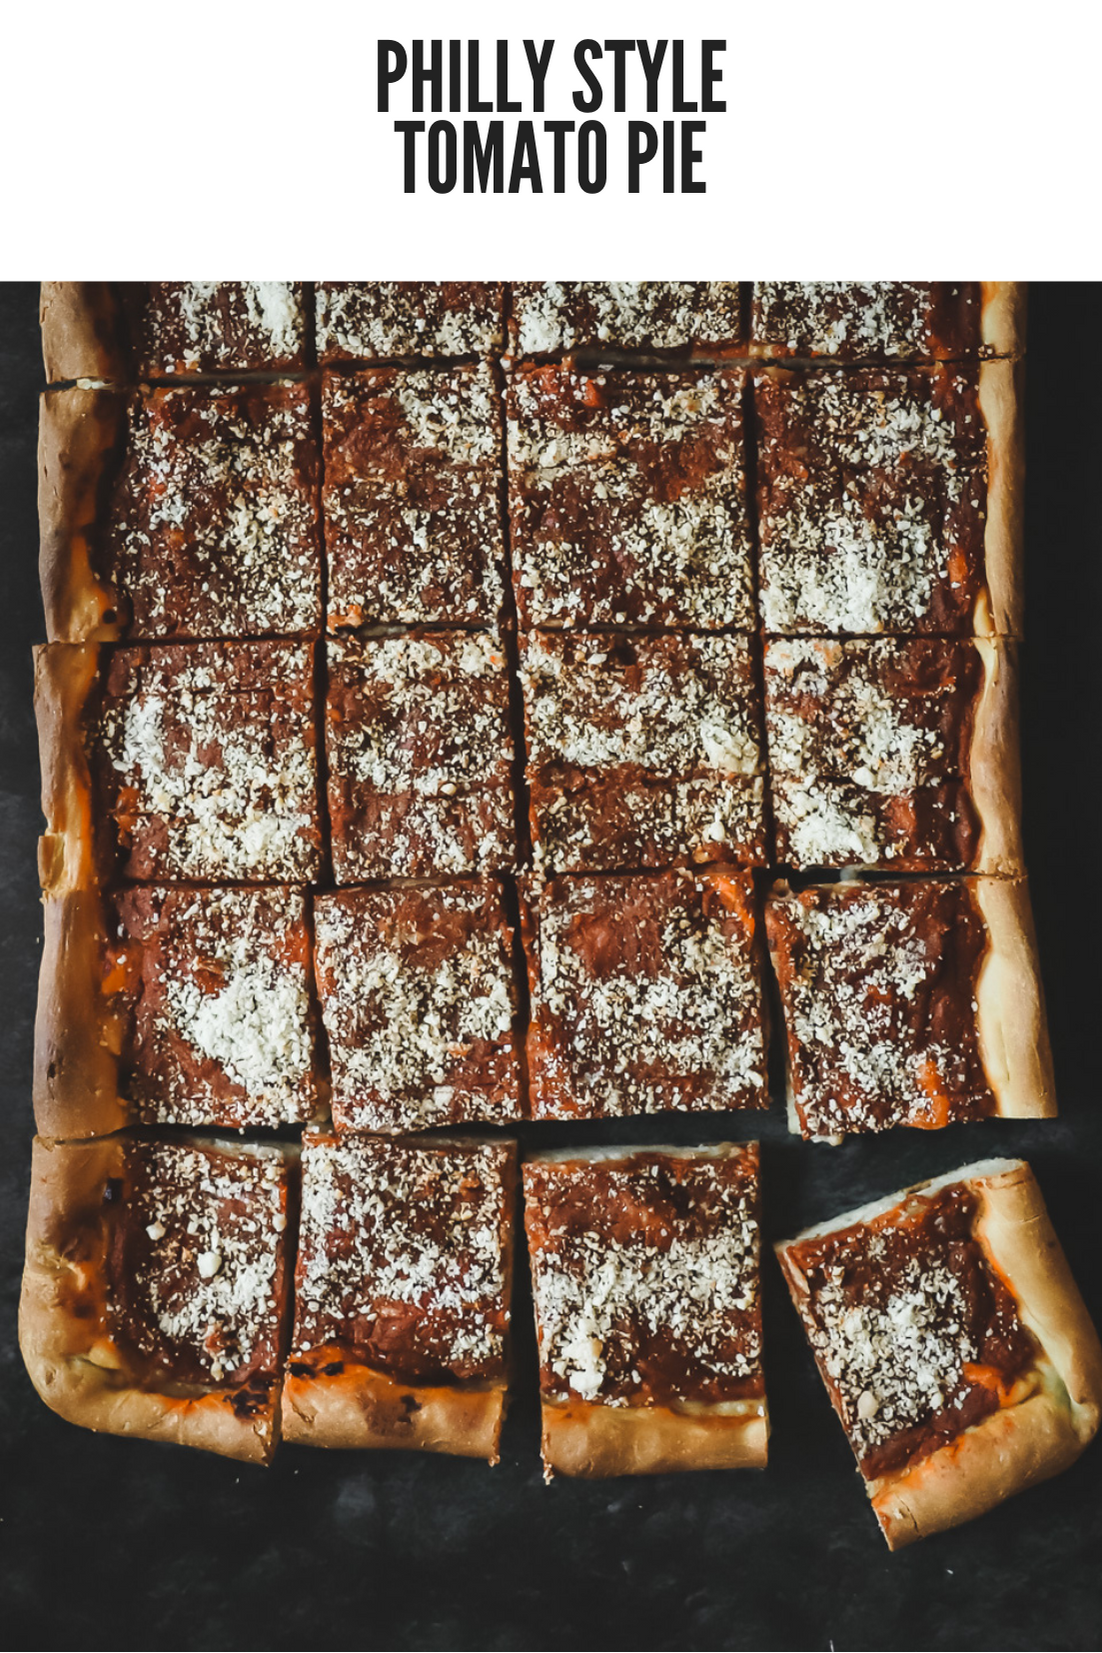
Tomato pie is well known in the Philadelphia and surrounding area. Fresh dough and homemade tomato sauce are baked for this pizza style pie that is both unique and absolutely addictive.
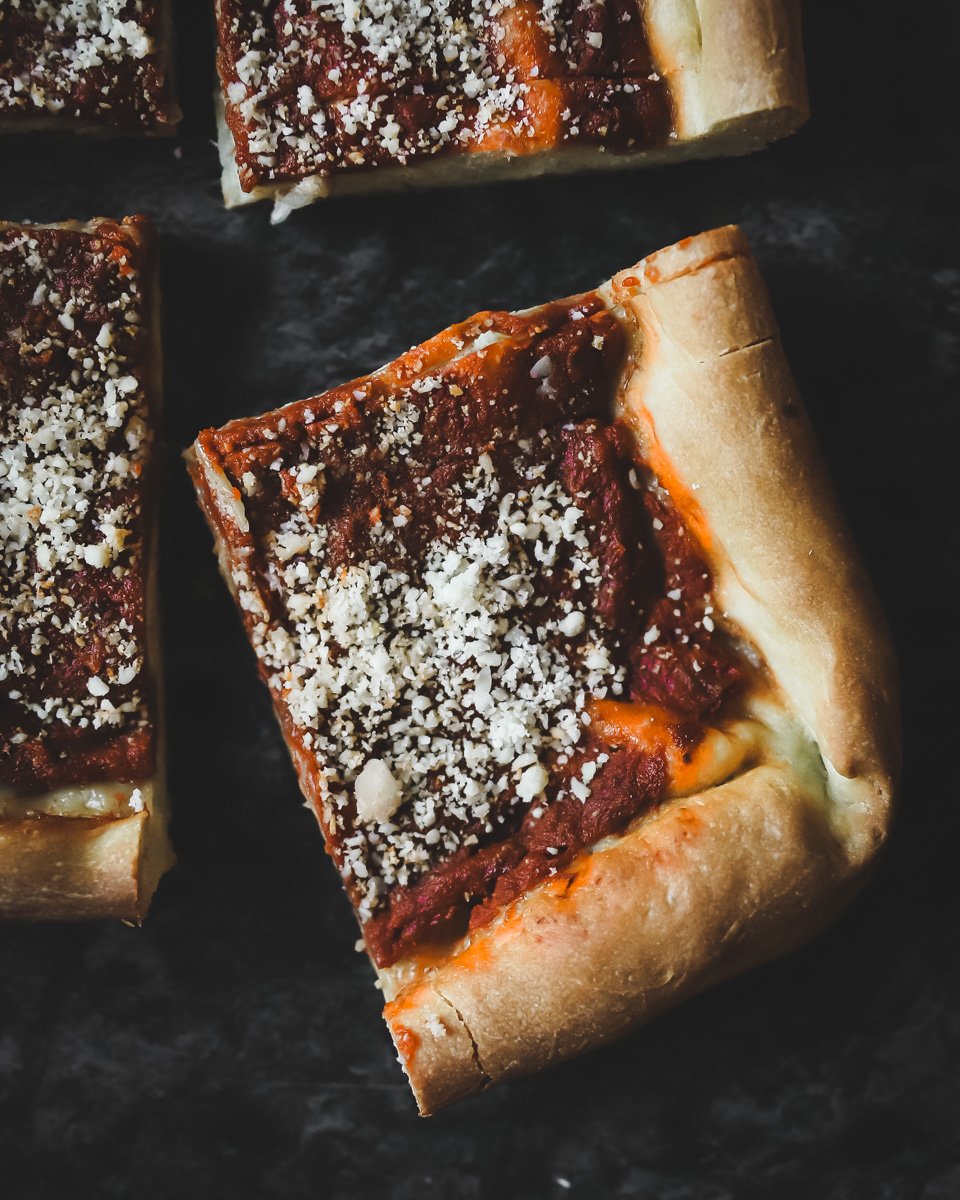
I grew up in an area of Pennsylvania, about an hour north of Philadelphia. One of the most iconic and memorable bakeries of my childhood was located right in my hometown, Easton Baking. On Sunday mornings you'd see a line down the street folks waiting to pick up their baked goods. Donuts, sticky buns, French bread, brownies, cannolis and of course Tomato Pie. Their tomato pie was THE BEST - seriously melts in your mouth and the perfect balance of flavors. Boxes of tomato pie would fly out of the bakery one by one.
I'm no stranger to pizza, my father owned a pizza shop most of my life. But tomato pie is different than traditional pizza. Something you enjoy during brunch or as a snack. One thing is for sure, everyone wants a slice of tomato pie!!
Jump to:
- What is Tomato Pie?
- My Connection to Tomato Pie
- Where Does Tomato Pie Originate?
- Ingredients for Philly Tomato Pie
- How to Make Philly Style Tomato Pie
- Substitutions for Philly Tomato Pie
- Active Yeast vs Instant Yeast
- Equipment for Making Tomato Pie
- How to Store Tomato Pie
- How Long Does Tomato Pie Keep?
- What To Serve With Tomato Pie?
- Top Tip for Making Tomato Pie
- More Recipes to Try
- Philly Style Tomato Pie
What is Tomato Pie?
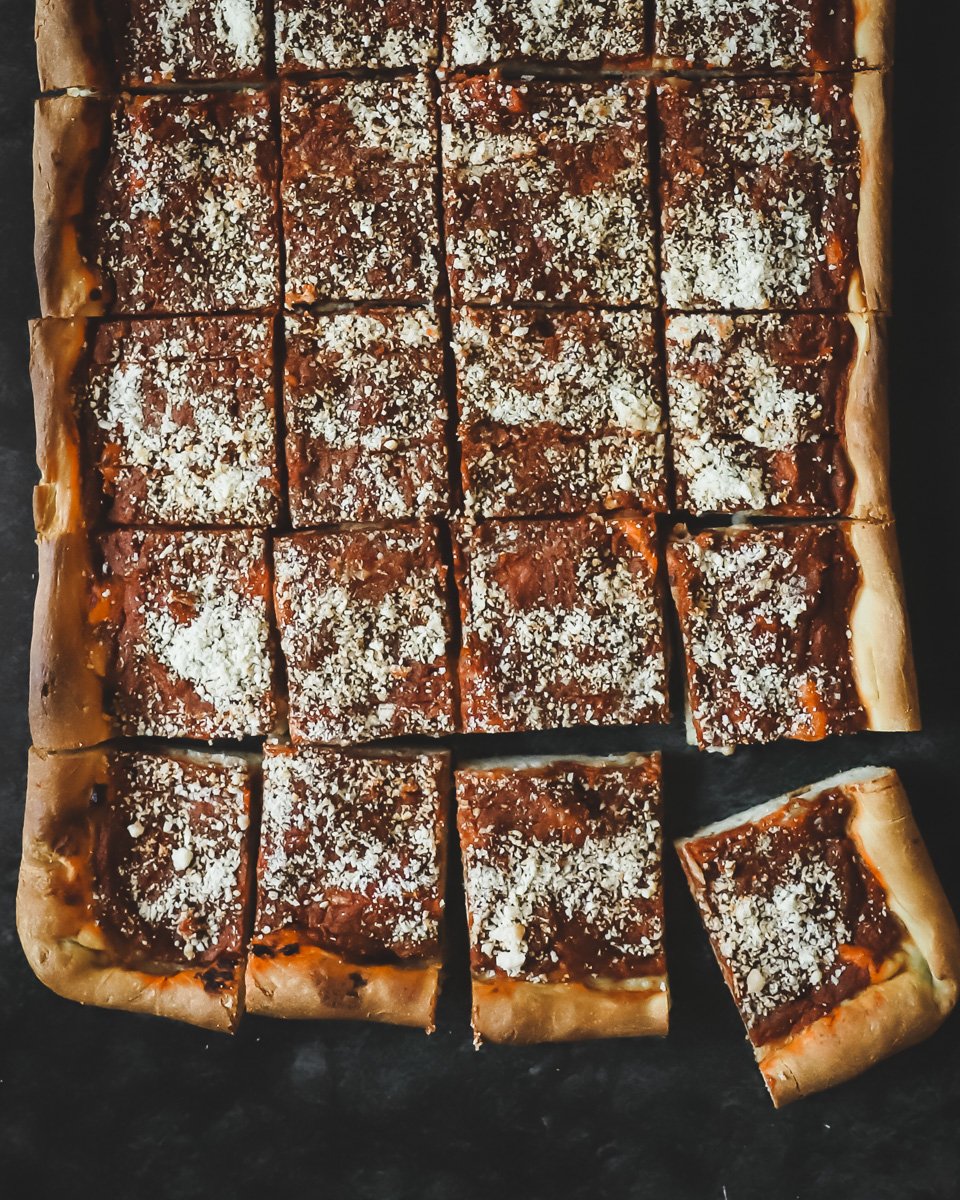
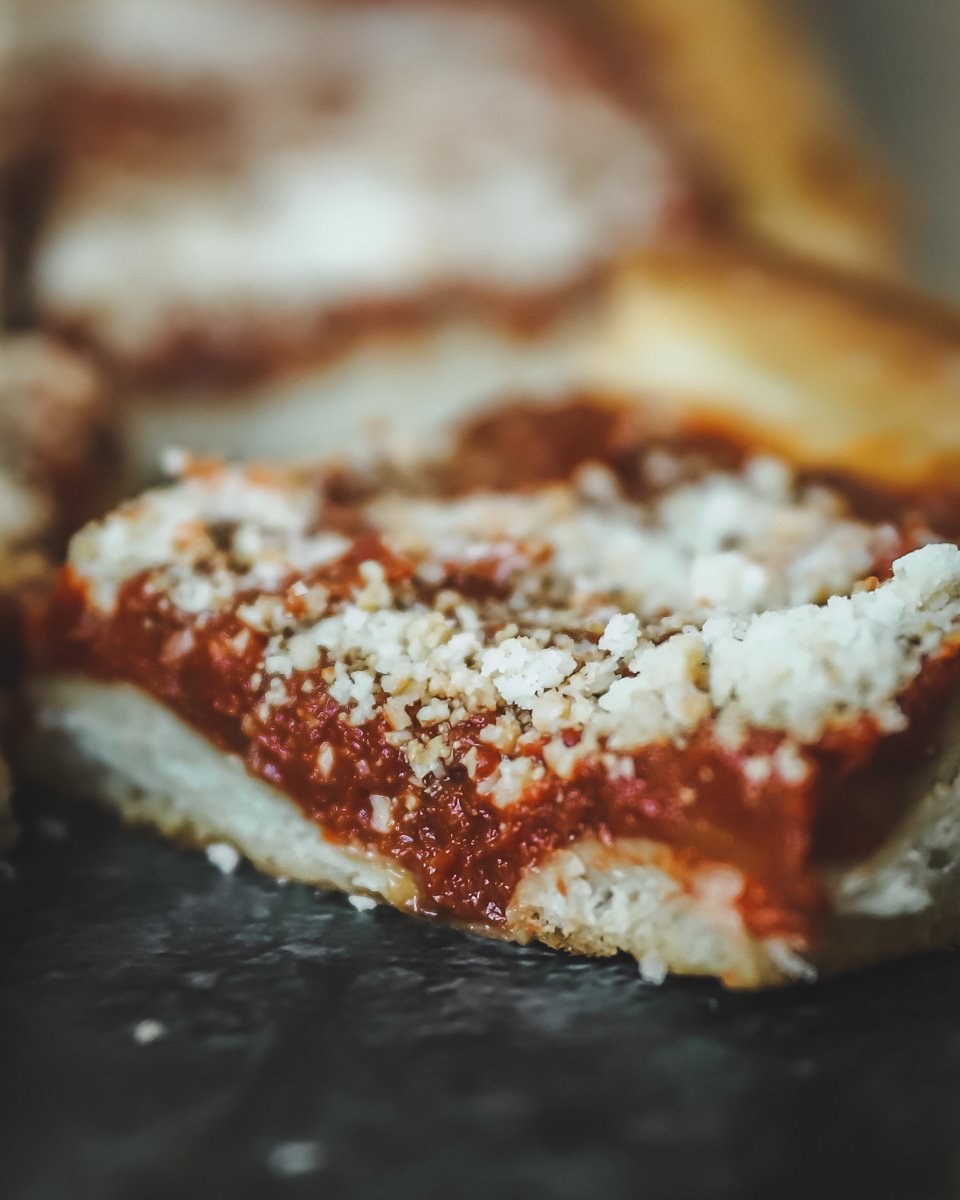
Tomato pie is a fluffy, thick dough - almost like a foccacia style dough topped with a thick tomato sauce (or gravy as Italians call it). Topped with parmesan cheese only - no mozzarella, no toppings - simply sauce, dough and a hit of parmesan.
My Connection to Tomato Pie
20 years ago I moved to the west coast. Making that move was big and bold. The first few years were hard and I missed a lot of things - my parents cooking was the biggest but also the strong Italian influence from the area I grew up in. I missed seeing pizzeria shops along the streets selling slices of pizza, the little bakeries like Easton Bakery selling quaint baked goods on Sundays to bring home. I adore the city I live in, in fact, Portland was named the #1 city for pizza if you can believe that! But there are some things I just miss from my east coast roots, like tomato pie!
While making pizza on our weekly Saturday night pizza night - I thought about tomato pie and realized my kids only had it a few times. So I set out on a mission to create a recipe that truly resembled the tomato pie I remembered from my beloved hometown. It was thick, chewy and perfectly saucy. The middle pieces were the best because they were super soft as all the sauce was absorbed making the perfect bite.
After many, many trials of sauce, dough, baking times and trial and errors I am happy to share my version with you. Here's the thing, even some of my unsuccessful trials tasted delicious - especially the 2nd day! So you really can't go wrong any way you slice it.
Where Does Tomato Pie Originate?
At the turn of the 20th Century, Italians began immigrating to the United States - settling in areas of New York and Philadelphia. The first pizzeria is credited to Lombardi’s Pizza which opened in 1905 in New York. Tomato pie came a bit later in the Philly area, 1910 when Iannelli’s Bakery opened. Iannelli's is still open and serving tomato pie today! The trend continued throughout the Philly area and into the outskirts. Family recipes of homemade sauce (gravy) found their way onto tomato pie.
Boston Globe
Ingredients for Philly Tomato Pie
Dough Ingredients
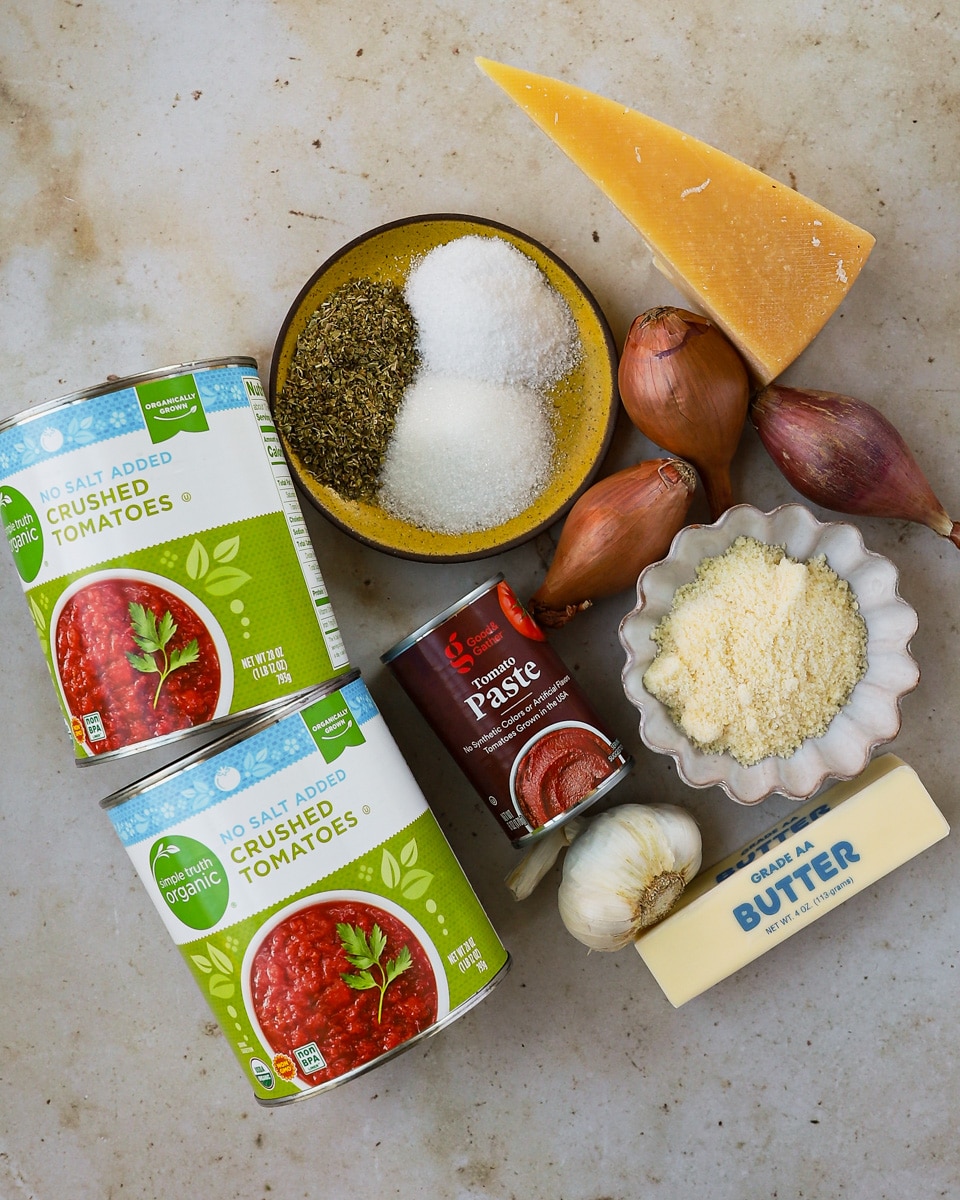
- All-Purpose Flour - The simplest of all ingredients, flour. I use a basic all-purpose flour for all my dough recipes. You certainly can use a bread flour if you choose.
- Kosher Salt - As with all my recipes, I strongly urge the use of kosher salt over table salt, we'll use it throughout this recipe.
- Olive Oil - Olive oil is used both in our dough mixture and to bake our tomato pie.
- Yeast - Use can use either rapid or dry active yeast - you can learn more about the difference here.
- Sugar - A bit of sugar is used to activate the yeast.
- Water - Might be a silly one to add, but water is essential to making dough.
Sauce Ingredients
- Butter - I'm going to be honest, you could certainly use olive oil but the butter is really a great flavor booster in this sauce!
- Shallots - Finely diced shallots are cooked and almost turn into a sweet balance into the sauce. They bring a delicious flavor.
- Garlic - I will never judge you on the amount of garlic you choose to use - you do you!
- Crushed Tomatoes- I've officially stocked up on cans of crushed tomatoes for the often tomato pie making. Crushed tomatoes are thicker than tomato sauce, but smaller chunks of tomato than whole tomatoes in a can. Find the brand you like to use the most for your cooking.
- Tomato Paste- Tomato paste is what helps achieve the thick, almost sticky texture of our sauce.
- Sugar - A bit of sugar for sweetness.
- Oregano- Dried oregano is added to the sauce for flavor.
- Kosher Salt - Seasoned with kosher salt
- Parmesan Cheese - I've used parmesan two ways but you can adjust to your needs. I often have extra parmesan cheese rinds I hang onto - 1 gets tossed into the sauce. And then some parmesan cheese for the top. While it goes against my instincts to use the shaker parm - it's necessary here to stick with authenticity. But you can CERTAINLY grate some fresh parmesan if you decide.
See recipe card for quantities.
How to Make Philly Style Tomato Pie
The beauty of this tomato pie is that it can be prepared ahead of time and enjoyed the 2nd day or simply made in the morning for an evening gathering. The sauce can also be made ahead to save time and actually better to make ahead and allow to cool fully before assembling. So you have flexibility. And of course, leftovers are optimal! Cold or room temp is best - no need to heat up!
Prepare Dough
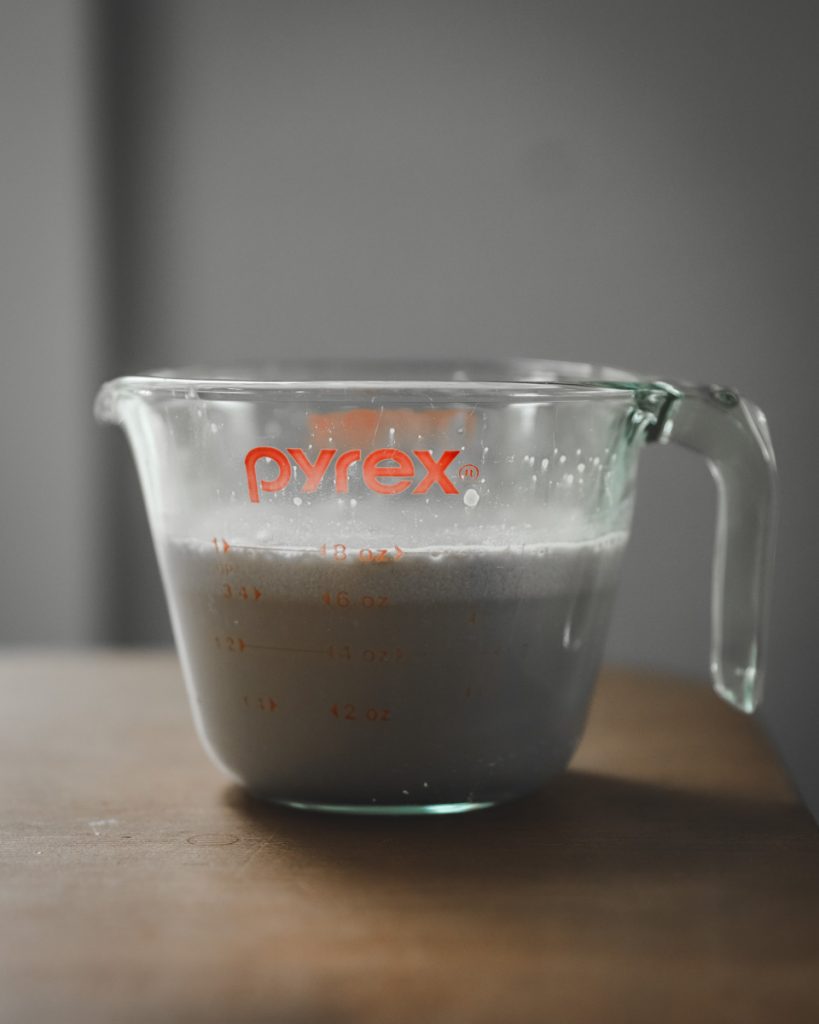
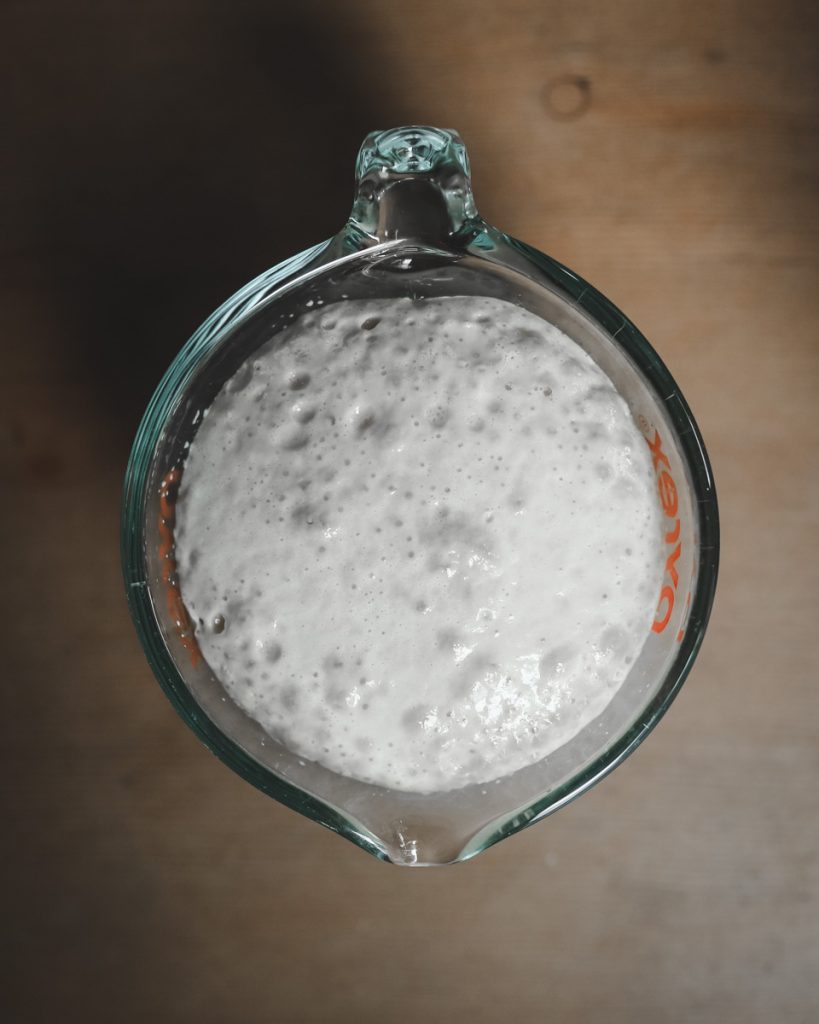
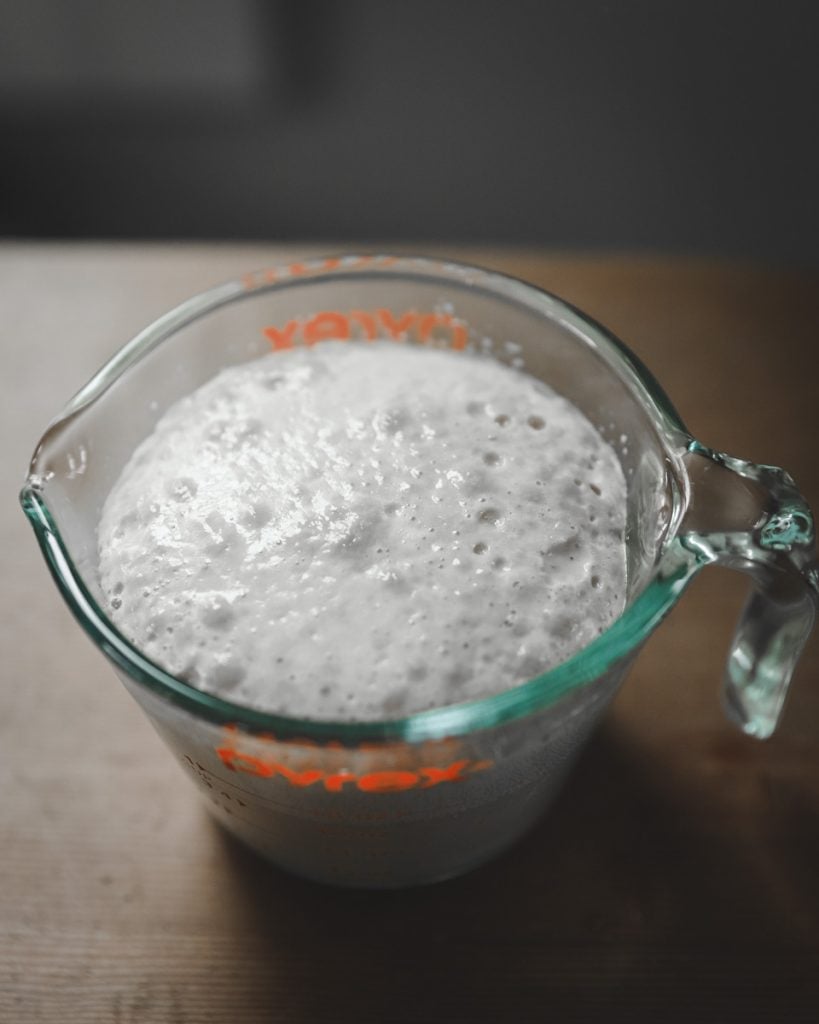
Begin by preparing your dough, it's best to mix dough in a stand mixer. Combine your flour, salt and olive oil into the bowl of your mixer fitted with the dough hook. Allow to mix. In a measuring cup, add your dry yeast (instant or active), sugar and 8 ounces of warm water. The water should be warm to the touch but not scolding - if it's too hot it will kill the yeast and not allow it to bloom. If using a thermometer, optimal temperature is between 100-110 degrees Fahrenheit. This is a great, inexpensive one that is super handy to have in your kitchen.
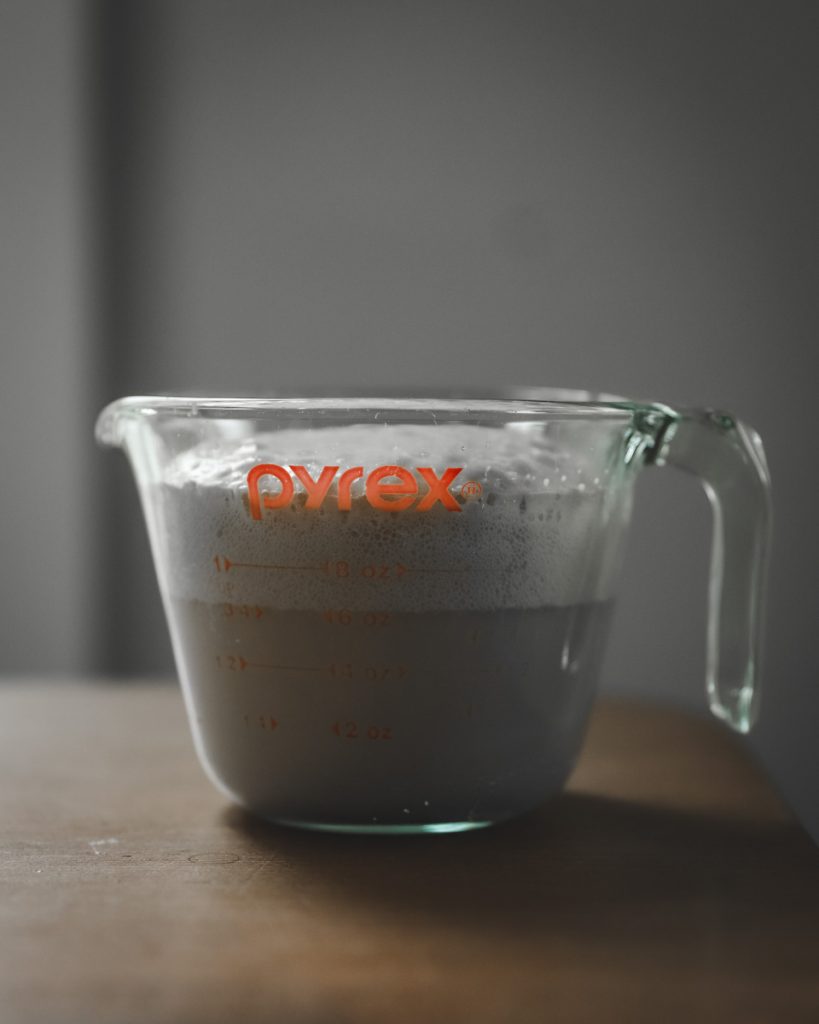
2. Yeast, water and sugar after 5 minutes - you can see the rise or bloom in the measuring up
3 & 4 Bubbles formed from the reaction of yeast + water + sugar
Blooming Yeast & Mixing Dough
Once your yeast has bloomed (became foamy) add into your flour mixture with the mixer running on low. Continue to mix and fill another 12 ounces of warm water. Begin by adding about 8 ounces and the last 4 ounces add gradually. Your dough should begin to come together in a ball. If it's too dry - flour streaks, add additional water. If it's too sticky/wet (sticking to the sides), sprinkle a bit more flour. You can watch this full video on the dough making process with tips on how to troubleshoot if you are new at it.
Allow Dough to Rise
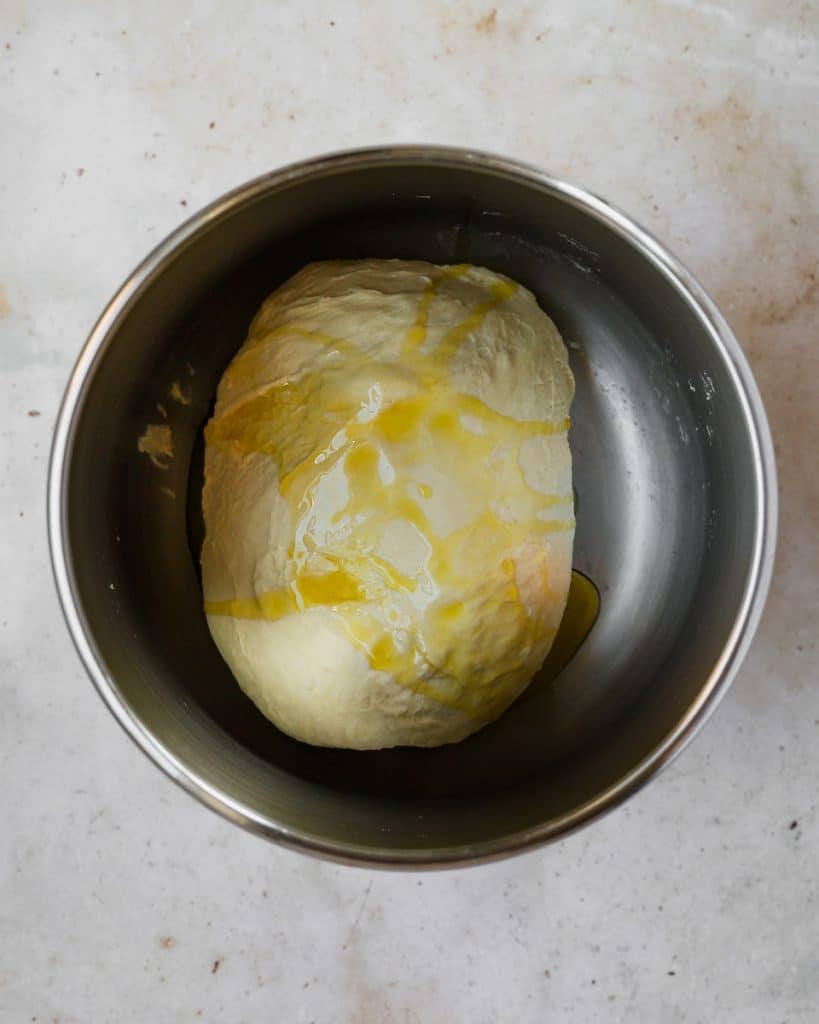
Once your dough has come together - coat your bowl with additional olive oil, place your dough ball in and cover. Allow your dough to rest and rise in a warm place. I'll often turn my oven on for 2 minutes, shut it off and then place my bowl in there to rise - just be sure NOT to preheat your oven while it is in there.
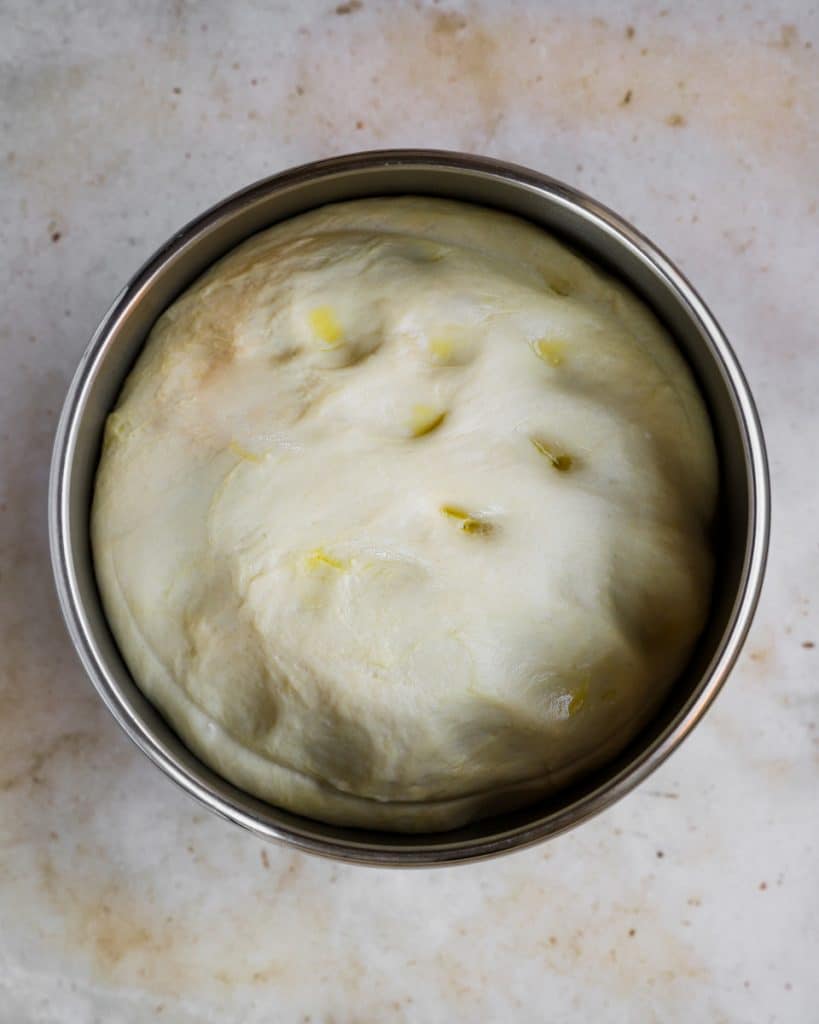
2. Dough after first rise
3 & 4. Dough split after first rise, waiting for 2nd rise
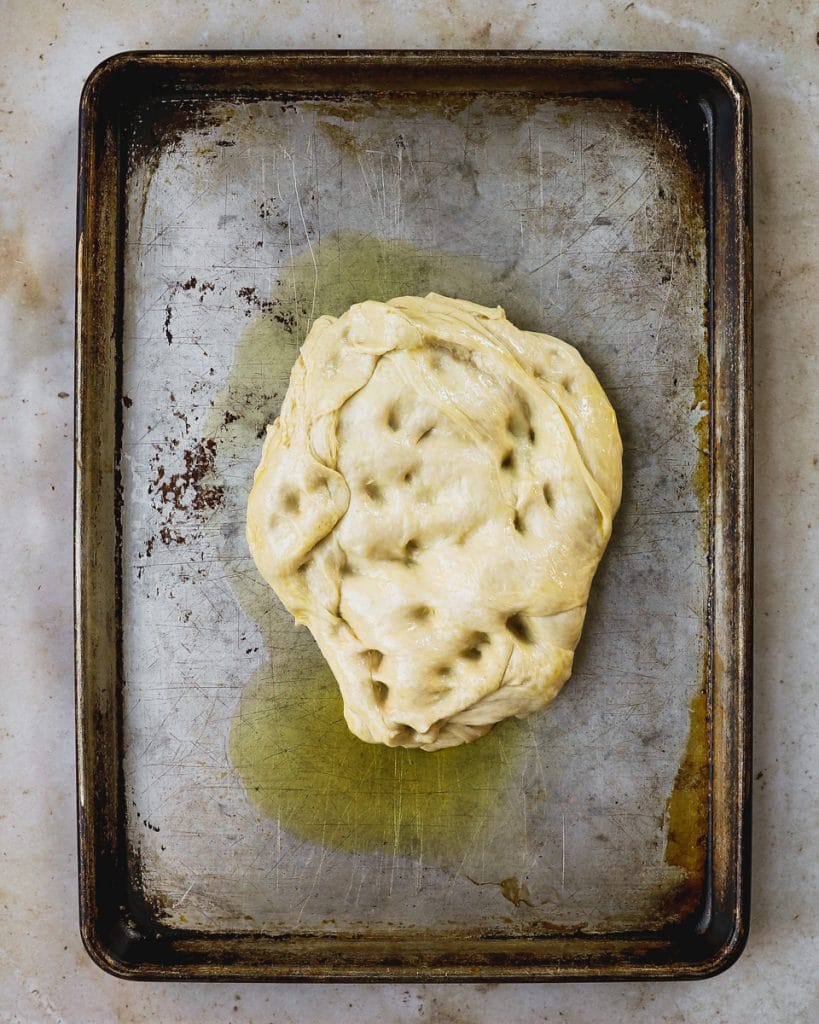
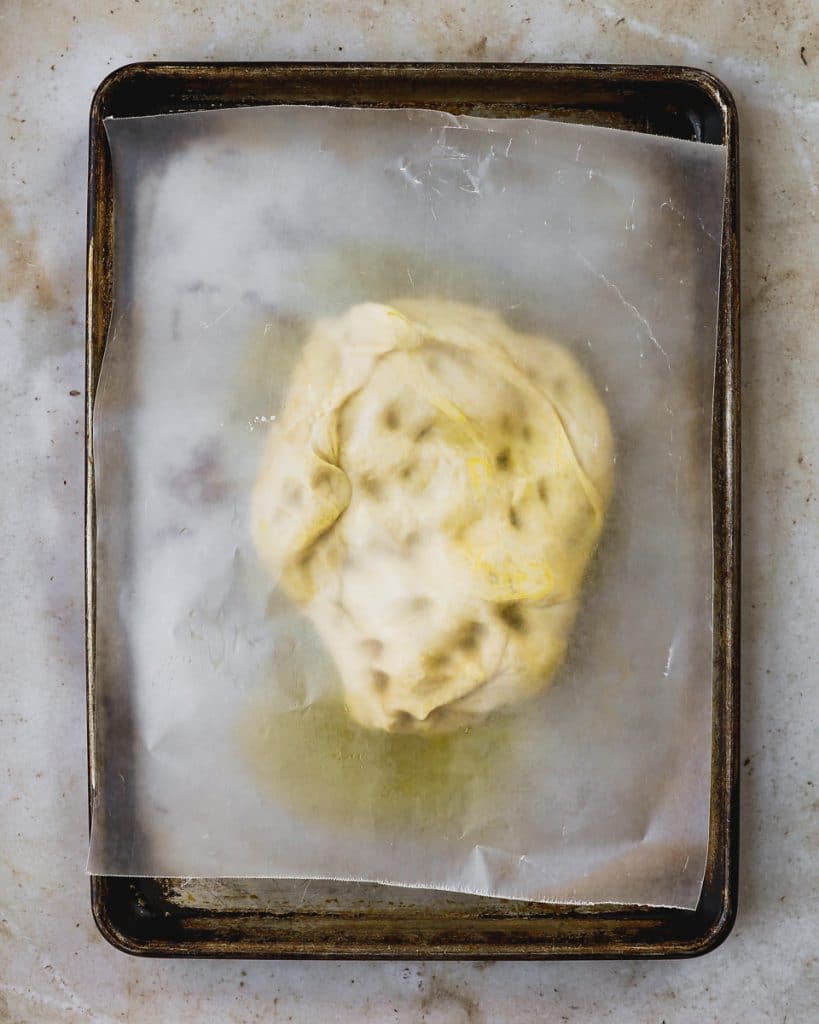
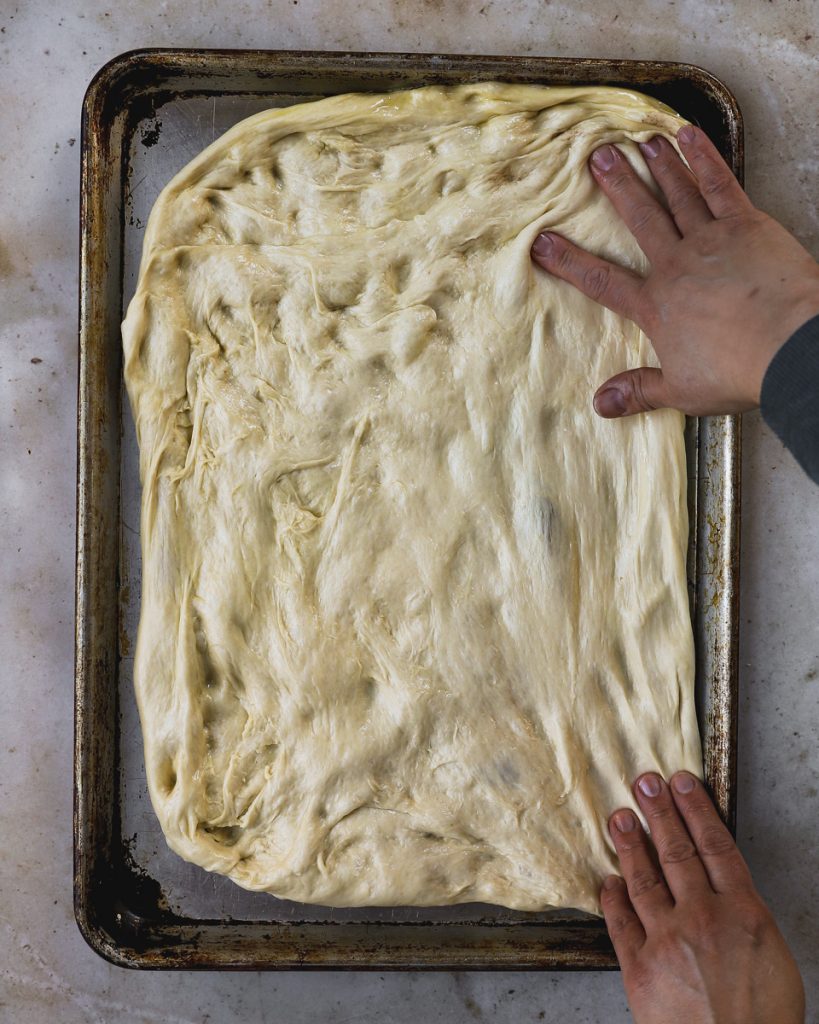
Allow dough to rise for 2 hours until doubled in size. You can prepare your sauce while rising. Once dough has doubled in size, you'll have one more rise time. Split your dough into 2 even halves - if you have a scale (you should, here's an inexpensive one) you can weight and split for 2 even pies. Coat your sheet pans (half sheet pan, 17"x12") with olive oil and press your dough to flatten slightly. Cover again with a damp towel or loosely with wax paper. Allow to rise for another 45 minutes to 1 hour. At that time, your dough should be workable and with your clean hands, press and shape into your pan. Create a slight edge and continue to flatten until it fills the pan. If you are struggling with the dough and it's not flexible enough, allow to rise for another 30 minutes.
Stretch and Shape
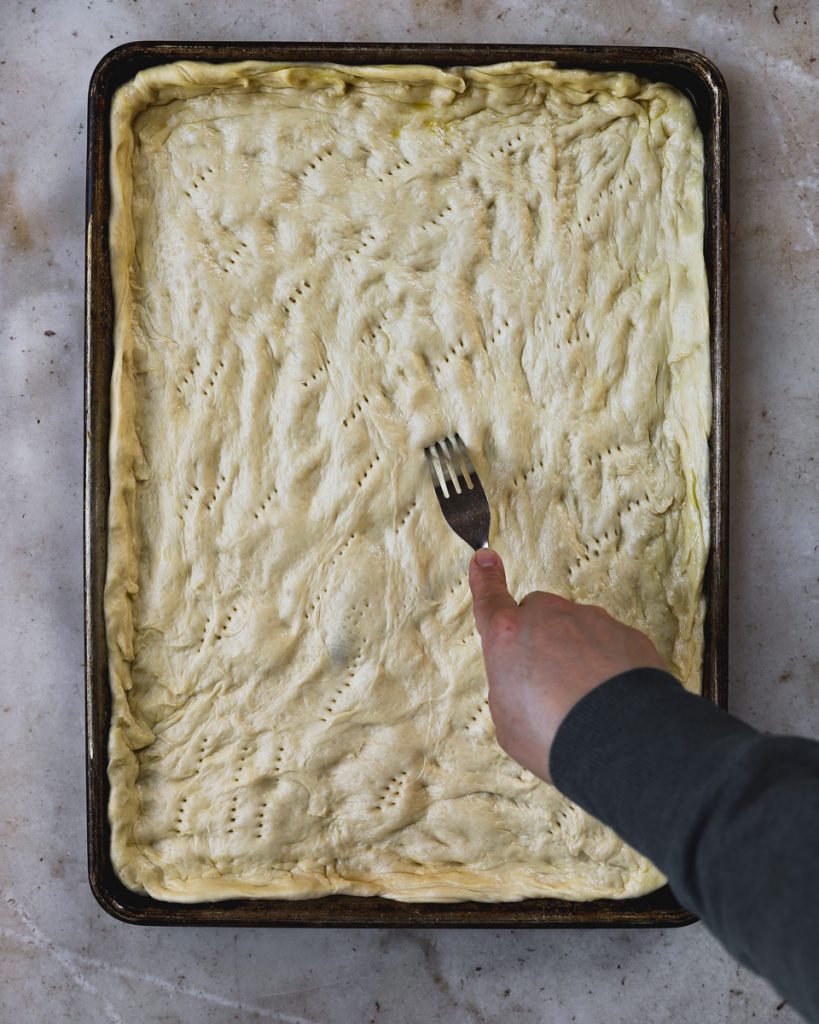
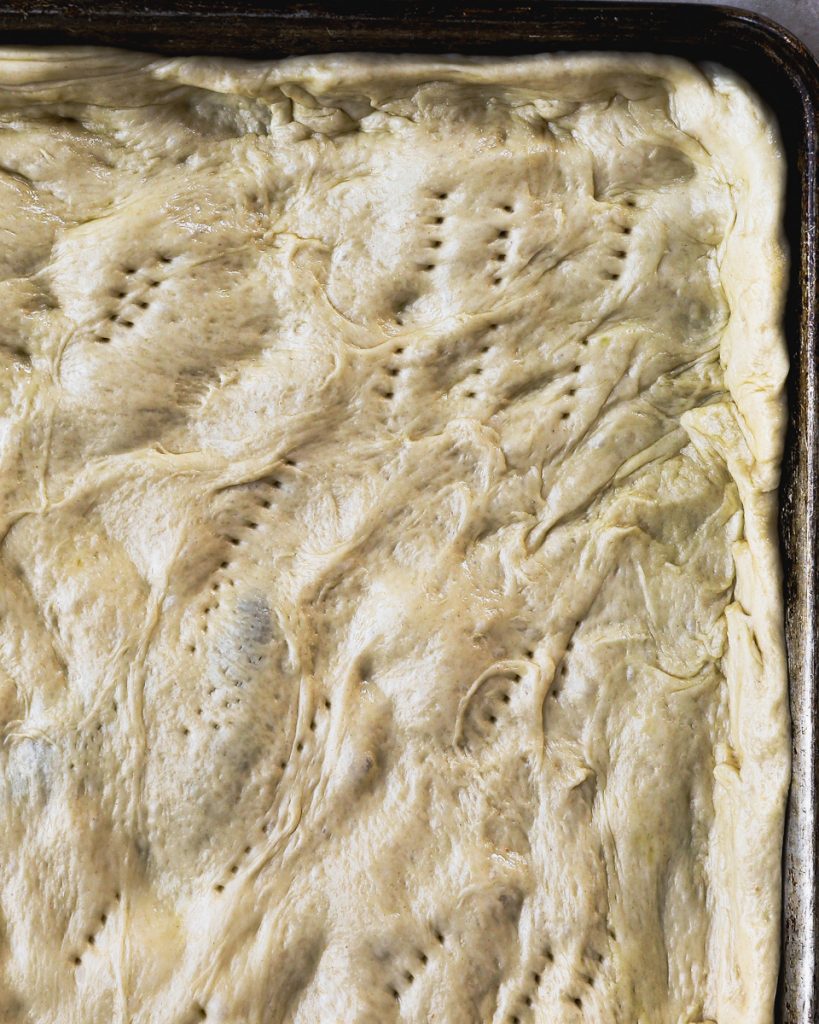
Once your dough is stretched into place in your pans, prick with a fork - this will allow for the least amount of bubbles to form. Spread your prepared sauce (see below for process).
2. Dough formed into sheet pan
3. Prick dough with fork to allow for steam to escape
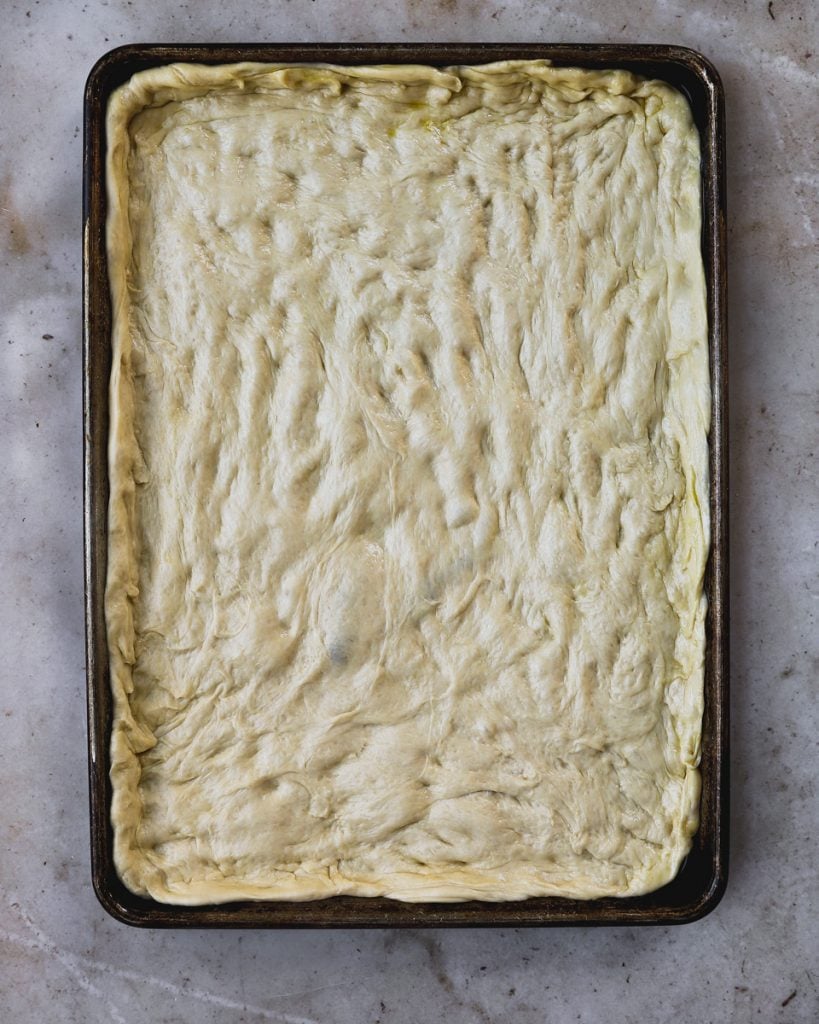
4. Dough ready for sauce and baking
Pro Tip: You can prepare your dough the night before, pop into the fridge and remove the next day for it's 2 rises.
Prepare Sauce
You can prepare this sauce several days ahead of time and store in the fridge. It is also a wonderful sauce for spaghetti, other pasta or pizza.

Cook Aromatics
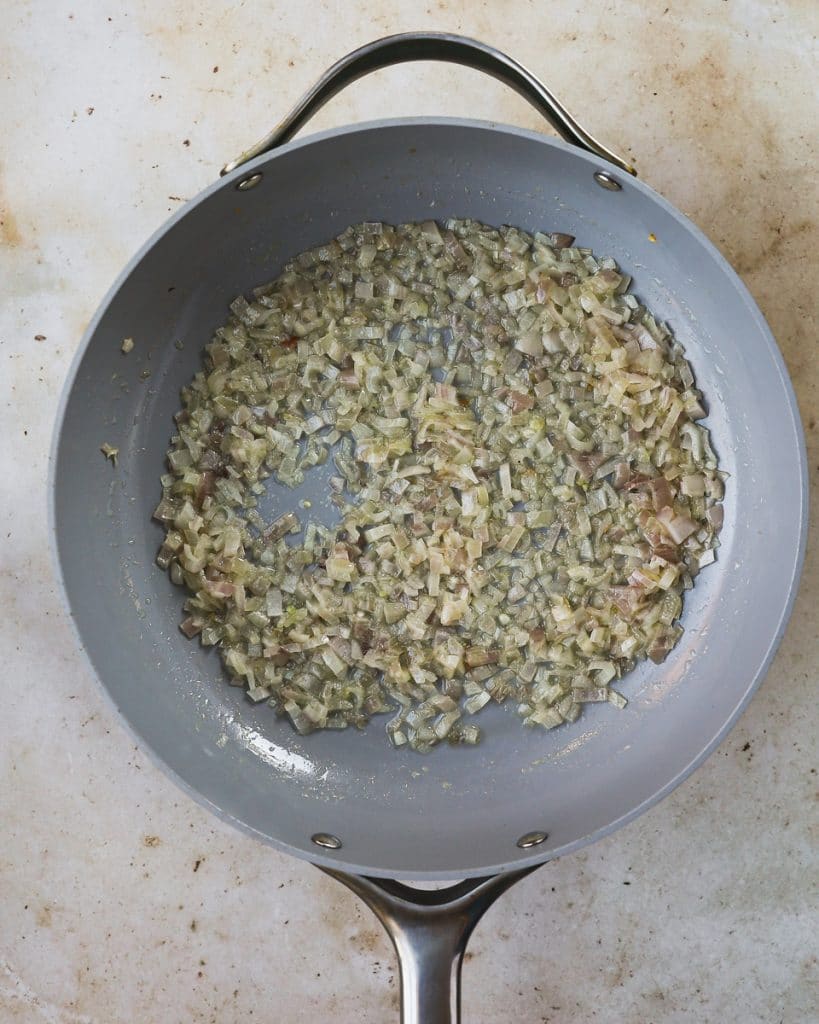
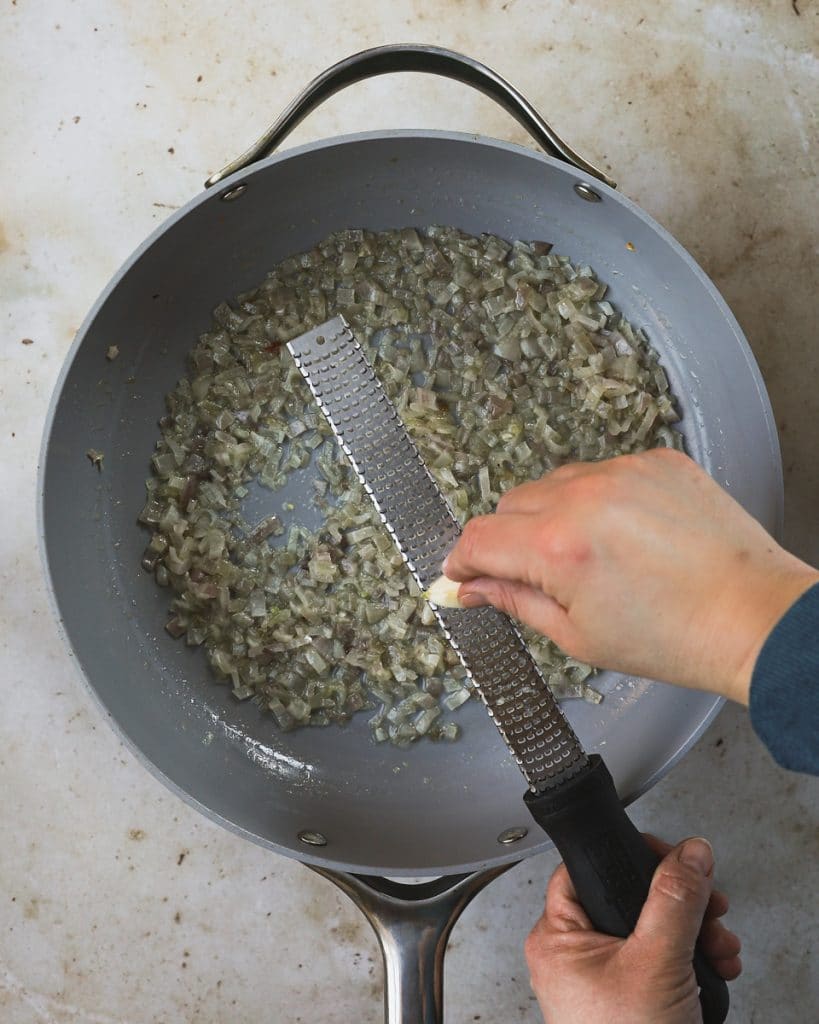
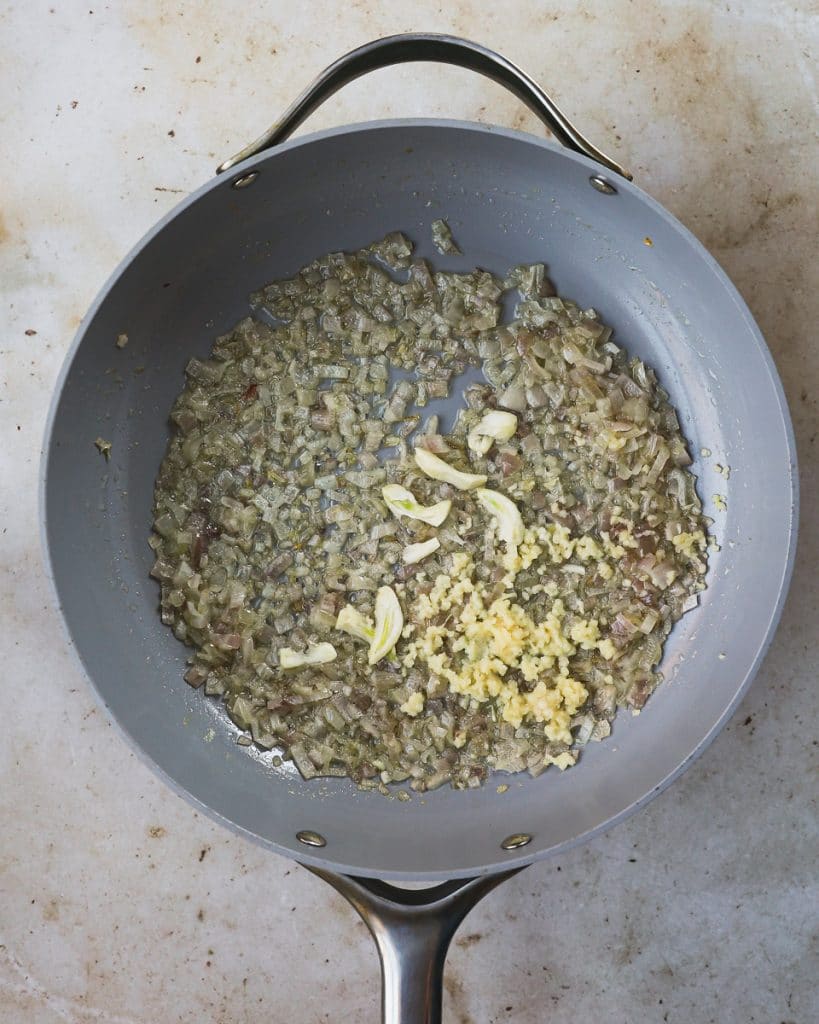
In a large, deep skillet - I like to use a 12-14" skillet with high sides. This one from Caraway is my current favorite, melt your butter on medium heat. Add your diced shallots and allow to cook for 7-8 minutes until shallots are softened. Once shallots are softened, lower heat to low and grate or finely mince your garlic cloves. I love using my microplane for this and just toss in the last bit that doesn't get zested. Work quickly to ensure your garlic doesn't burn - you can also remove from heat for a few minutes while you add garlic. Increase heat to medium and cook for 1-2 minutes just until garlic is fragrant.
2. Garlic microplaned into shallots
3. Add ends of garlic pieces in - they will cook down and become tender and sweet
Sauce Cooking
Quickly add your crushed tomatoes and finally your tomato paste, sugar, oregano and salt. If you have a parmesan rind, toss it into your mixture - it adds a lovely flavor. If you don't absolutely ok to skip it! Allow to come to low boil then reduce heat to low and cover HALFWAY. The key to thickening the sauce is to allow the steam to escape - but it can also splatter as it cooks so I keep the lid on halfway to allow steam to escape and also keep a neat area. Cook for about 45 minutes until thickened slightly then allow to cool or store in fridge and use when ready.
Pro Tip: Make your sauce the day before so you can assemble when you are ready to bake.
Assemble and Bake
Once your dough has had 2 rise times and shaped into sheet pans, your sauce is done and cooled - get ready to bake. Preheat your oven to 420 degrees and place rack in upper ⅓ of your oven. ONLY BAKE 1 TRAY AT A TIME - I'm yelling because I've tested and tried and just like cookies, it's best to bake one tray at a time for these pies.
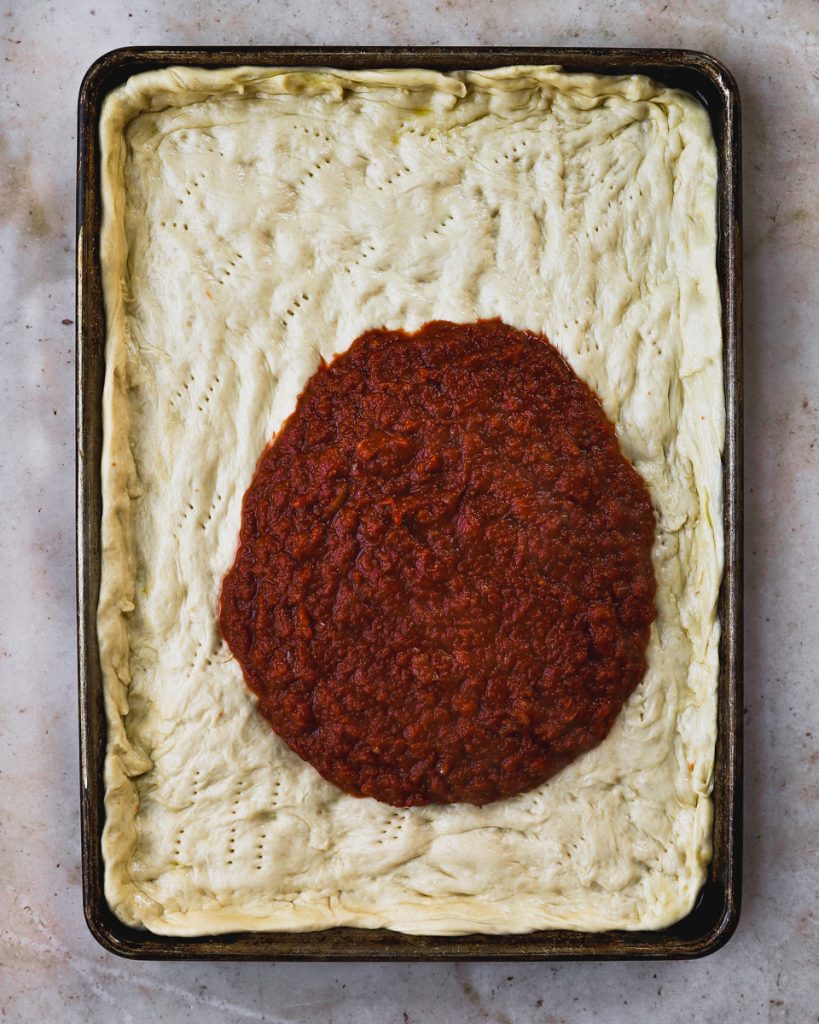
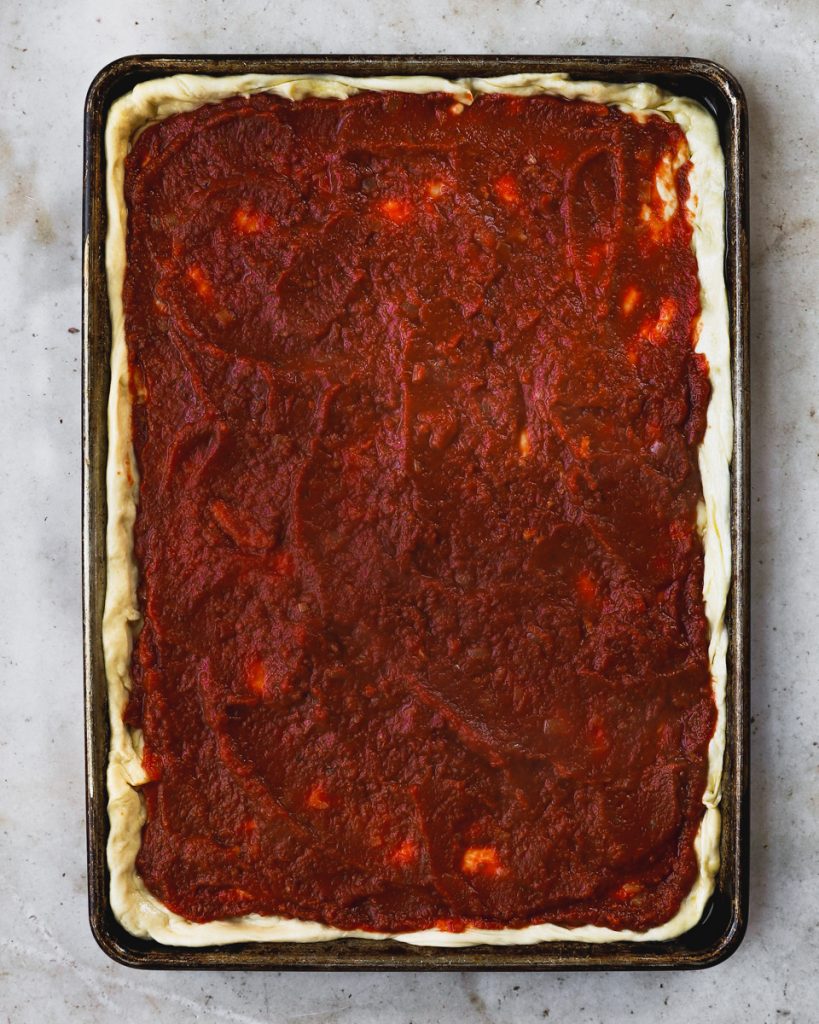
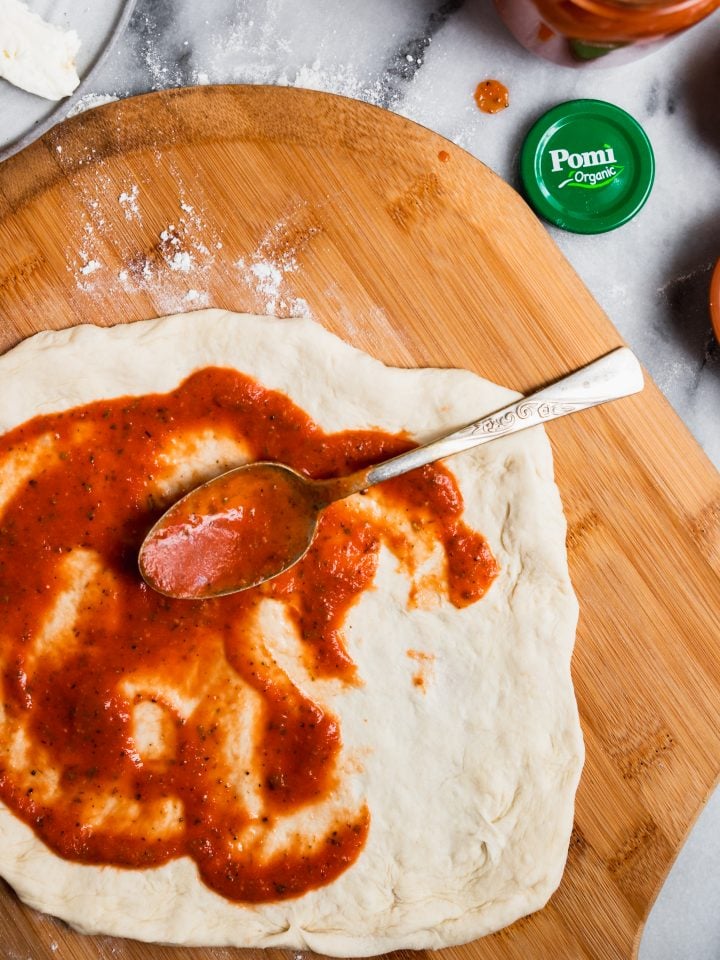
Divide your sauce evenly among the 2 pies, leave the edge free from sauce. Spread evenly and thick on your dough. Place in the oven and bake for 20-25 minutes. Your tomato pie is done when the bottom and edges are browned slightly and sauce appears thick. Remove from oven and sprinkle with parmesan cheese. Allow to cool slightly before slicing into squares. Repeat with 2nd pie.
Substitutions for Philly Tomato Pie
A few things to consider when making this recipe. I have NOT tried making with prepared pizza dough from the grocery store or another pizzeria shop. I don't think it would hurt to try it but be aware the results may be different. This dough recipe is well hydrated and contains oil, where some others may not. If you decide to try a prepared pizza dough and you have success, please leave a comment and let me know.
- Bread Flour - You may substitute bread flour for all-purpose, or split and use half and half. I have not tried with other types of flours.
- Tomatoes - In peak summer, I would absolutely LOVE to make this with fresh tomatoes simmered down for sauce. If you have them and want to go that route, definitely go for it - cook time may be a bit longer as there would be more hydration in fresh tomatoes. You can also use whole peeled canned tomatoes, if you use those - be sure to blend with an immersion blender to make smooth.
- Shallots - If you don't have shallots on hand, sub with onion, be sure to chop finely.
- Sugar - There is a bit of sugar in the yeast mixture as well as the sauce. If you need to substitute with an alternative, honey or agave would be your best choice.
- Parmesan Cheese - As I mentioned above, you can certainly skip the parmesan rind in the sauce if you don't have it. Also, to make this dish vegan, swap the parmesan cheese for nutritional yeast and butter for olive oil.
- Butter - The bit of butter in the sauce is delicious but you can CERTAINLY use olive oil in it's place, especially if you want to keep this recipe vegan.
If you are looking for more gluten free based recipes, check out my friend Daniela at The Gluten Free Austrian, or Kimberly at The Little Plantation for vegan recipes.
Active Yeast vs Instant Yeast
You can use either type of yeast to prepare this dough or any pizza dough. The difference between the two is when they are used in the recipe. For active yeast, you must allow to bloom (foam and bubble) with warm water and sugar - this is what activates it. Instant yeast can be added directly to your flour/salt mixture without the initial bloom.
I bloom my yeast even if it is instant for a few reasons:
- Allowing my yeast (even instant) to bloom lets me know that my yeast is still good to use.
- If you find that your yeast doesn't bloom, you have bad yeast and will not have a successful dough.
- My instructions for making dough includes the process to bloom and the same process can be used for both active and instant yeast.
Equipment for Making Tomato Pie
I've linked some of my favorite tools that are not only useful for this recipe but also just handy kitchen tools to have around.
- Stand Mixer - My favorite stand mixer for making dough is my Ankarsrum Original- a KitchenAid mixer is also a great option, especially with the larger capacity bowl. Making this dough by hand is possible but definitely takes a lot more work.
- Kitchen Scale
- Half Sheet Pan
- Microplane/Zester
- Kitchen Thermometer
- Favorite Chef's Knife - 6", also comes in 8"
- Deep Sauté Pan
- Favorite Large Cutting Board
- Immersion Blender (if using whole tomatoes)
How to Store Tomato Pie
The best way to store leftover pie is placing slices in a glass or plastic container with sheets of wax or parchment paper between slices. Do not store in aluminum as the acid from the tomato sauce can eat away at the foil and leach into your pie.
You can also wrap slices or the whole pie and freeze. Wrap with parchment/wax paper THEN foil or a ziplock bag for slices. Defrost in fridge or pop directly into oven to heat.
These ingredients don't stand up well to freezing.
How Long Does Tomato Pie Keep?
Stored in the fridge, tomato pie is great for 7 days. You can also freeze for 3 months.
What To Serve With Tomato Pie?
Frankly, tomato pie on it's own is the perfect meal. But a lovely salad to balance it out would work great. We've enjoyed it with soup and dipped pieces of tomato pie right into the soup as our bread. Works wonderfully.
Top Tip for Making Tomato Pie
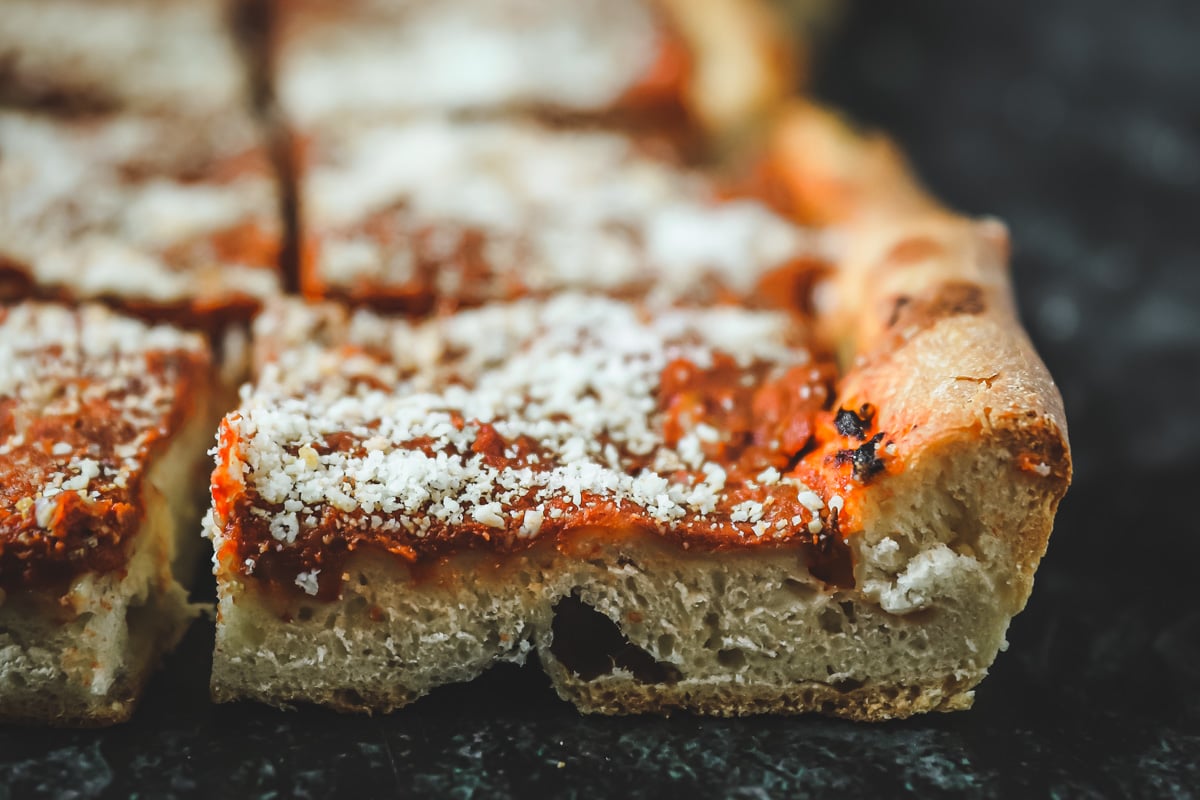
Leftovers are AMAZING - eat straight from the fridge, no heating necessary. 2 pies may seem like a lot but I promise you won't regret it. You can also make one pie and freeze your dough and sauce for another time. This makes for a wonderful make ahead appetizer or party snack!
Also, be sure to only bake one pie at a time. Ovens are finicky and have hot spots, I found when I baked two at a time, some edges were crisper than I liked. Baking on one rack is best, especially in a gas oven. You can certainly swivel your sheet pan around so they backside is in front and front is in back at the halfway point.
I hope you enjoy this Philly Style Tomato Pie as much my family does! If you make Philly Style Tomato Pie , please let me know by leaving a rating and review below!
As always, I love seeing your creations. Please leave a review or share your dish with me on social media #cosetteskitchen which lets me know what is working for you! You can find me on Facebook, Instagram, Twitter , Tiktok and Pinterest. For more delicious recipes to your inbox, sign up for my newsletter!
xoxo,
Cosette
More Recipes to Try
Print
Philly Style Tomato Pie
- Prep Time: 40 minutes
- Cook Time: 25 minutes
- Total Time: 1 hour 5 minutes
- Yield: 40 slices 1x
- Category: Dinner
- Method: Baking
- Cuisine: Pizza
Description
An ode to a classic Philly Style Tomato Pie. Simple fresh dough and a wonderfully thick tomato sauce, baked and topped with parmesan cheese.
Ingredients
Dough Ingredients
- 8 cups all-purpose flour - spooned and leveled - 1050 grams
- 3 teaspoons kosher salt* (half if using table salt)
- 6 tablespoons olive oil - 3 ounces (additional for coating bowl + sheet pans)
- 1 tablespoon active or instant yeast - 10 grams** see notes on quantity if preparing overnight
- 1 tablespoon sugar - 15 grams
- 2.5 cups warm water, divided - 20 ounces
Sauce Ingredients
- 4 tablespoons unsalted butter
- 3 shallots, diced finely
- (2) 28 ounce cans of crushed tomato
- (1) 6 ounce can of tomato paste
- 6 cloves of garlic, minced or grated
- 3 teaspoons sugar - 15 grams
- 3 teaspoons oregano - 3 grams
- 3 teaspoons kosher salt* (half if using table salt)
- parmesan rind (optional)
- grated parmesan cheese for topping finished pies
Instructions
Preparing the Dough
- In the bowl of a stand mixer fitted with your paddle attachment, combine your flour, salt and olive oil. Allow to mix on low for a minute until combined.
- In a liquid measuring cup, add your dry yeast, sugar and 8 ounces of warm water (100-110 degrees). The water should be warm to the touch, not scolding.
- Allow yeast water to bloom (become foamy) for 5 minutes. Add this mixture into your flour mixture with mixer running on low speed.
- Continue to mix on low speed add an additional 8 ounces of warm water. As your dough begins to form, slowly add in your last 4 ounces of warm water as needed. Your dough should begin to form into a ball - pulling away slightly from the sides of your bowl and dry streaks disappeared.
- If your dough appears too dry, add additional water.
- If your dough is sticking too much to the sides of your mixer, add a bit more flour, a tablespoon at a time. You can watch this full video on preparing dough.
- Once your dough has come together - add about a tablespoon of olive oil to your bowl and form your dough into a ball and cover with plastic wrap or a damp towel. Set aside in a warm place to rise for 2-3 hours until doubled in size.
- After your dough has doubled in size, split into 2 even halves. Add a tablespoon of olive oil to 2 separate sheet pans (half sheet pan, 17x12). Place each half of dough on the sheet pan and press down slightly.
- Cover your dough with a sheet of wax paper or a damp towel and allow to rise for another 45-60 minutes.
- See assemble and bake for final steps.
Preparing the Sauce
- Heat a large skillet or sauté pan (12-14" is ideal) on medium heat. Add your diced shallots and cook for 7-8 minutes until softened.
- Once shallots are softened, drop heat to low and grate garlic or add finely minced garlic to the pan. I use a microplane/zester for this and toss the last bit of garlic in the mixture. Work quickly to ensure your garlic doesn't burn. Increase heat back to medium for 1-2 minutes until you smell the garlic.
- Quickly add your crushed tomatoes, tomato paste, sugar, oregano and salt. If you have a parmesan rind - toss it in as well. Allow sauce to come to a low boil on high then reduce heat to low and cover HALFWAY with your lid. You want to allow steam to escape to create a thicker sauce, however the sauce will often splatter - I find that covering halfway, leaving a crack gives me the perfect results and less cleanup.
- Cook for 45 minutes until sauce is thickened slightly. Allow to cool to room temperature or store in fridge until ready to use. **Remove parmesan rind
- See assemble and bake for final steps
Assemble and Bake
- When your dough and sauce are ready and you are ready to bake, preheat oven to 420 degrees Fahrenheit.
- After the 2nd rise, press and shape your dough into each sheet pan until it fully fits the pan. Press edges to the sides of pan to create a crust and place fingers to create divots, similar to focaccia bread. Continue to flatten until you have evenly shaped your dough on both pans.
- Prick dough with a fork all over the bottom. This will allow any excess steam to be release and reduce the number of air pockets formed.
- Once your dough is ready, top with prepared sauce and bake 1 tray at a time in upper ⅓ of oven for 20-25 minutes. Bake until edges and bottom have browned.
- Remove from oven and sprinkle with parmesan cheese. Allow to cool slightly and cut into square - enjoy!
Notes
*Test your sauce for the right balance of saltiness, adjust to your liking. If using anything other than kosher salt, be sure to use HALF the amount and add more if needed.
*You can prepare the both the dough and sauce the day before. If preparing the dough the day before, store in fridge and adjust your yeast to 1 TEASPOON. When ready to use, allow to rise 2x as directed and continue.
*To make vegan, sub olive oil for butter and nutritional yeast for parmesan cheese
*I have NOT tried this recipe with store bought dough, if you do try and are successful - please leave a comment below with tips.
Nutrition
- Serving Size: 40 slices



toni masciandaro nordin says
In Trenton NJ we even added slices of fresh tomatoes to top before baking
toni masciandaro nordin says
In trenton NJ we even added fresh tomatoes to the top of the pie before baking at Gabby's pizzaria
Cosette's Kitchen says
Ooooo, that sounds amazing! Will definitely try it this summer with garden tomatoes!
Xoxo,
Cosette
Beverly Karam says
Thank you for your recipe for tomato pie. We have enjoyed this for years as we live in your hometown. Love the way you explain and show with photos. Your blog is so interesting and informative. Thank you
Cosette's Kitchen says
Thanks so much Beverly - so happy to hear this!!! I hope you enjoy the recipe and many more.
Xoxo,
Cosette
Pat says
Cosette You put so much work into this recipe! Wonderful description and I appreciate all the details you added including the yeast video Thanks for the yummy treat!
Always look forward to your posts
Cosette's Kitchen says
Awww, thanks so much Pat! Your comment means the world to me. I hope you enjoy the recipe.
Xoxo,
Cosette
Penn says
Great recipe and great results. And I have eaten tomato pie for over sixty years! Can you freeze dough?
Cosette Posko says
Yayyyy! Love me some tomato pie and yes - you can freeze the dough!! Wrap tightly in plastic wrap then tuck into a ziplock bag. When you're ready to use, place in fridge to thaw, then allow to rise out of fridge when ready to use. Best to use within 2 days.
xoxo,
Cosette
Jen says
Hey Cosette, my sauce is not nearly as deep red as yours even after 45 mins of cooking. Does it get darker in the oven or do I need to reduce it further?
Cosette Posko says
Hi Jen,
Doesn't necessarily need to be super dark - it will depend on your tomatoes and paste brands of course. As long as it has thickened you are fine. I also edit photos of course so some coloring looks more intense with the mood. 😉 Hope you enjoy!
Xoxo,
Cosette