Achieving ultra creamy hummus is the dream! This Authentic Lebanese Hummus recipe combines the simplest ingredients for that authentic taste. And with the option of using canned beans or fresh, you'll have homemade creamy, dreamy hummus in no time!
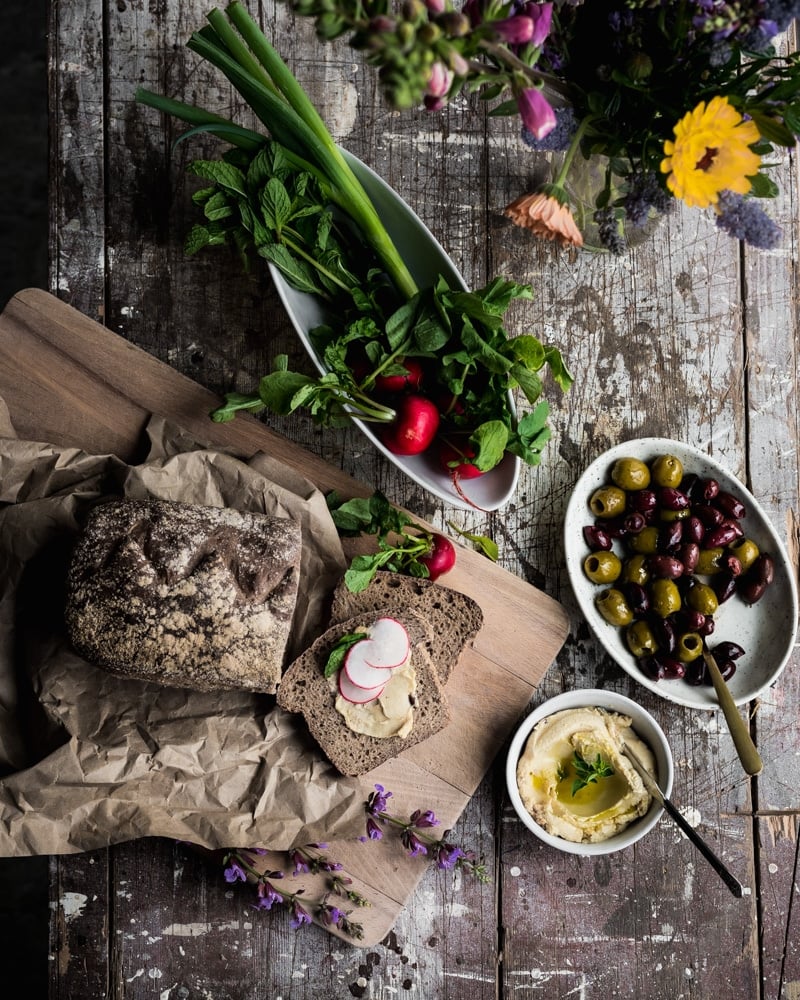
I grew up eating hummus, so basically before it was cool and popular. What's not to love: garlic, lemon, creamy beans and tahini. This is a VERY classic Mediterranean version, nothing fancy, just simple ingredients that meld together so incredibly well and pack the most flavor.
Traditional Method: Soaking Garbanzo Beans
There are definitely shortcuts to making hummus but the classic way includes an overnight soak then cooking to ensure very soft and creamy hummus. Another trick is adding baking soda to your garbanzo beans to help them soften even more, it changes the pH in the water creating a better environment for the skins to soften. The baking soda also helps to reduce the gas that beans will generally give you, bonus! With all these great tips and tricks, you are just a few hours away from beautiful and delicious hummus and you will NEVER go back to store bought.
Pressure Cook: Instant Pot
My Instant Pot is one of my favorite kitchen appliances, especially with beans!!! It makes a long process super quick. The beauty of using the Instant Pot is the ability to skip an overnight soak if you forget.
Quick and Easy: Canned Beans
You can ABSOLUTELY still use canned garbanzo beans if you don't have time to soak or just want hummus a little quicker. It is still crucial to boil down your beans, without this step you'll be left with chunky hummus. Once boiled and cooled, you'll follow the same steps to creating the perfect hummus.
Ingredients
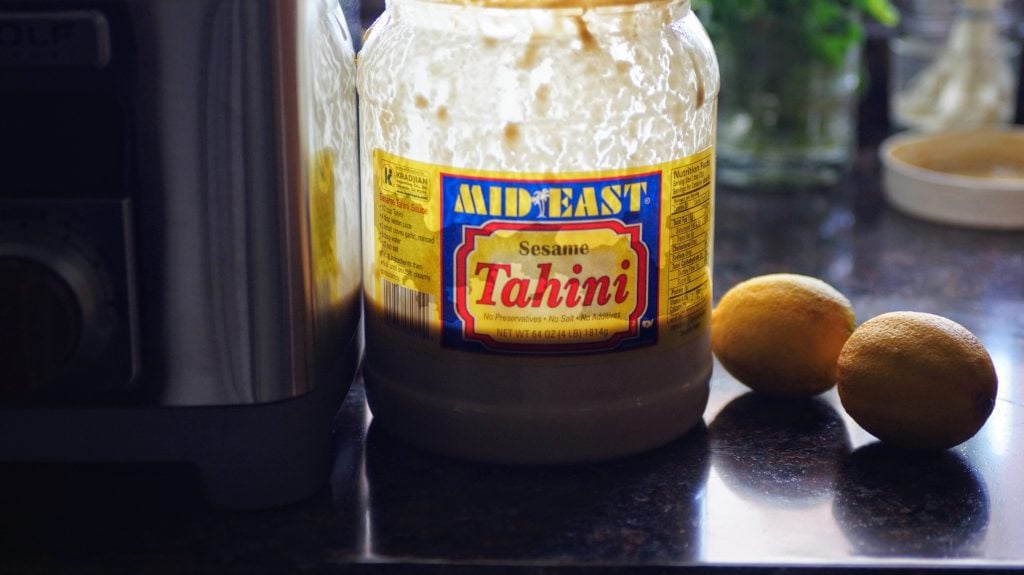
The key to this recipe is tahini, tahini is simply ground sesame seeds. It gives hummus it's slightly nutty flavor and creaminess. Many recipes call for adding olive oil to the hummus mixture itself, however, traditionally it is just used to top the hummus. The tahini is what gives it that creamy texture and depth of flavor, so be sure you are using good quality tahini when preparing, I prefer to use an Arab brand. Some other key ingredients:
- Garbanzo beans (dry or canned will work)
- baking soda - this helps to soften the skins of the beans and eliminates having to rub them off
- garlic
- tahini
- lemon juice - fresh squeezed is best
Making Hummus
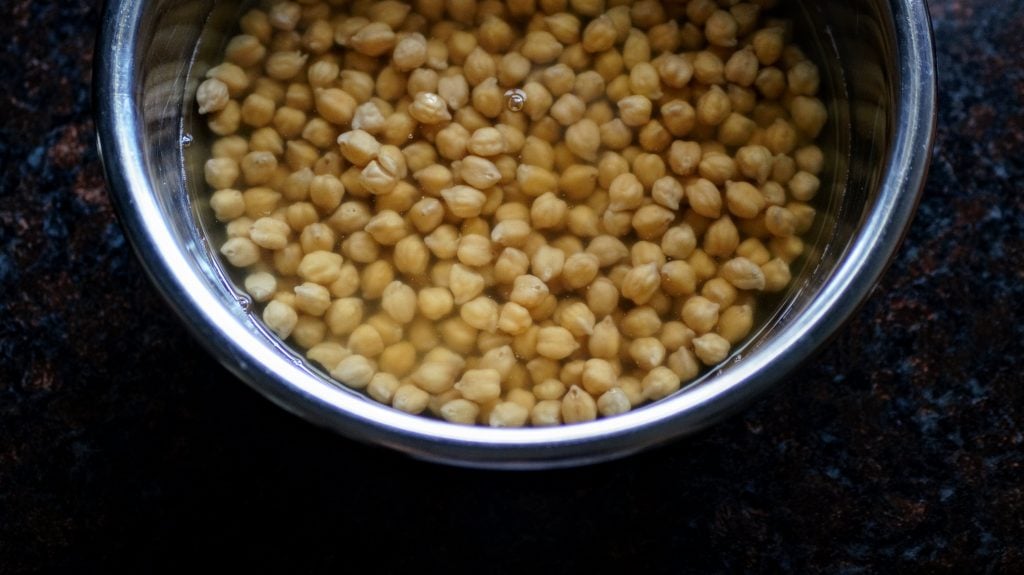
- Preparing Dry Beans - The night before you want to make your hummus, soak your dry beans in a large bowl filled with the beans and water to cover the beans about 2". You'll want to leave room for them to expand. Add ½ teaspoon of your baking soda to this mixture and let sit 8 hours or overnight.
- Drain your soaked beans and give them a quick rinse. (if using canned beans, rinse and drain then continue as directed). See instructions below if using Instant Pot method.
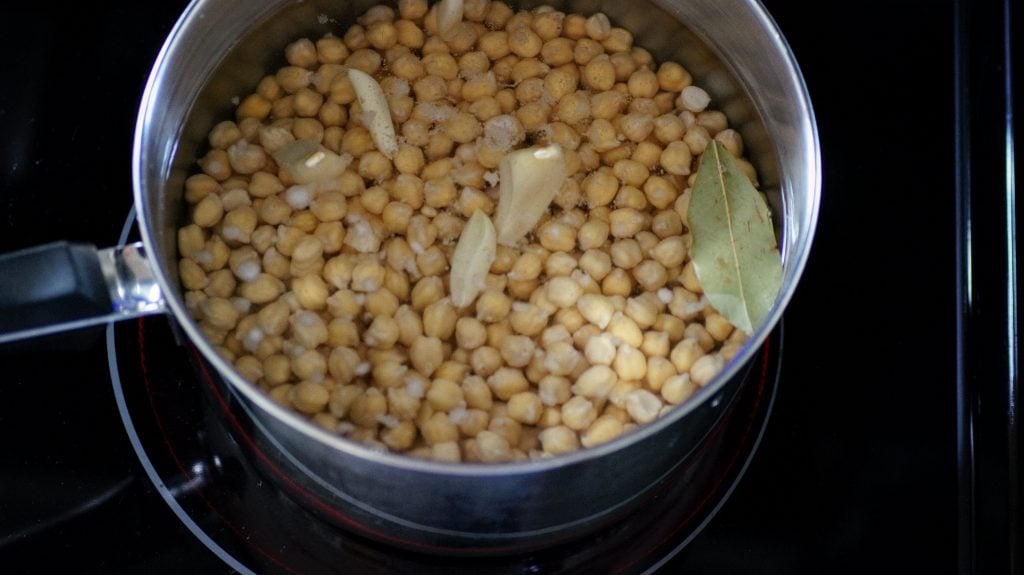
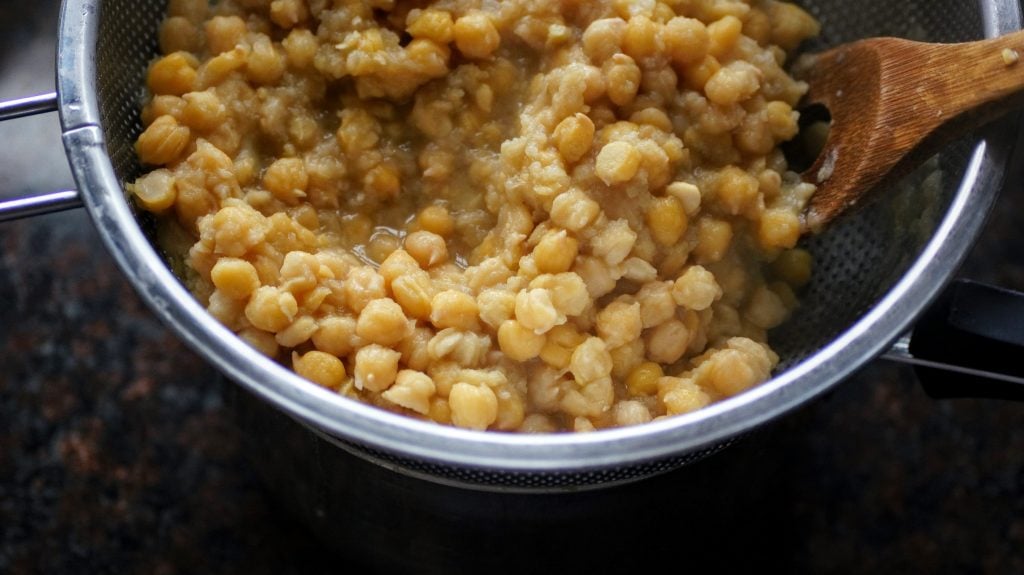
- Add beans to a large pot, fill with water to cover the beans about 2" or more. Add in your bay leave and 2 cloves of peeled garlic and your additional ½ teaspoon of baking soda.
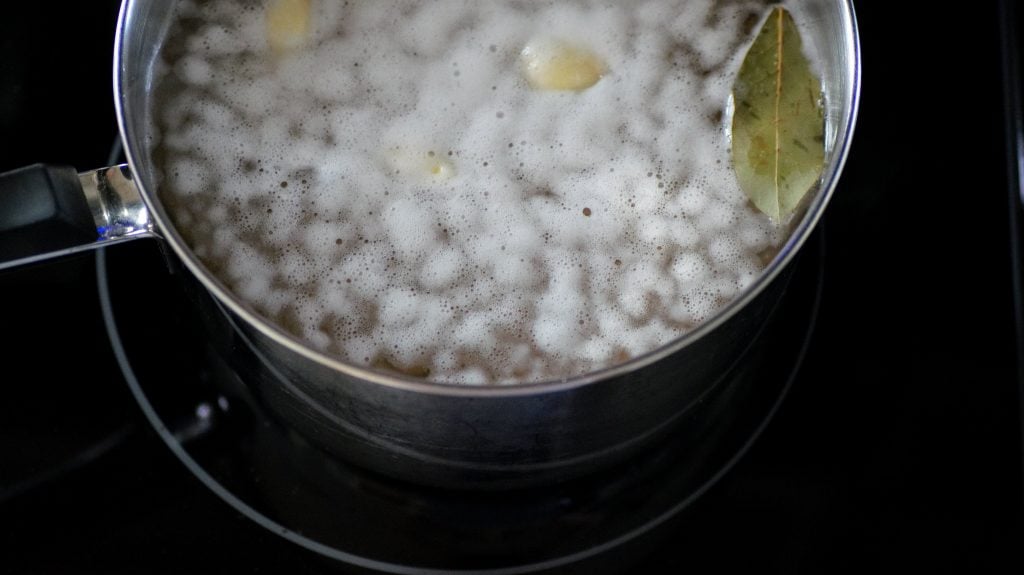
- Bring beans to a boil on medium-high heat, continuously skimming the top foam.
- Continue this process for 45 minutes to an hour on medium-high heat.
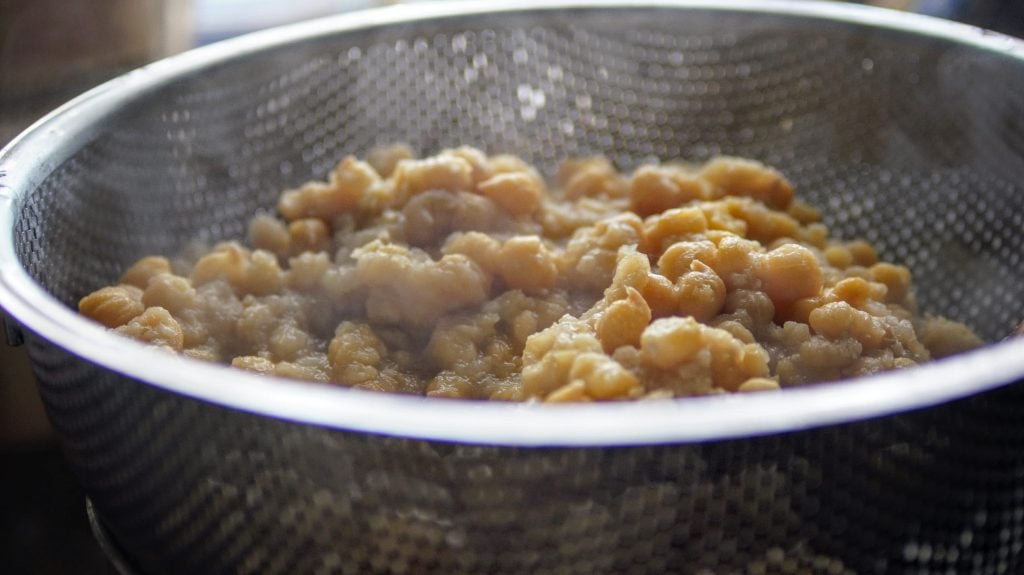
- Once the beans are soft, drain (you can reserve the liquid if you'd like, this is aquafaba which is used in place of eggs in many dishes). Remove the bay leaf, keep the garlic cloves with the beans.
- You'll want to let your beans cool to at least room temperature, processing warm beans will result in a very thick and paste like consistency.
- Once your beans have cooled, in a high powered blender or food processor, add your beans, ice cubes, remaining 2 garlic cloves, tahini and lemon. Blend, add a few tablespoons of water as needed to thin. You may opt to use toum garlic sauce in place of fresh garlic, it gives it a more mellow garlic flavor. I would add 3 heaping teaspoons to start and adjust to taste, same with fresh garlic.
- Taste and add in salt and any additional lemon (to taste). If your mixture is too thick, thin out with some additional water, one tablespoon at a time.
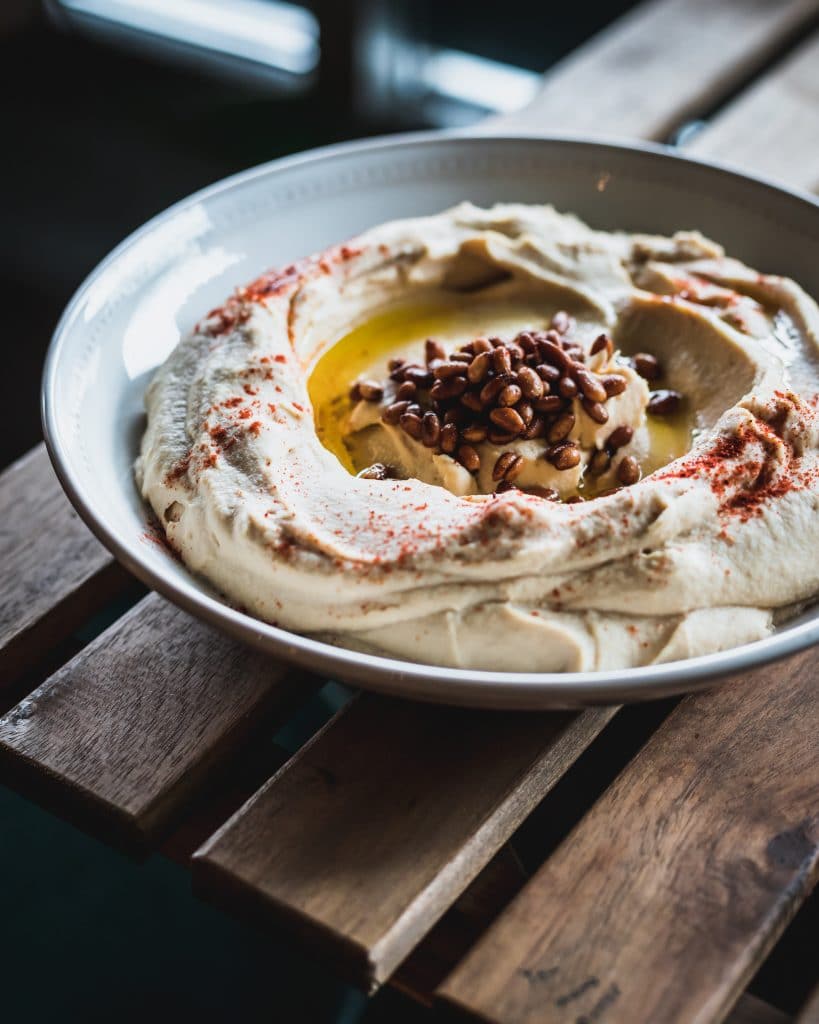
- Scoop out into dish, and top with your garnishes. Enjoy with pita bread, veggies or chips.
Instant Pot Method
- Place dried beans (better if soaked overnight but can be done dry) into your Instant Pot and cover with water by 2 times. Omit your baking soda but add in your garlic and bay leaves.
- Set your Instant Pot to high pressure, beans for 45 minutes.
- Quick release after 5 minutes and check the texture of your beans.
- They should be soft and ready to process after cooling, continue with same steps as traditional method.
A few things to consider when making hummus that will ensure you have the BEST results!
- Process cooled beans: Processing the chickpeas when they are too warm/hot can make your hummus too thick and more like a paste instead of that creamy texture that you want. I recommend processing once your mixture has fully cooled to room temperature.
- Ice cubes: Some folks may think it's weird to add in ice cubes to make hummus but it allows the mixture to stay creamy and also gives it that bright and vibrant color.
- Baking soda: Adding baking soda to your cooking beans is a old trick that helps to soften the skins. If making traditional dried beans adding it during the soak process and then again when boiling really gives the best texture. If using canned beans, adding to the boiling process helps to break down the skins - no more peeling skins!!!
- Thinning out: If you process your hummus and realize it's too thick, you can always thin out by adding some more cold water and or lemon juice if it needs a little more zing.
- Instant Pot: If you choose to use the Instant Pot without soaking beans, be aware that they may cause more gas. Yes, the soaking process actually helps to eliminate some of the properties that cause gas. The hummus will still taste amazing and you'll have wonderful results, but maybe a little more gas.
- Bean Texture: This process of preparing garbanzo beans is very specific to making hummus, this creates a very, very soft bean that is perfect for hummus. If you're preparing garbanzo beans for salads or anything else, these will be too soft.
I hope you enjoy this hummus recipe as much as my family does. It's a classic recipe that will travel with you forever!
As always, I love seeing your creations. Please leave a review or share your dish with me on social media which lets me know what is working for you! You can find me on Facebook, Instagram, Twitter and Pinterest. For more delicious recipes to your inbox, sign up for my newsletter!
xoxo,
Cosette
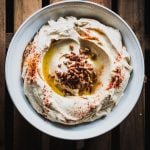
Creamy Hummus
- Prep Time: 20 minutes
- Cook Time: 1 hour
- Total Time: 1 hour 20 minutes
- Yield: 4 cups 1x
- Category: Dips
- Method: Stovetop
- Cuisine: Lebanese
Description
Creamy hummus is the perfect appetizer. It's naturally gluten free and vegan.
Ingredients
- 1 cup dry garbanzo beans (or 2 cans garbanzo beans - drained and rinsed)
- 1 tsp baking soda, divided
- 1 bay leaf
- 4 cloves of garlic, divided - additional as needed
- 5-6 ice cubs
- ¼ cup tahini
- ⅓ cup fresh lemon juice - adjust to taste
- 2-4 tablespoons of cold water - adjust as needed to thin hummus
- 1 tsp salt - adjust to taste
Garnishes
- olive oil
- chopped parsley
- toasted pine nuts
- paprika
Instructions
Preparing Dry Beans
- The night before you want to make your hummus, soak your dry beans in a large bowl filled with the beans and water to cover the beans about 2". You'll want to leave room for them to expand. Add ½ teaspoon of your baking soda to this mixture and let sit 8 hours or overnight.
Making Hummus
- Drain your soaked beans and give them a quick rinse. (if using canned beans, rinse and drain then continue as directed). See instructions below if using Instant Pot method.
- Add beans to a large pot, fill with water to cover the beans about 2" or more. Add in your bay leave and 2 cloves of peeled garlic and your additional ½ teaspoon of baking soda.
- Bring beans to a boil on medium-high heat, continuously skimming the top foam.
- Continue this process for 45 minutes to an hour on medium-high heat.
- Once the beans are soft, drain (you can reserve the liquid if you'd like, this is aquafaba which is used in place of eggs in many dishes). Remove the bay leaf, keep the garlic cloves with the beans.
- You'll want to let your beans cool to at least room temperature, processing warm beans will result in a very thick and paste like consistency.
- Once your beans have cooled, in a high powered blender or food processor, add your beans, ice cubes, remaining 2 garlic cloves, tahini and lemon. Blend, add a few tablespoons of water as needed to thin. You may opt to use toum garlic sauce in place of fresh garlic, it gives it a more mellow garlic flavor. I would add 3 heaping teaspoons to start and adjust to taste, same with fresh garlic.
- Taste and add in salt and any additional lemon (to taste). If your mixture is too thick, thin out with some additional water, one tablespoon at a time.
- Scoop out into dish, and top with your garnishes. Enjoy with pita bread, veggies or chips.
Instant Pot Method:
- Place dried beans (better if soaked overnight but can be done dry) into your Instant Pot and cover with water by 2 times. Omit your baking soda but add in your garlic and bay leaves.
- Set your Instant Pot to high pressure, beans for 45 minutes.
- Quick release after 5 minutes and check the texture of your beans.
- They should be soft and ready to process after cooling, continue with same steps as traditional method.
Notes
- Hummus can be frozen in a freezer safe container, top with a thin layer of olive oil on top, seal and can be stored for up to 4 months. Remove from freezer and place in fridge when ready to use.
- I find using a high powered blender such as a Vitamix is CRUCIAL to get that ultra creamy texture for the hummus, much better than a food processor.


Fee says
Thank you very much for posting this very detailed recipe Cosette. I have a question about Hummus. There are many recipes that use skinned, dried chickpeas , and others that require the painstaking process of removing the skins by hand. Is this necessary for a smooth Hummus ?
Thank you, love your recipes!
Cosette's Kitchen says
Hi friend,
Great question! The reason for the soaking, baking soda and LONG boil is to soften the skins. With the skins softening, there is no need to remove them...believe me, no one wants to do that!!! Give the recipe a try, I think you'll be delighted about skipping that step with great results!
xoxo,
Cosette
Doa says
Tried this recipe over the weekend using canned chickpeas and adjusted by adding some beets, came out great, I would recommend it for those looking for a home-made flavor.
Thank you!
Jo Thomas says
Cosette’s Hummus recipe is fantastic!
Creamy and delicious. I have been serving it with her wonderful Lebanese flat bread recipe.
Because I am gluten intolerant, I have been substituting organic Spelt flour for her pizza dough and No Knead Bread recipe with great results. I’m so glad I found Cosette’s Kitchen on Instagram.
Cosette's Kitchen says
Awwww, this makes my day! Thank you for taking the time to share!!! So glad you are enjoying!♥️♥️
Xoxo,
Cosette
Gretchen says
That ice cube trick is the best!!! Amazing creamy delicious hummus.
Cosette's Kitchen says
So glad my friend!!! Enjoy!!!
xoxo,
Cosette
Rima Abushakra says
The texture of this hummus was perfect. I really like the taste and it grew on me more and more. I also love Cosette’s toum recipe and used it in my hummus. I think next time I would rather try it with fresh garlic and more lemon than the recipe calls for. However, I am Lebanese and I think I like those flavors to come out stronger than the American palate. That said I love this blog and Cosette’s cooking tips.
Cosette's Kitchen says
Awww, so glad you tried it and loved it! And yes, garlic and lemon are ABSOLUTELY to taste! I like mine more garlicky and lemony!!!! 🙂
Thanks for sharing my friend!
xoxo,
Cosette
Daniela says
Delish!!
Cosette's Kitchen says
Enjoy my friend!
xoxo,
Cosette
Dalia Nawar says
Thank you Cosette for the detailed delicious recipe. I usually buy the store cans and then add the rest of the ingredients to it, but not anymore!
Thank you!❤️
Cosette's Kitchen says
Of course and no harm in using canned chick peas - sometimes we need a shortcut! Enjoy my friend!
xoxo,
Cosette
Julie M says
This was the very first recipe I made from Cosette’s Kitchen and I love it! It was so creamy and delicious! I couldn’t believe how easy it was to make! The only thing that kept me from making it again was that my mini processor died. Got me a new one, and I’m ready to make some more! Thank you Cosette for this delicious recipe.
Cosette's Kitchen says
Yay! So glad you enjoyed it Julie - makes me happy to hear your success! And glad you got a new machine!
xoxo,
Cosette
Zoe says
Delicious!!!!!
Cosette's Kitchen says
So glad you love it!!
xoxo,
Cosette
Alexandra says
So creamy and delicious. My favorite to make for dinner parties or for someone special. The best hummus recipe hands down!
Cosette's Kitchen says
So glad you enjoyed the recipe, makes me happy!!
xoxo,
Cosette
Michelle says
I've been dreaming of making hummus but have been afraid that if I try, it won't be as good as my mom's. This recipe is so close to home, it was perfect. So easy, so good. Thank you , Cosette.
Cosette's Kitchen says
Awww, so glad it hit home for you! Thanks for sharing!
xoxo,
Cosette
Maham says
Delicious!
Cosette's Kitchen says
Thank you! So glad you enjoyed!!
xoxo,
Cosette
Roberta Dall'Alba says
OMG. This is my new obsession Cosette!!! So creamy! It almost looks like a mousse 😍😍🥺
Cosette's Kitchen says
This makes me sooooo happy! Thank you for sharing Roberta!!
xoxo,
Cosette
Karen says
Best Hummus recipe I have tried!
Cosette's Kitchen says
It's so silky and smooth, so glad you have enjoyed! I also have you entered for the contest!!
xoxo,
Cosette
Chelsea says
This hummus recipe was so yummy! Lemony and so smooth. I used canned beans and loved the long boil tip - who wants to remove chickpea skins?! This was amazing and really simple to make. Thanks, Cosette!
laura ivy says
Make this hummus recipe often using 1 can of drained and boiled chickpeas. Just made it Friday night for our falafel dinner. Love adding extra lemon for our tastes and the ice cube truck is genius, it comes out so creamy every time. My kids love it for an after school
snack with veggie sticks or pita chips.
Cosette's Kitchen says
So glad you love it!!!! Enjoy it and I got your extra entries!
Xoxox,
Cosette
Bethany says
I just made this recipe, followed it almost exactly (but had to substitute minced and paste for the garlic cloves). I have made hummus many times in the past, and gotta say your recipe is the best! The texture and consistency is genius! Thank you so much for sharing these hints! I garnished the final product with an olive oil well and dollop of Shatta, and also a bit of za'atar. Looks and tastes phenomenal, thanks again!
Cosette Posko says
I'm soooooo happy to hear this!❤️❤️
Enjoy my friend and thank you for the review!
Xoxo,
Cosette
Christopher G says
I just made this and it's delicious! The texture was perfect and reminded me of a Lebanese-restaurant quality hummus. I used a little less garlic than the recipe called for because I wanted that smooth and creamy sesame taste to come through, but will definitely try it again with some more garlic too. Thanks Cosette!
Cosette Posko says
Oh this makes me so happy! Thank you for sharing your experience making it. If you ever make toum - definitely try using toum in place of cloves of garlic. I find it gives it a lovely garlic flavor but slightly less overpowering. You can find the recipe on the blog as well.
https://cosetteskitchen.com/toum
xoxo,
Cosette
Erin says
Delish! I think I quadrupled the garlic but followed everything else as written and I could just eat this with a spoon!