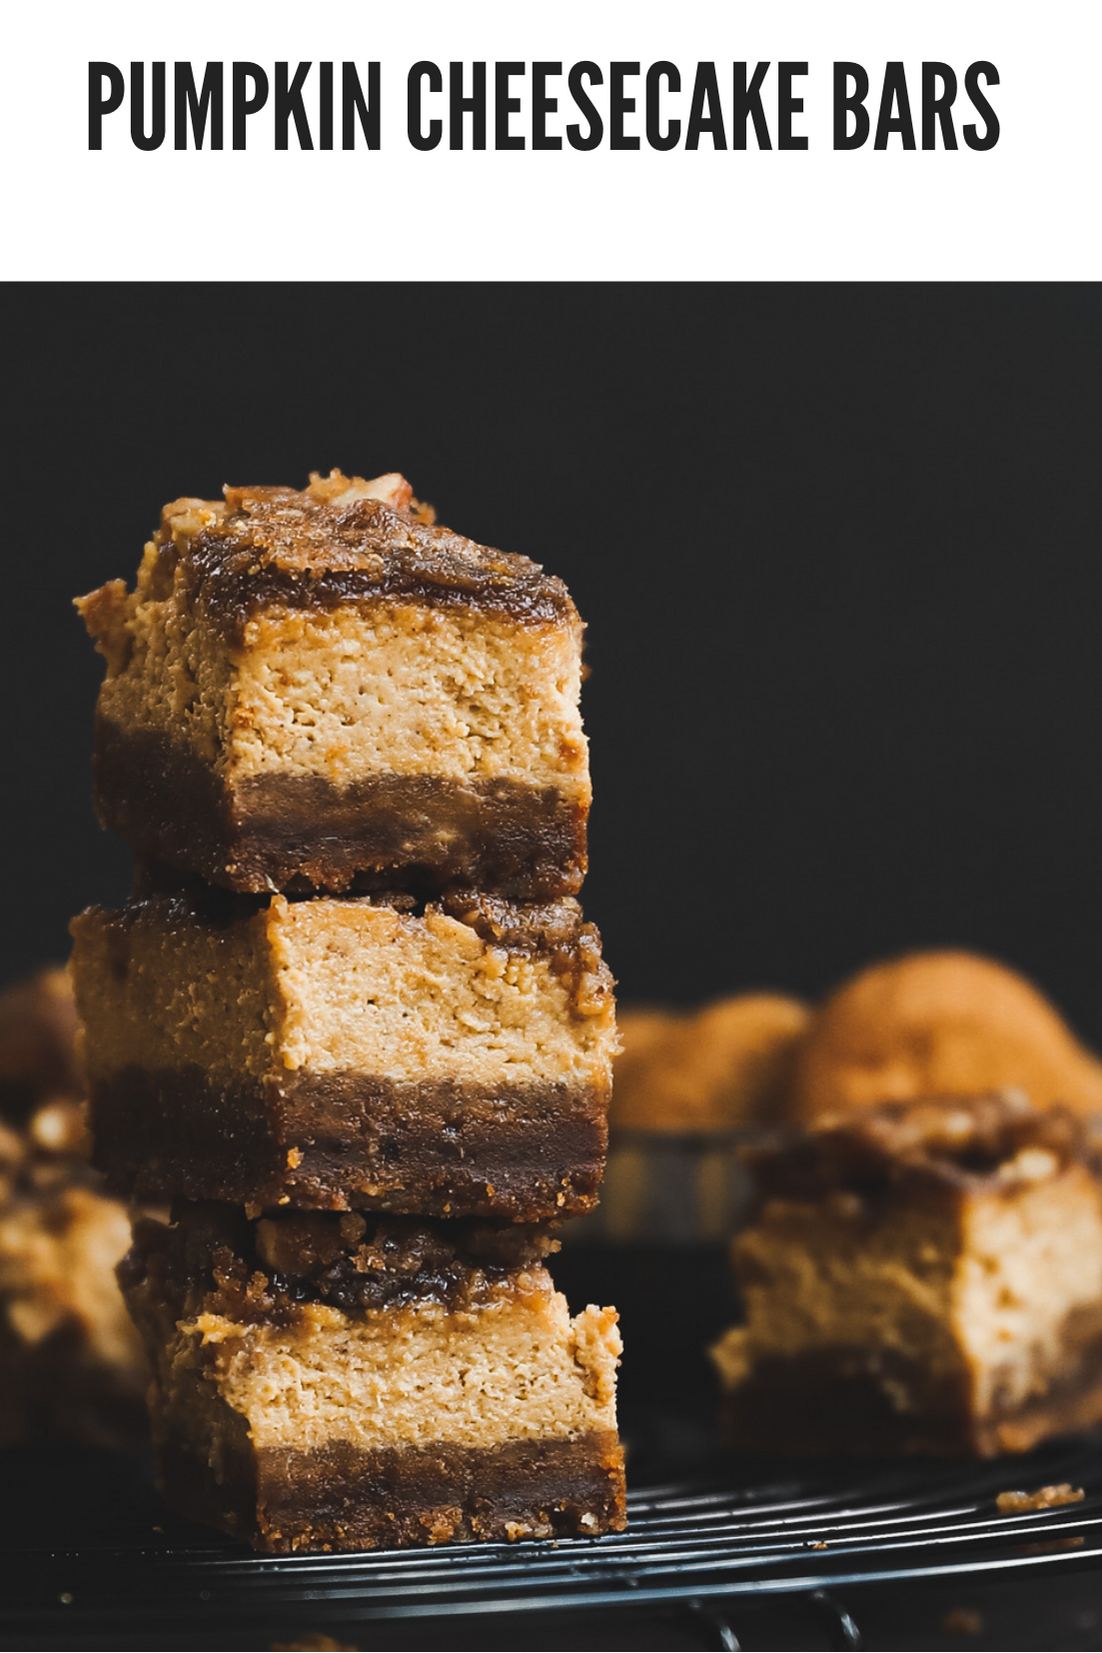
I'll be the first to tell you that I'm not a HUGE fan of pumpkin desserts. However, I have made a few over the years that have wowed my family and friends but I have also enjoyed myself. This variation of a traditional Pumpkin Cheesecake is easy to put together and less intimidating that a traditional cheesecake requiring a water bath. The crunchy topping and gingersnap crust make it the perfect dessert for the holidays.
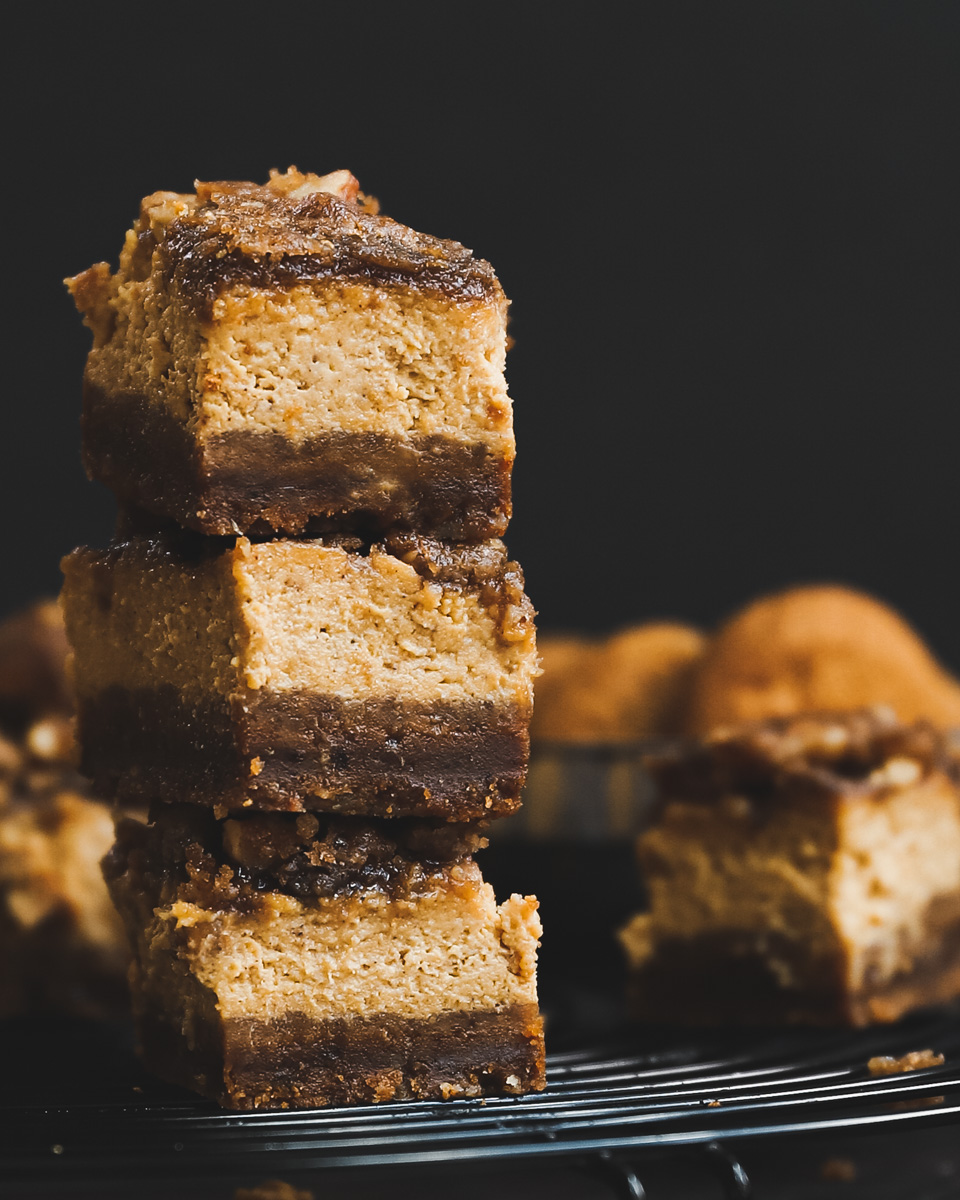
From pumpkin spice lattes to pumpkin pie, pumpkin is all the rage!! I'll still go with caramel anything this time of year. But I will say, even with my lackluster feelings about pumpkin - these cheesecake bars are very subtle and the warm notes of the spices really shine.
Another fabulous, easy pumpkin dessert are my no-bake pumpkin cheesecakes. Made perfectly into ramekins for individual servings. You can find 5 top pie recipes on this post! Don't miss my Thanksgiving Prep Guide as well to get all your planning out of the way!
Ingredients for Pumpkin Cheesecake Bars
Fairly simple ingredients to make these cheesecake bars that most home bakers will have on hand. If you are new to baking, you may need to pick up a few spices and items to get you going.
- Gingersnap Cookies- I adore anything with ginger, especially these particular bars. My favorite gingersnap cookies are from Trader Joe's, they even have tiny crystalized bits of ginger in each cookie. Any hard gingersnap cookie will do.
- Unsalted Butter- Butter is going to bind our gingersnap crust together, I like to use unsalted but salted butter would be just fine here. Also used in our topping.
- Cream Cheese- The bulk of our bars is made from cream cheese, opting for a full-fat cream cheese will give you the best results.
- Brown Sugar- Brown sugar goes very well with the warm spices and flavors of these bars, it's a combination of granulated sugar and molasses. Also used in our topping.
- Maple Syrup- The maple syrup is a lovely pairing to sweeten the cheesecake bars in addition to the brown sugar.
- Canned Pumpkin- You want to be sure you are purchasing simply CANNED PUMPKIN, not pumpkin pie filling. Canned pumpkin is simply pureed pumpkin, that's it. Libby's is one the top brand choices, I also use Trader Joe's brand as well.
- Eggs- The eggs are going to help to set our cheesecake bars and give them a firm texture.
- Heavy Whipping Cream- Full fat heavy whipping cream is ideal in this recipe, the thick texture gives the cheesecake firmness but also gives a bit of fluff as we process.
- Salt- A bit of salt to balance sweetness
- Ground: Cinnamon, Ginger, Nutmeg, Allspice, Cloves- I prefer to add each spice individually to my pies but you can also sub a pre-mixed pumpkin pie spice, see recipe notes.
- Flour- We'll use a bit of flour to create our topping mixture.
- Walnuts- Walnuts are added to the topping mixture for extra crunch.
You will also need a 9x13 baking dish, food processor and parchment paper. See recipe card for quantities.
How to Make Pumpkin Cheesecake Bars
The easiest way to make these bars is by having a food processor on hand. I use it for both crushing the gingersnaps and mixing my wet ingredients.
Begin by placing your gingersnaps in the bowl of a food processor and pulsing until fine crumbs form. If you don't have a food processor, place cookies in a sealed ziplock bag and begin crushing with a rolling pin until you have fine crumbles.
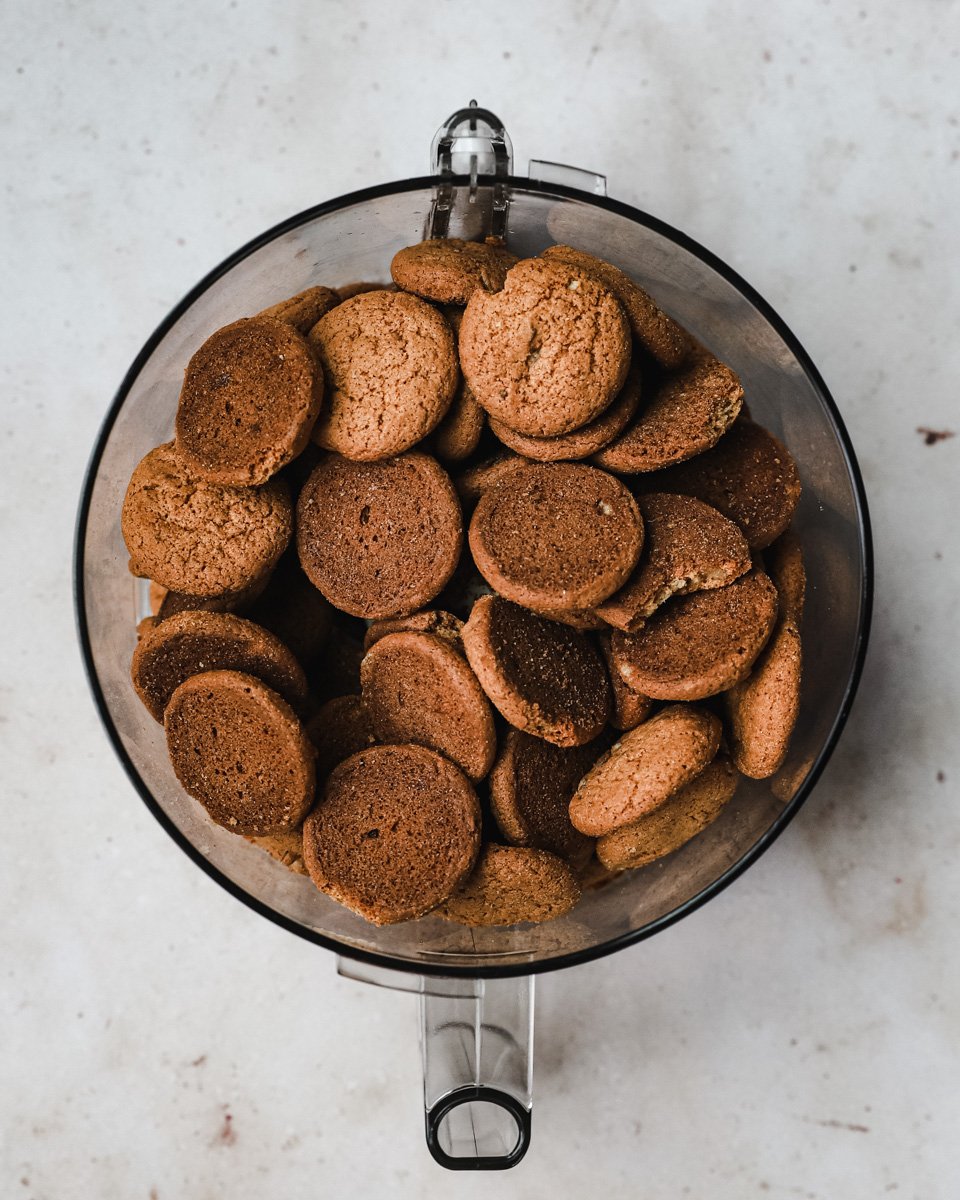
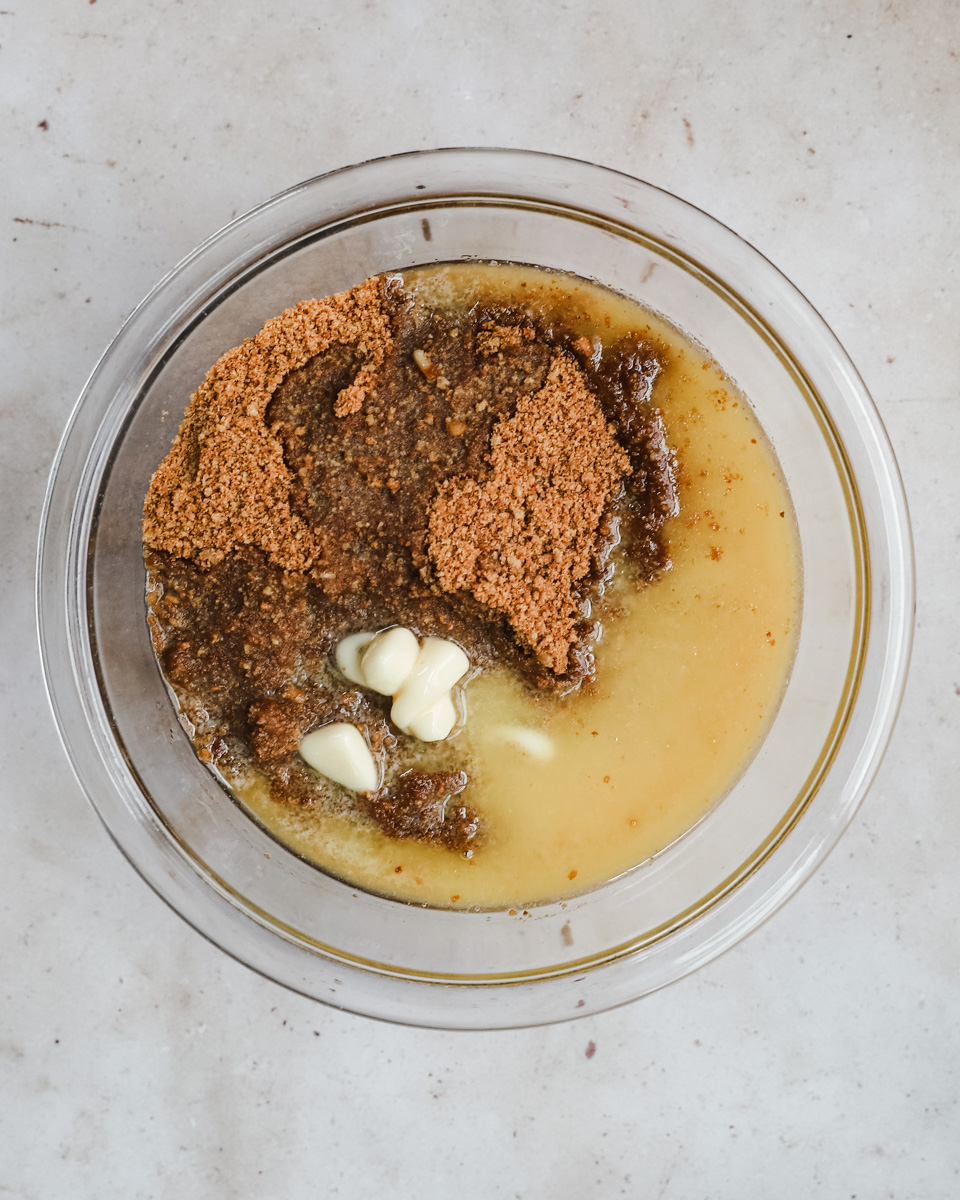
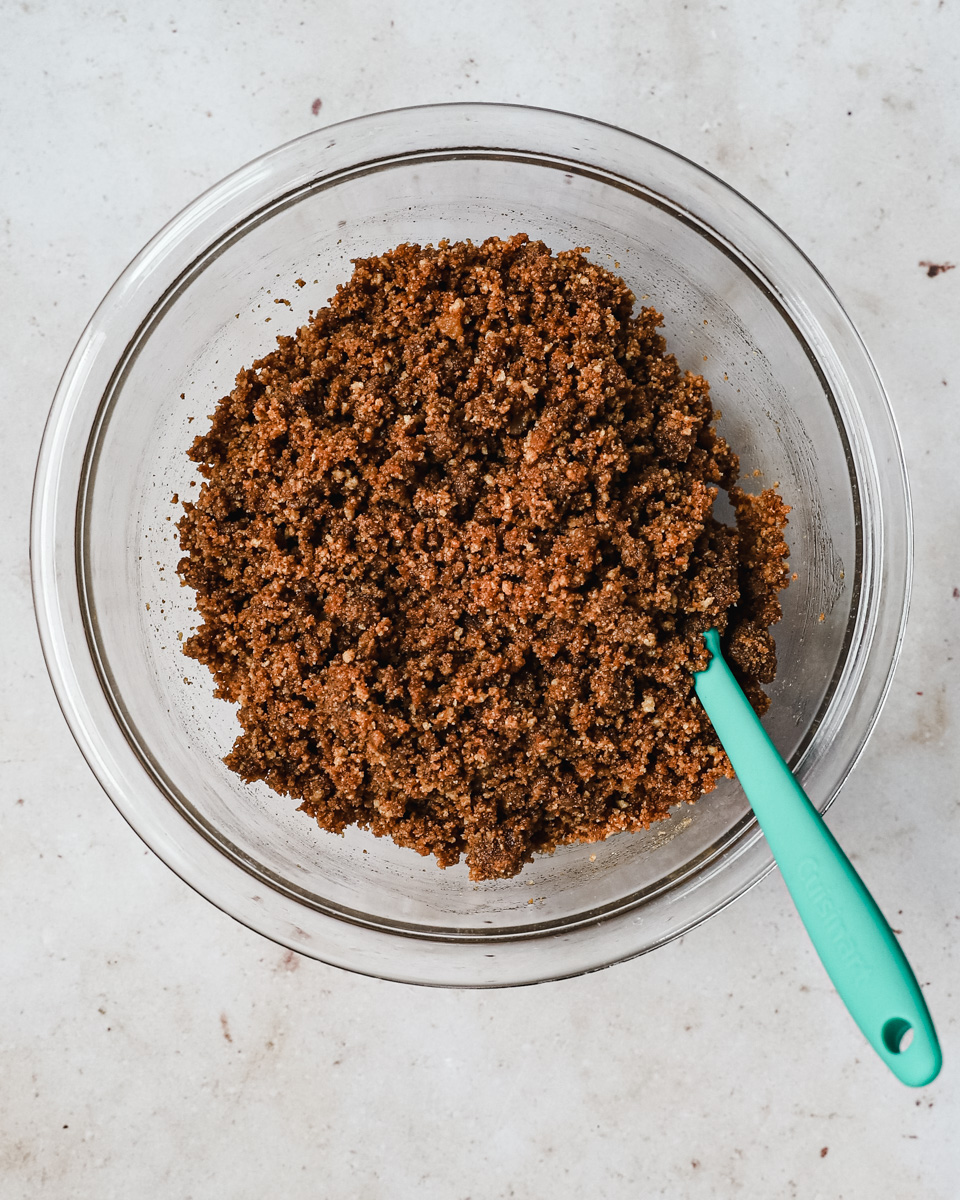
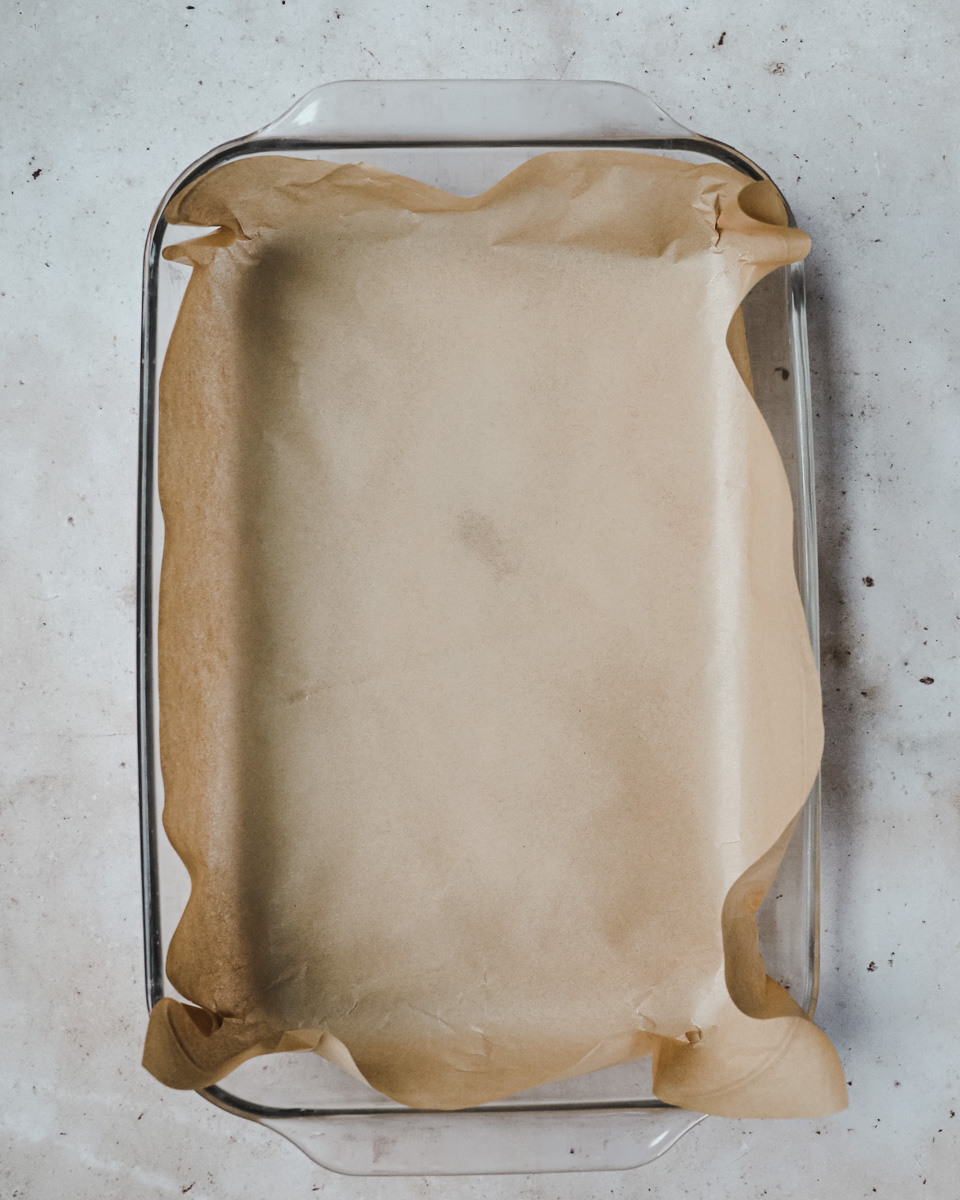
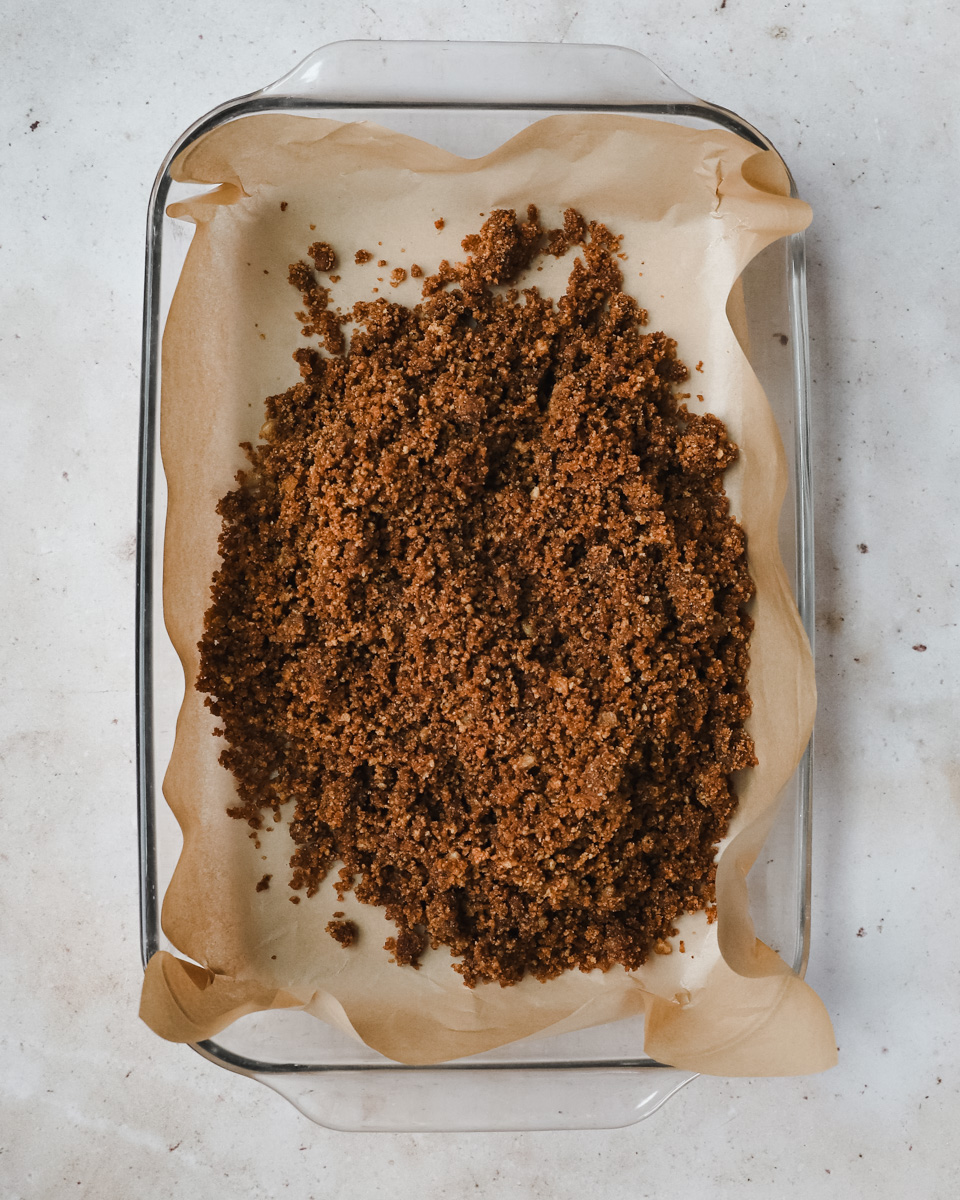
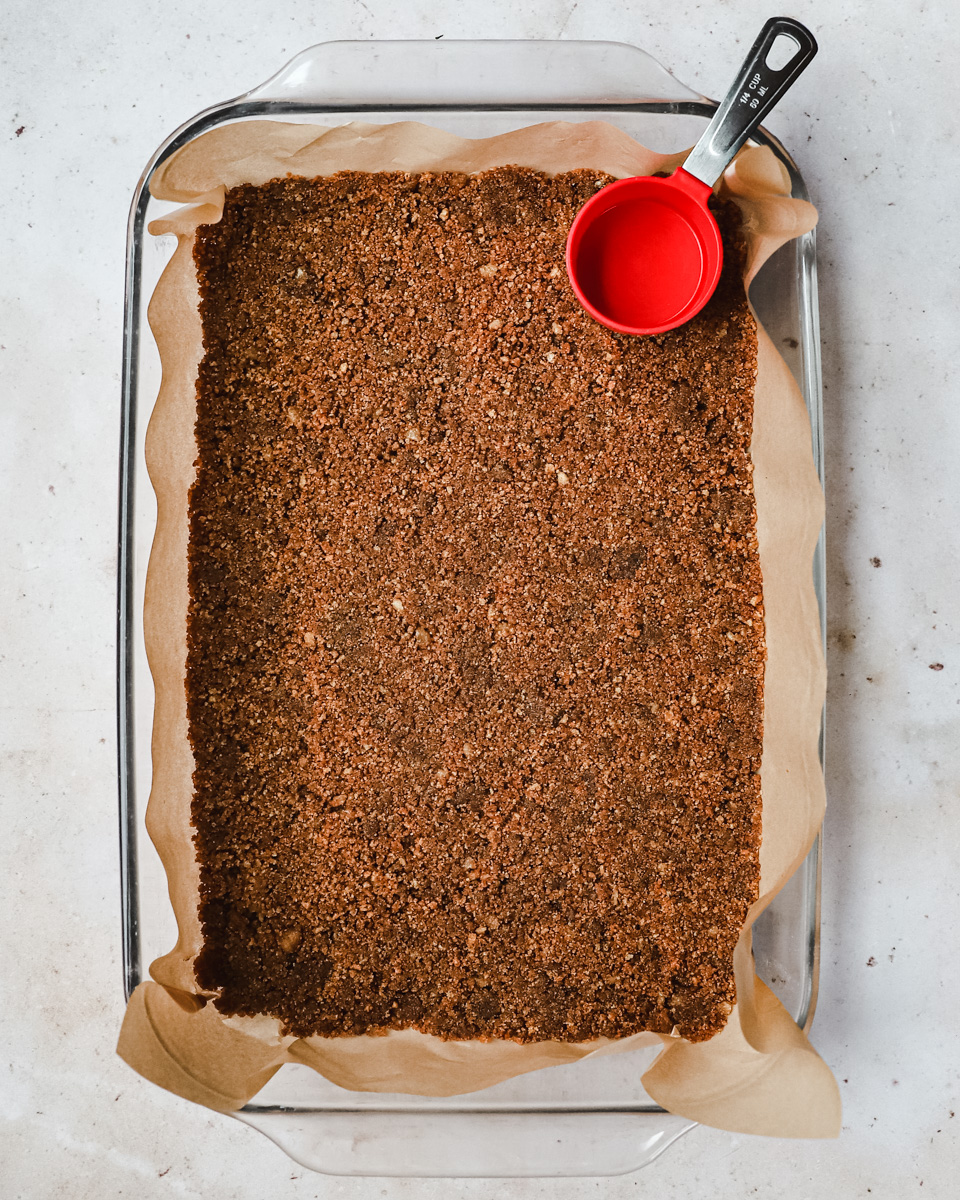
Melt your butter and add to your gingersnap crumbles, this will make the crust of our cheesecake bars. Once a cohesive mixture forms, pat the gingersnap butter mixture into a parchment lined 9x13 baking dish. This will bake for about 9 minutes then cool before filling with pumpkin mixture.
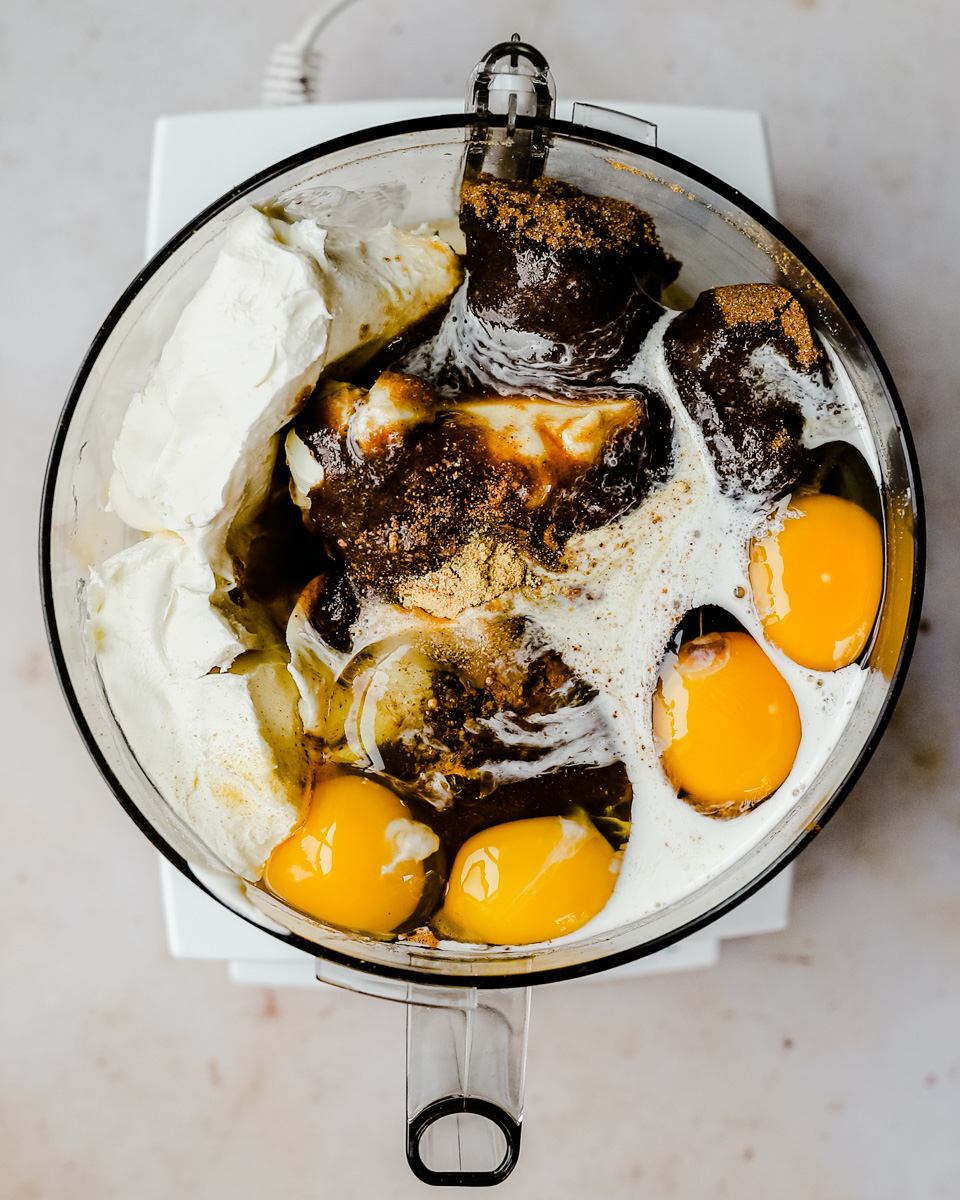
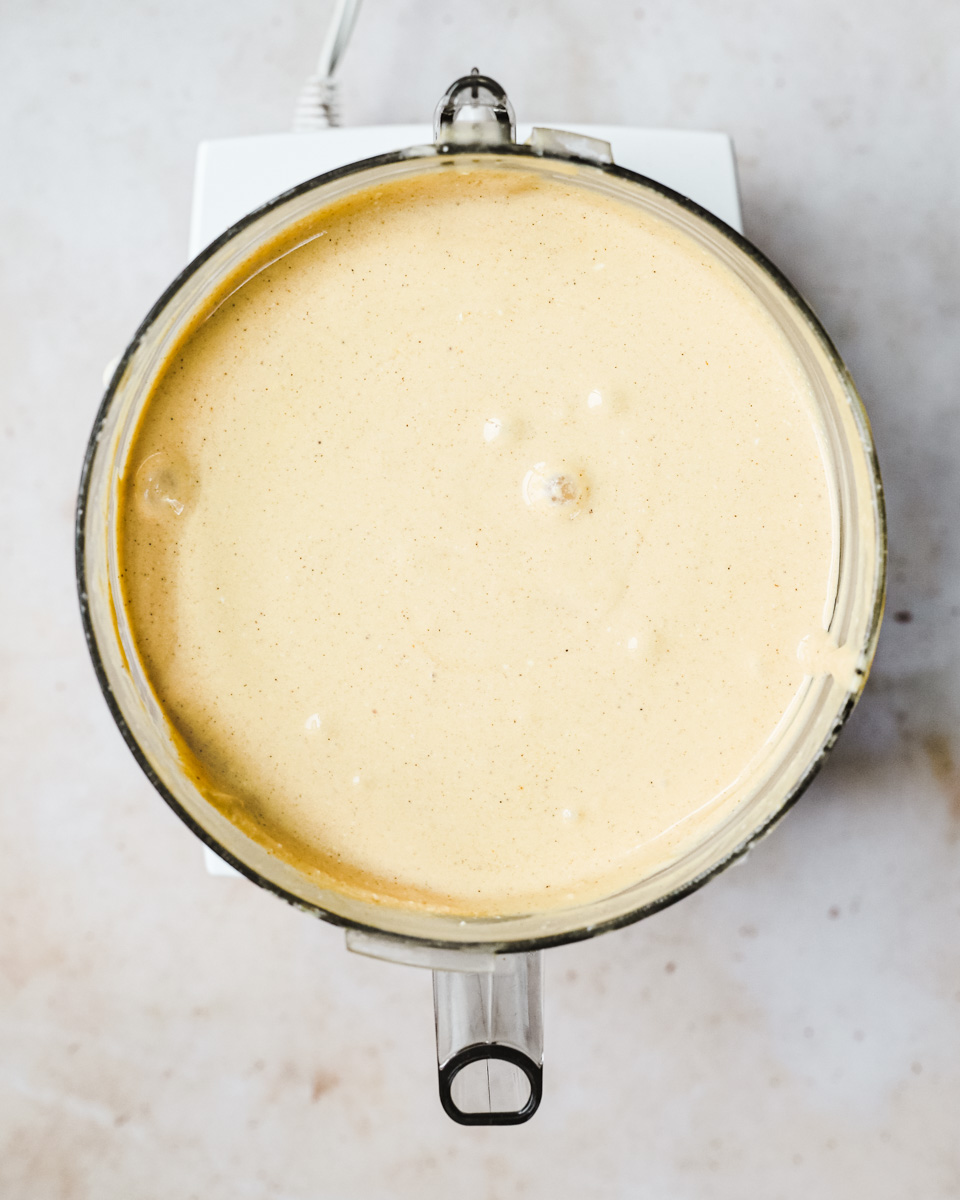
Next, begin your filling. In the bowl of the same food processor bowl, add in your cream cheese, brown sugar, maple syrup, canned pumpkin, eggs, heavy whipping cream, salt and spices. Process until smooth and you have a creamy consistency. Stop partway through and scrap sides down, process again.
Pro tip:
You need to have room temperature cream cheese before processing your filling. If your cream cheese is too hard it will leave clumps in your cheesecake filling. To soften cream cheese quickly, place cream cheese packets into ziplock bag and submerge into warm water for 5-10 minutes. Check and repeat if it needs to be softer.
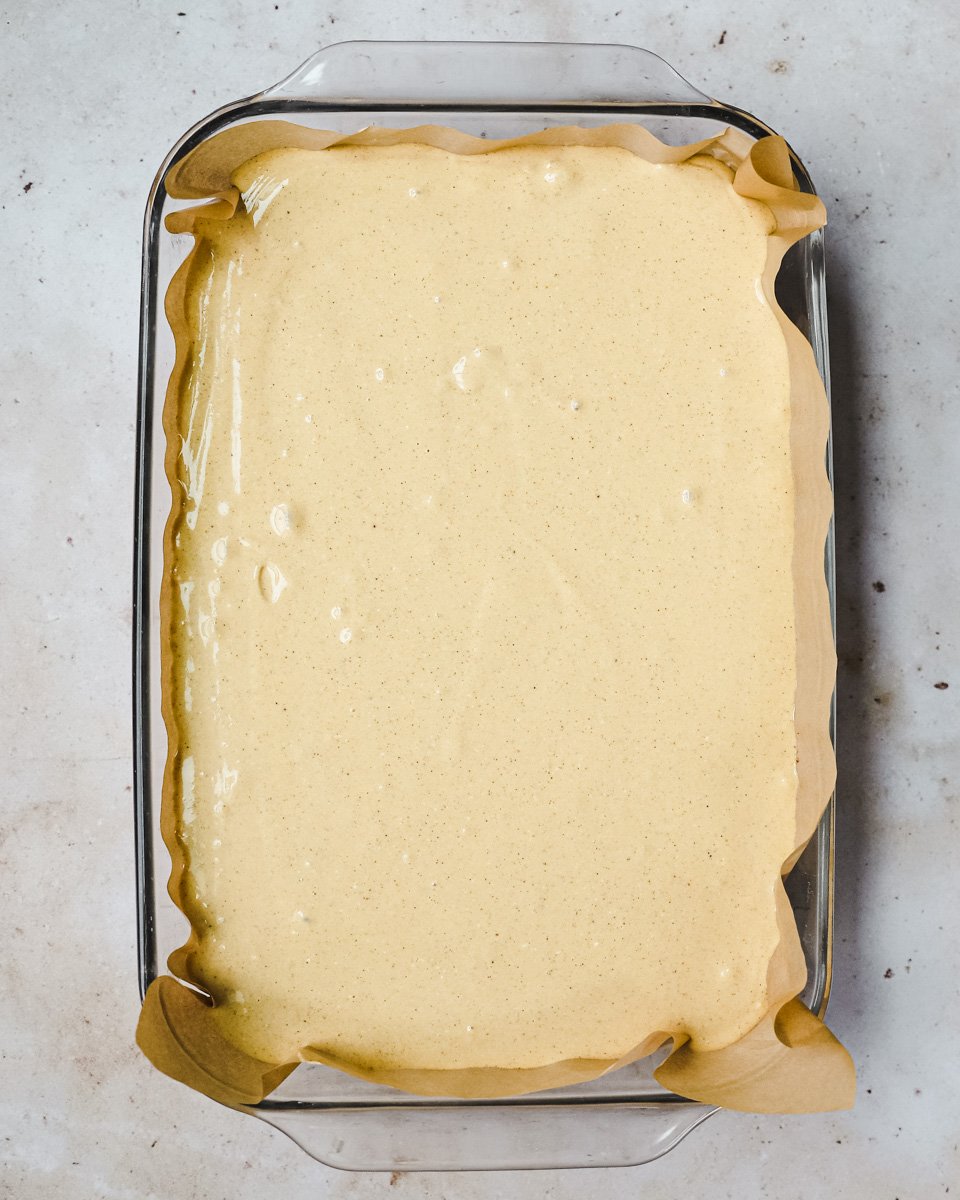
Once your cheesecake base has cooled, pour your cheesecake filling and bake for 30 minutes. Meanwhile, prepare your topping.
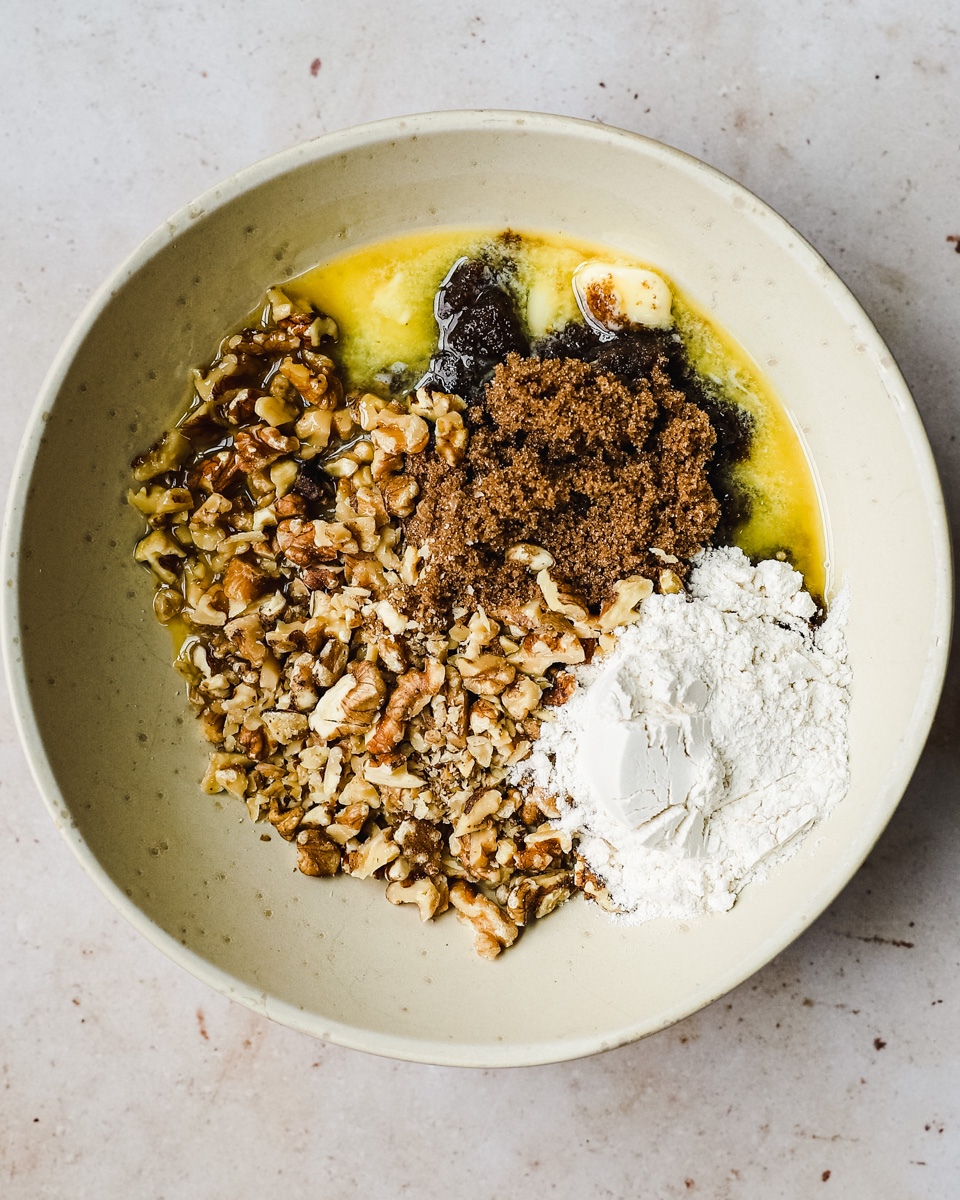
In a small bowl, melt your butter then add flour, brown sugar and chopped walnuts. At the halfway point of your cheesecake bars baking, remove and add topping to bake the last half.

Once cheesecake bars have completed baking, remove from oven and allow to cool completely then place in fridge for 4 hour to overnight to firm up.
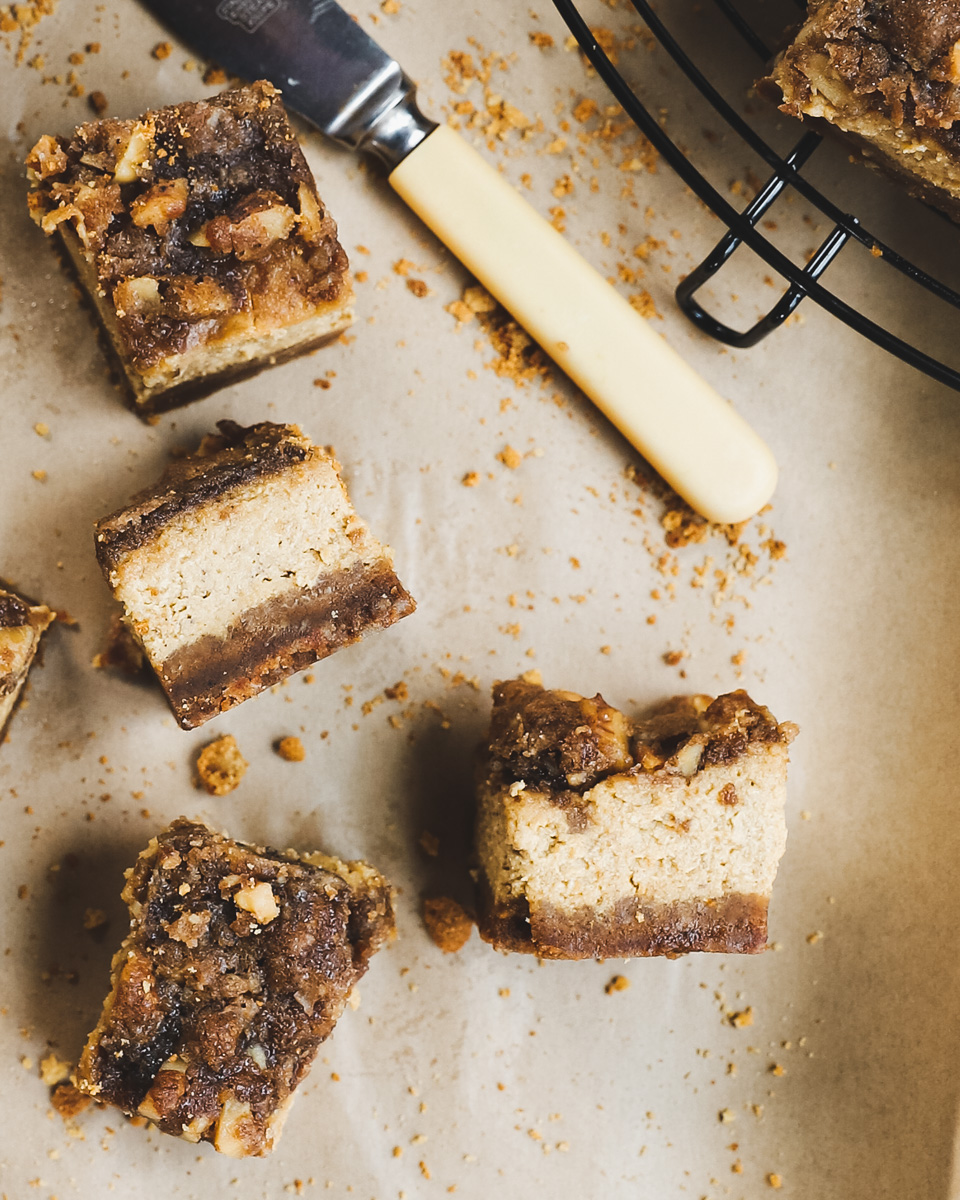
When ready to enjoy, cut cheesecake into bars and enjoy as is or with whipped cream.
Substitutions for Pumpkin Cheesecake Bars
As bakers we often have items on hand that we'd like to use instead of buying different ingredients. Here are a few substitutions if you'd like to try:
- Cream Cheese- You can sub mascarpone cheese in place of cream cheese for part or all of this cheesecake. Another variation is to replace 8 ounces of your cream cheese for goat cheese - this will give it a tangier flavor.
- Gingersnaps- Any graham cracker or cookie will work in place of the gingersnaps, you just want to make sure they are a crunchy cookie or cracker. You can also purchase pre-crushed graham crackers and use in place of crushing your own. If you are gluten free, choosing a gluten free cookie is easily achievable.
- Spices- If you don't have all the spices on hand in your spice cabinet, feel free to use 2 teaspoons of pre-mixed pumpkin pie spice in place.
- Nuts- I love the added crunch of the walnuts in the topping, you can certainly sub with pecans or even pepita seeds for a nut-free option.
- Flour- For a gluten free option, use a 1-1 flour for the topping or omit altogether.
Variations for Pumpkin Cheesecake Bars
As mentioned in the substitutions, there are many ways to vary aspects of the cheesecake.
- Chocolate Graham Crackers- Swapping out the gingersnap crust for a chocolate graham cracker crust would be delicious. Go the extra mile and drizzle melted chocolate on slices when serving.
- Fresh Ginger- Adding some freshly grated ginger to your cheesecake filling would be an elevated option and give a burst of flavor.
- Caramel - I'll never say no to caramel, swap the crunchy topping for some tahini caramel instead!
Equipment for Making for Pumpkin Cheesecake Bars
A food processor is your best tool for these bars, you can also mix your filing using a hand mixer or stand mixer. Check out my Amazon Store for all the baking essentials!
Storage and Freezing
These bars should be stored in the fridge and best enjoyed within 7 days.
These bars can easily be frozen. After baking and chill time, cut into squares and wrap each in wax paper then store in ziplock bag. Label and pop in freezer. When you want a treat or to entertain, pull a few out and allow to thaw in fridge overnight. Best in freezer for 3 months.
As always, I love seeing your creations! This is a perfect salad or side dish to serve all year long.
Tips For Success
- Use softened/room temperature cream cheese. If you don’t, you run the risk of having lumps in your cream cheese layer.
- Ensure your cheesecake bars are cool before transferring to fridge for final chill.
- Be sure to fully crumble your gingersnaps, not allowing any large clumps to form. A food processor is best to ensure you have fine crumbles.
- Parchment paper is ideal for ensuring your bars don't stick and bake evenly.
I hope you enjoy these Pumpkin Cheesecake Bars as much my family does! If you make Pumpkin Cheesecake Bars, please let me know by leaving a rating and review below!
As always, I love seeing your creations. Please leave a review or share your dish with me on social media #cosetteskitchen which lets me know what is working for you! You can find me on Facebook, Instagram, Twitter , Tiktok and Pinterest. For more delicious recipes to your inbox, sign up for my newsletter!
xoxo,
Cosette
Easy Pumpkin Cheesecake Bars Gingersnap Crust {no water bath}
- Prep Time: 20 minutes
- Cook Time: 1 hour
- Total Time: 1 hour 20 minutes
- Yield: 24 bars 1x
- Category: Dessert
- Method: Baking
- Cuisine: American
Description
I've turned one of my most beloved Pumpkin Cheesecakes into these easy to make Cheesecake Bars! Same great flavor, half the effort and stress of making a traditional cheesecake. The perfect make ahead dessert.
Ingredients
Gingersnap Crust
- 375 grams of crushed gingersnap cookies (about 2 ¾ cups of crumbs)
- 140 grams of unsalted butter, 10 Tablespoons, melted
Topping
- 85 grams unsalted butter, 6 tablespoons
- 115 grams chopped walnuts, 1 cup
- 200 grams brown sugar, 1 cup packed
- 45 grams flour, ⅓ cup
Cheesecake Filling
- 24 ounces of plain cream cheese, softened to room temperature
- 4 whole large eggs
- 15 ounce can pure pumpkin (pure pumpkin, not filling - such as Libby's)
- 185 grams brown sugar, ¾ cup firmly packed
- 60 ml heavy whipping cream, ¼ cup
- 70 ml maple syrup, ¼ cup
- 2 teaspoons vanilla extract
- ½ teaspoon kosher salt
- 1 teaspoon ground cinnamon*
- ½ teaspoon ground ginger*
- ½ teaspoon ground nutmeg*
- ¼ teaspoon ground allspice*
- ¼ teaspoon ground cloves*
Equipment
- Food processor/hand or stand mixer
- 9x13 baking dish
- Parchment paper
Instructions
Gingersnap Crust
- Preheat oven to 350 degrees Fahrenheit.
- Begin by placing your gingersnap cookies in the bowl of a food processor and pulsing until fine crumbles form. If you don't have a food processor, place cookies in a sealed ziplcok bag and begin crushing with a rolling pin until you have fine crumbles. Be sure your crumbles don't have any large chunks of cookie remaining.
- Melt your butter and combine with your gingersnap crumbs in a bowl until they are wet and sandy.
- Prepare a 9x13 baking dish by placing a sheet of parchment, ensuring it covers the sides - pro tip, if your parchment paper is rolling, crumble it up, open and then attempt to lay.
- Pour your gingersnap butter mixture into prepared pan and using a glass bottom, begin pressing down until you have an even layer all the way through your baking pan.
- Bake the crust for 9 minutes, then remove and allow to cool.
Topping
- In a microwave safe bowl, melt your butter. Add in your walnuts, brown sugar and flour. Mix to combine.
- Set aside until ready to use.
Cheesecake Filling
- Decrease oven to 325 degrees Fahrenheit
- In the bowl of your food processor (don't bother cleaning it from your crumbs) or hand/stand mixer fitted with whisk attachment, combine your cheesecake ingredients.
- For best results, be sure cream cheese and eggs are at room temperature.
- Combine everything and process on high speed for 1-2 minutes.
- Stop, scrape sides and ensure everything is combined well. You want to ensure your cream cheese mixture is smooth and silky.
- Pour your cheesecake mixture into your cooled gingersnap crust and place in preheated oven.
- Bake for 30 minutes.
- Remove after 30 minutes and add your topping, bake for another 25-30 minutes until cheesecake is set. It will have a bit of movement but a skewer will come out clean when inserted.
- Remove and allow to cool to room temperature.
- Once fully cooled, cover and place in fridge for a minimum of 4 hours before slicing.
- Once ready to serve, cut into desired size squares, I prefer smaller cubes.
- Tip: when cutting, wipe your knife after each cut for clean cuts. Remove first piece (which may need a little wiggling) then proceed to remove the rest of your bars.
- Store in fridge up to a week or freeze, see notes in post.


Leave a Reply